

Contemporary Realism How-To > This painting of an egret was done from a taxidermy bird which I purchased for use in a larger composition I intend to paint soon. Before starting work on the larger painting, I wanted to make a more straightforward portrait of this bird to get to know it a little bit better.
I often make various studies of different elements of my paintings before starting work on a more complex composition. Sometimes they take the form of drawings or alla prima oil sketches, but in this case it took the form of a slightly more formal portrait. I set the bird up in my studio, lit it and painted it directly from life. The following is a step by step demonstration of how I went about making this portrait.
Contemporary Realism: Portrait of an Egret
by Devin Cecil-Wishing
Drawing
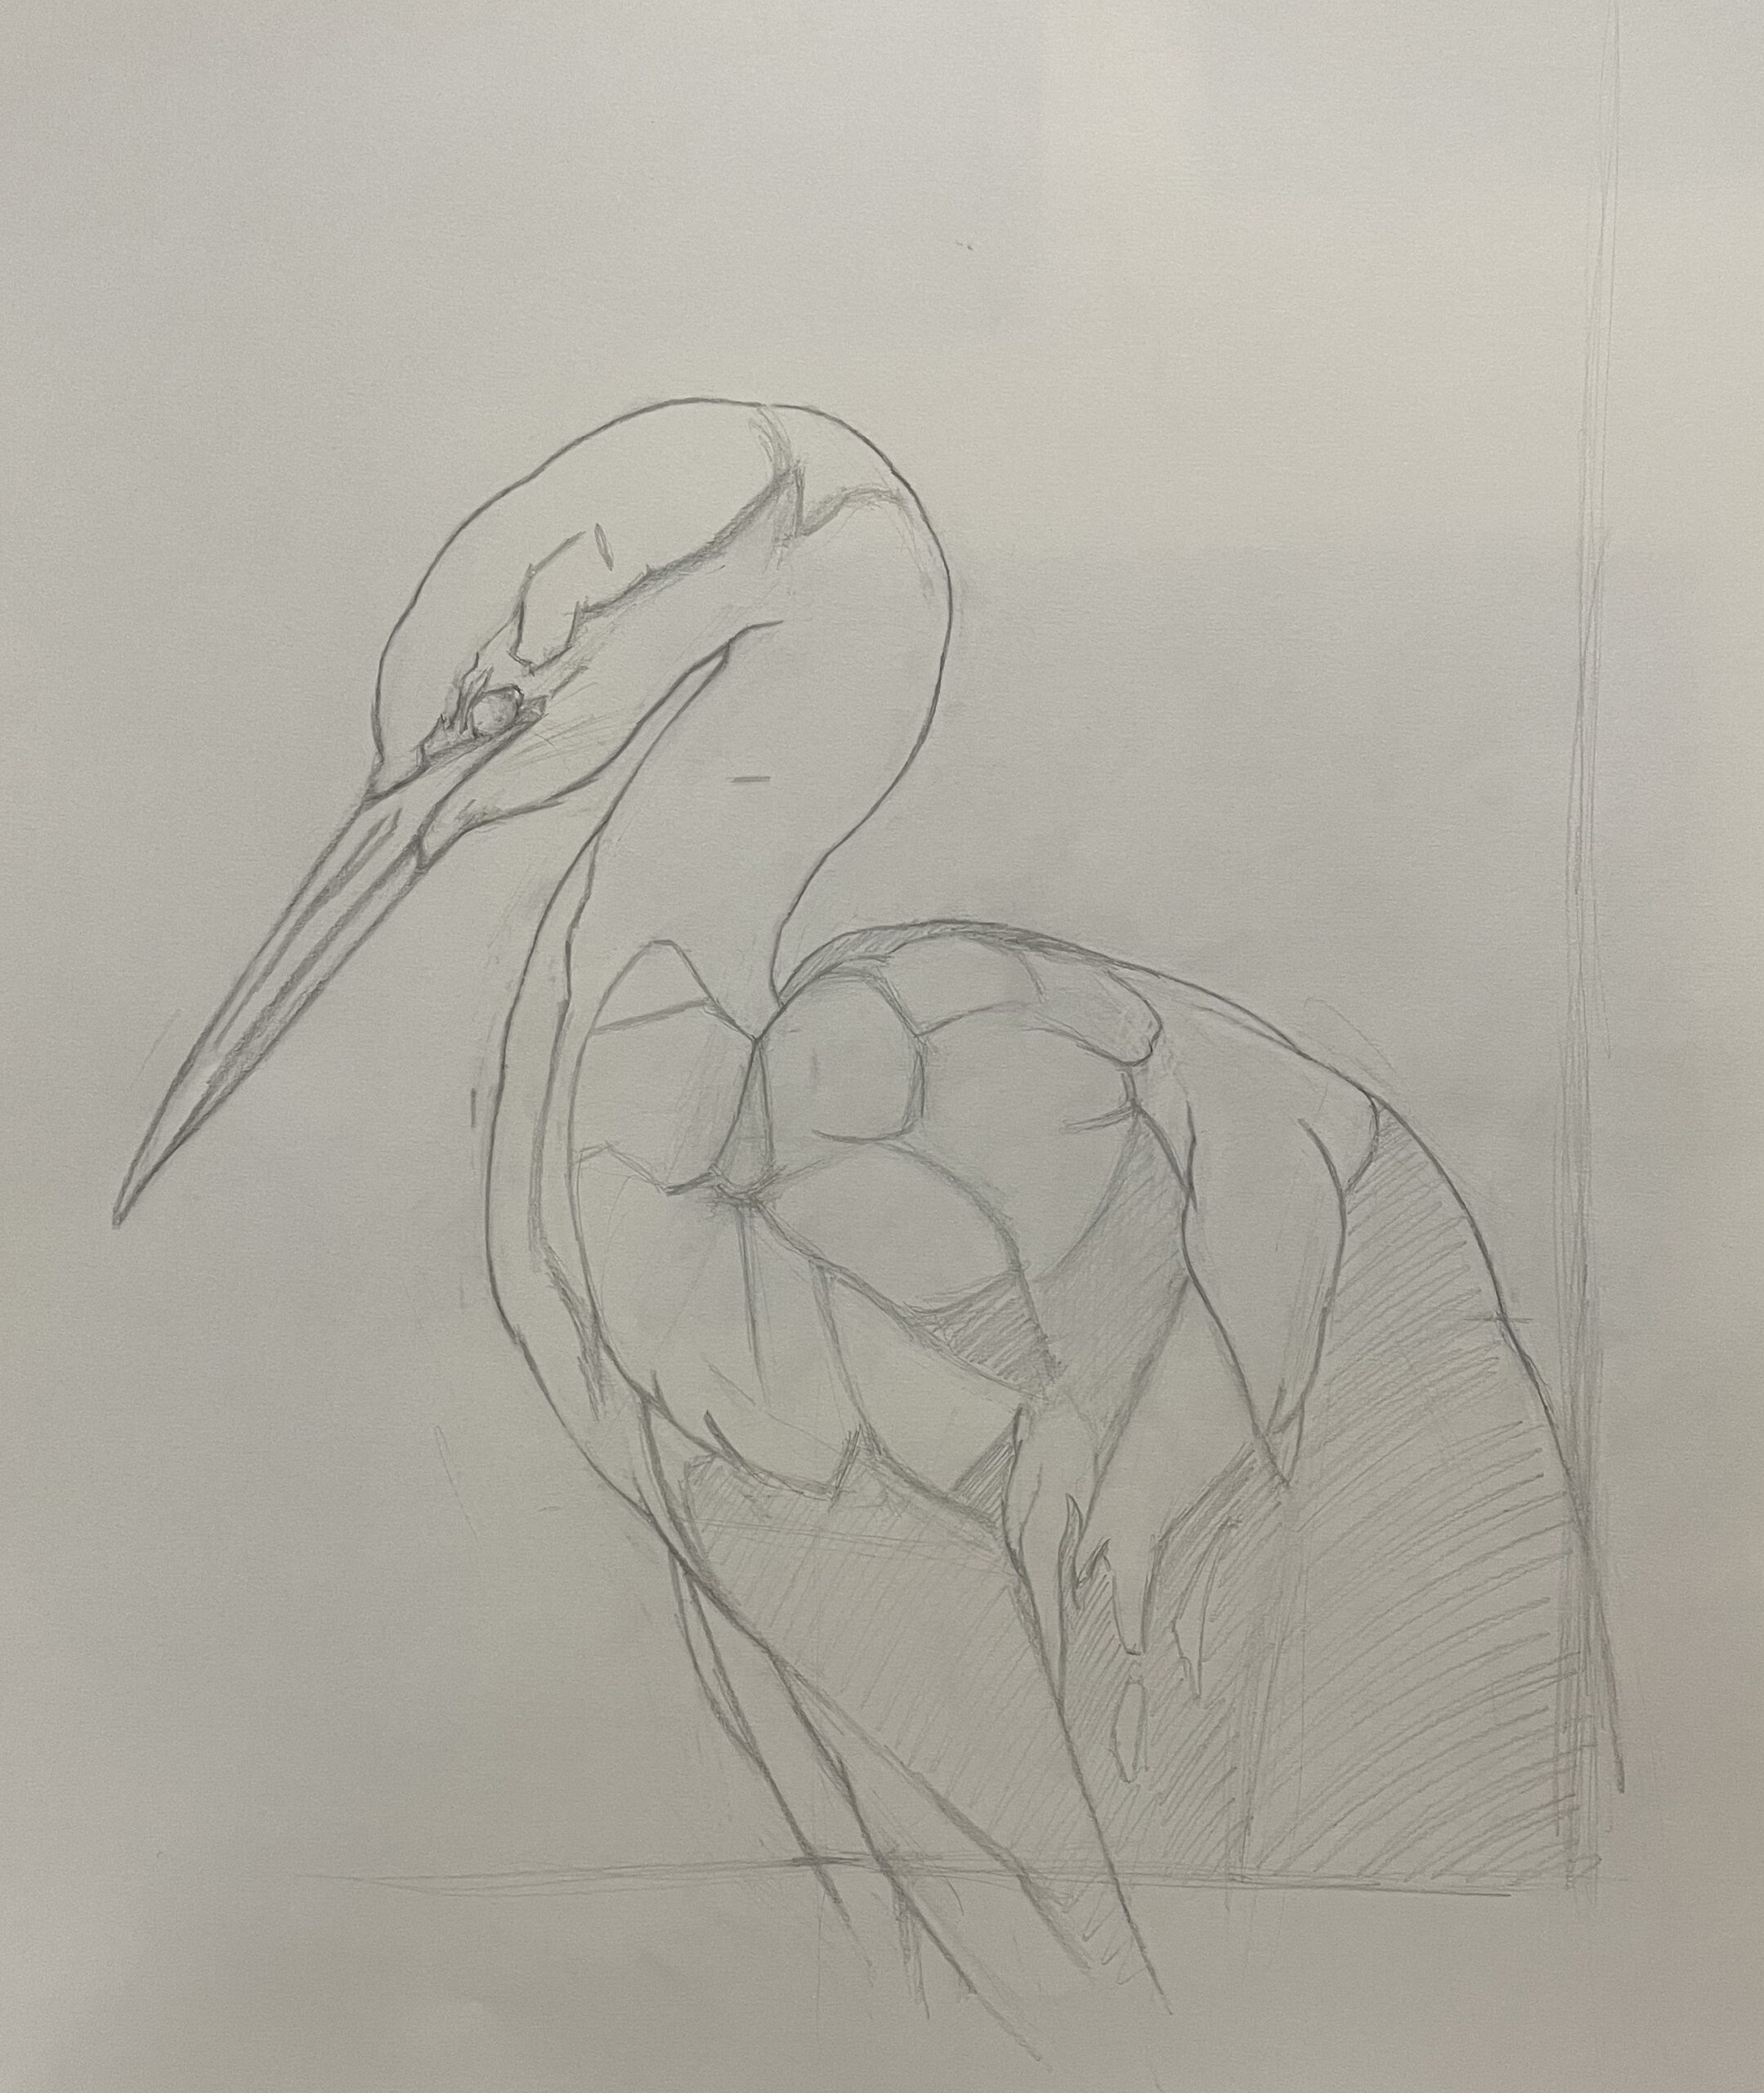
I began this piece by doing a linear graphite drawing or “block-in.” I used a 2H graphite pencil on Strathmore white drawing paper. Initially, I wasn’t so concerned about the aesthetics of the drawing, but rather, approached it more like a fact finding mission.
My goal was to work out accurate shapes, proportions and placements which I could transfer on to the canvas before beginning to paint. In this stage I started quite loosely and gradually brought the drawing in to focus through several rounds of refinements. I stopped as soon as I had all the information I needed and didn’t particularly bother to spend any unnecessary time making the drawing into any kind of finished piece of art of its own.
Toning the Canvas and Transferring the Drawing
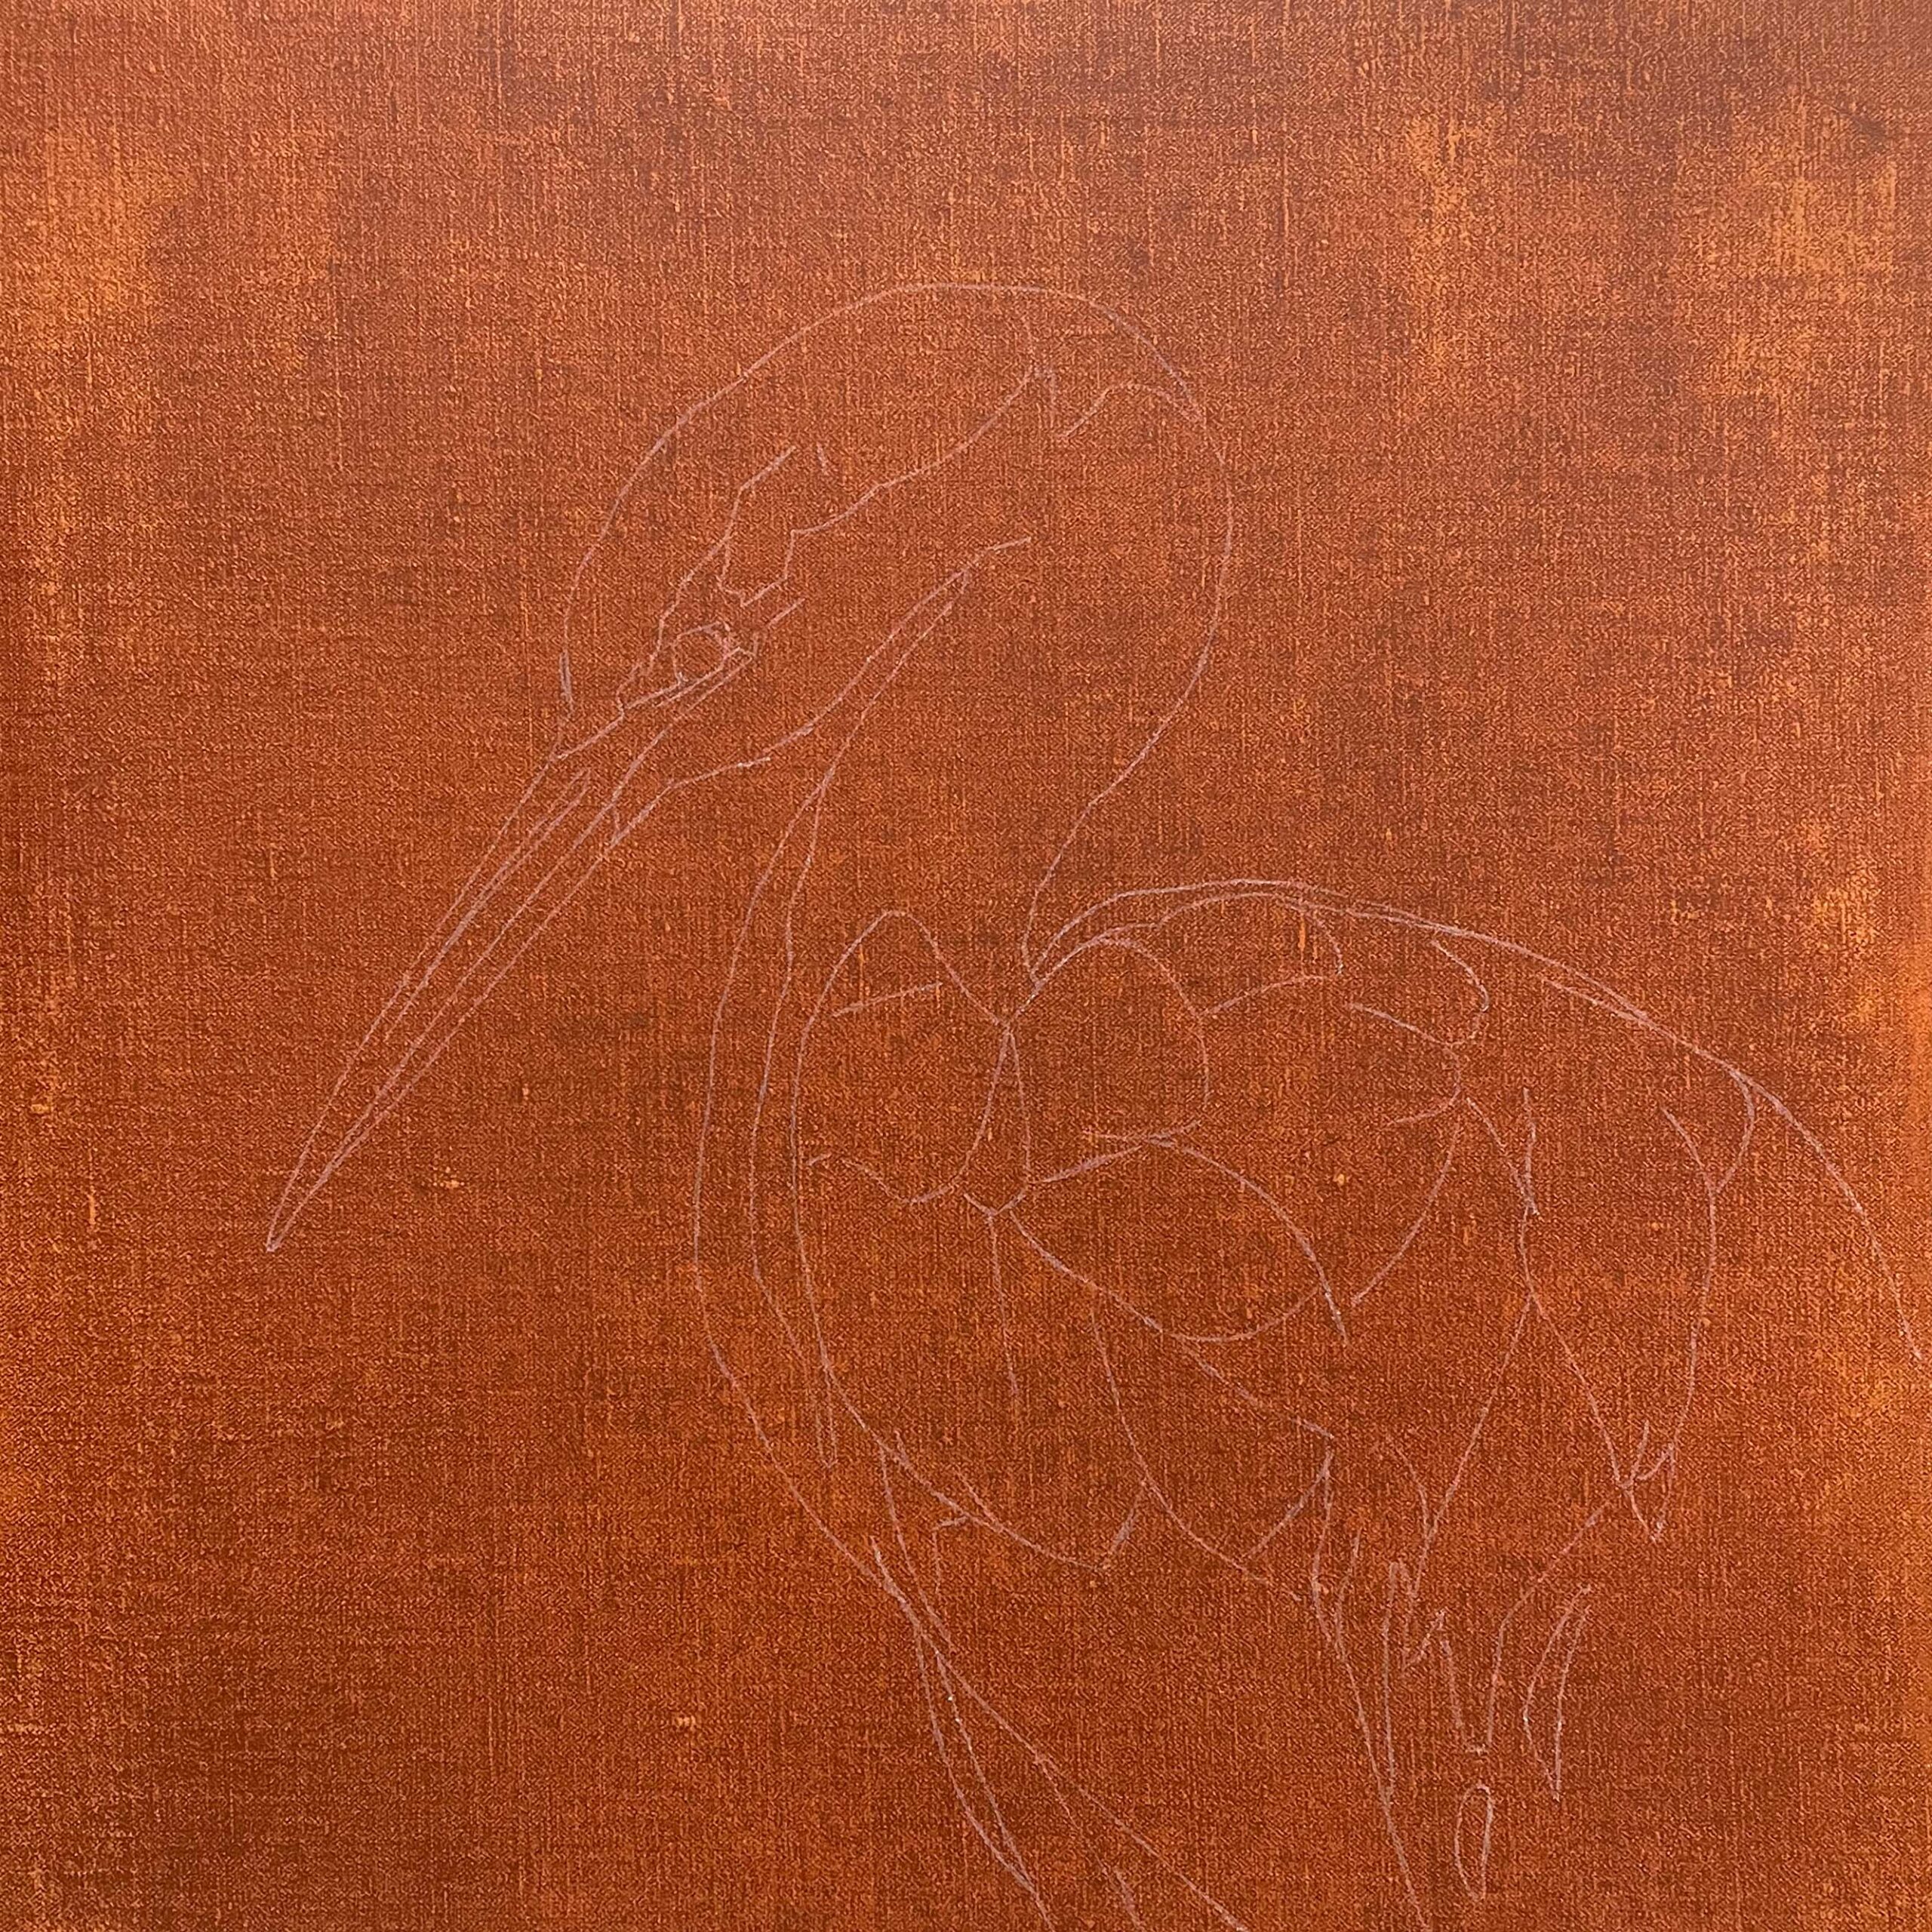
For this painting I used Claessens 66, oil primed linen which I glued on to a Dibond panel. Before starting my painting, I toned my canvas with a red ochre oil paint. I don’t use any solvents in my studio so to tone the canvas I directly dabbed some paint straight onto the canvas.
I used a few paper towels to rub the paint around until the entire canvas was covered, and kept wiping until it was a value that I liked (the more you rub off, the lighter it will become). Once I was happy with it, I set it aside to completely dry before doing anything else.
To transfer this drawing onto my canvas, I first made a photocopy of it. I rarely draw at exactly the size which I intend to paint, so making a photocopy for my transfer makes it easy to enlarge my drawing to the size I want my painting to be.
Once I had the photocopy I turned it upside down and used a Cretacolor white chalk pencil to cover the back side with white chalk. After that I flipped it back right side up and taped it onto my canvas.
Using a red ballpoint pen, I carefully traced the lines of my drawing. The pressure of the pen pushed the white chalk from the back of the photocopy onto the front of my canvas. Once I had transferred all the lines in my drawing I removed the photocopy and was ready to start painting.
Ébauche
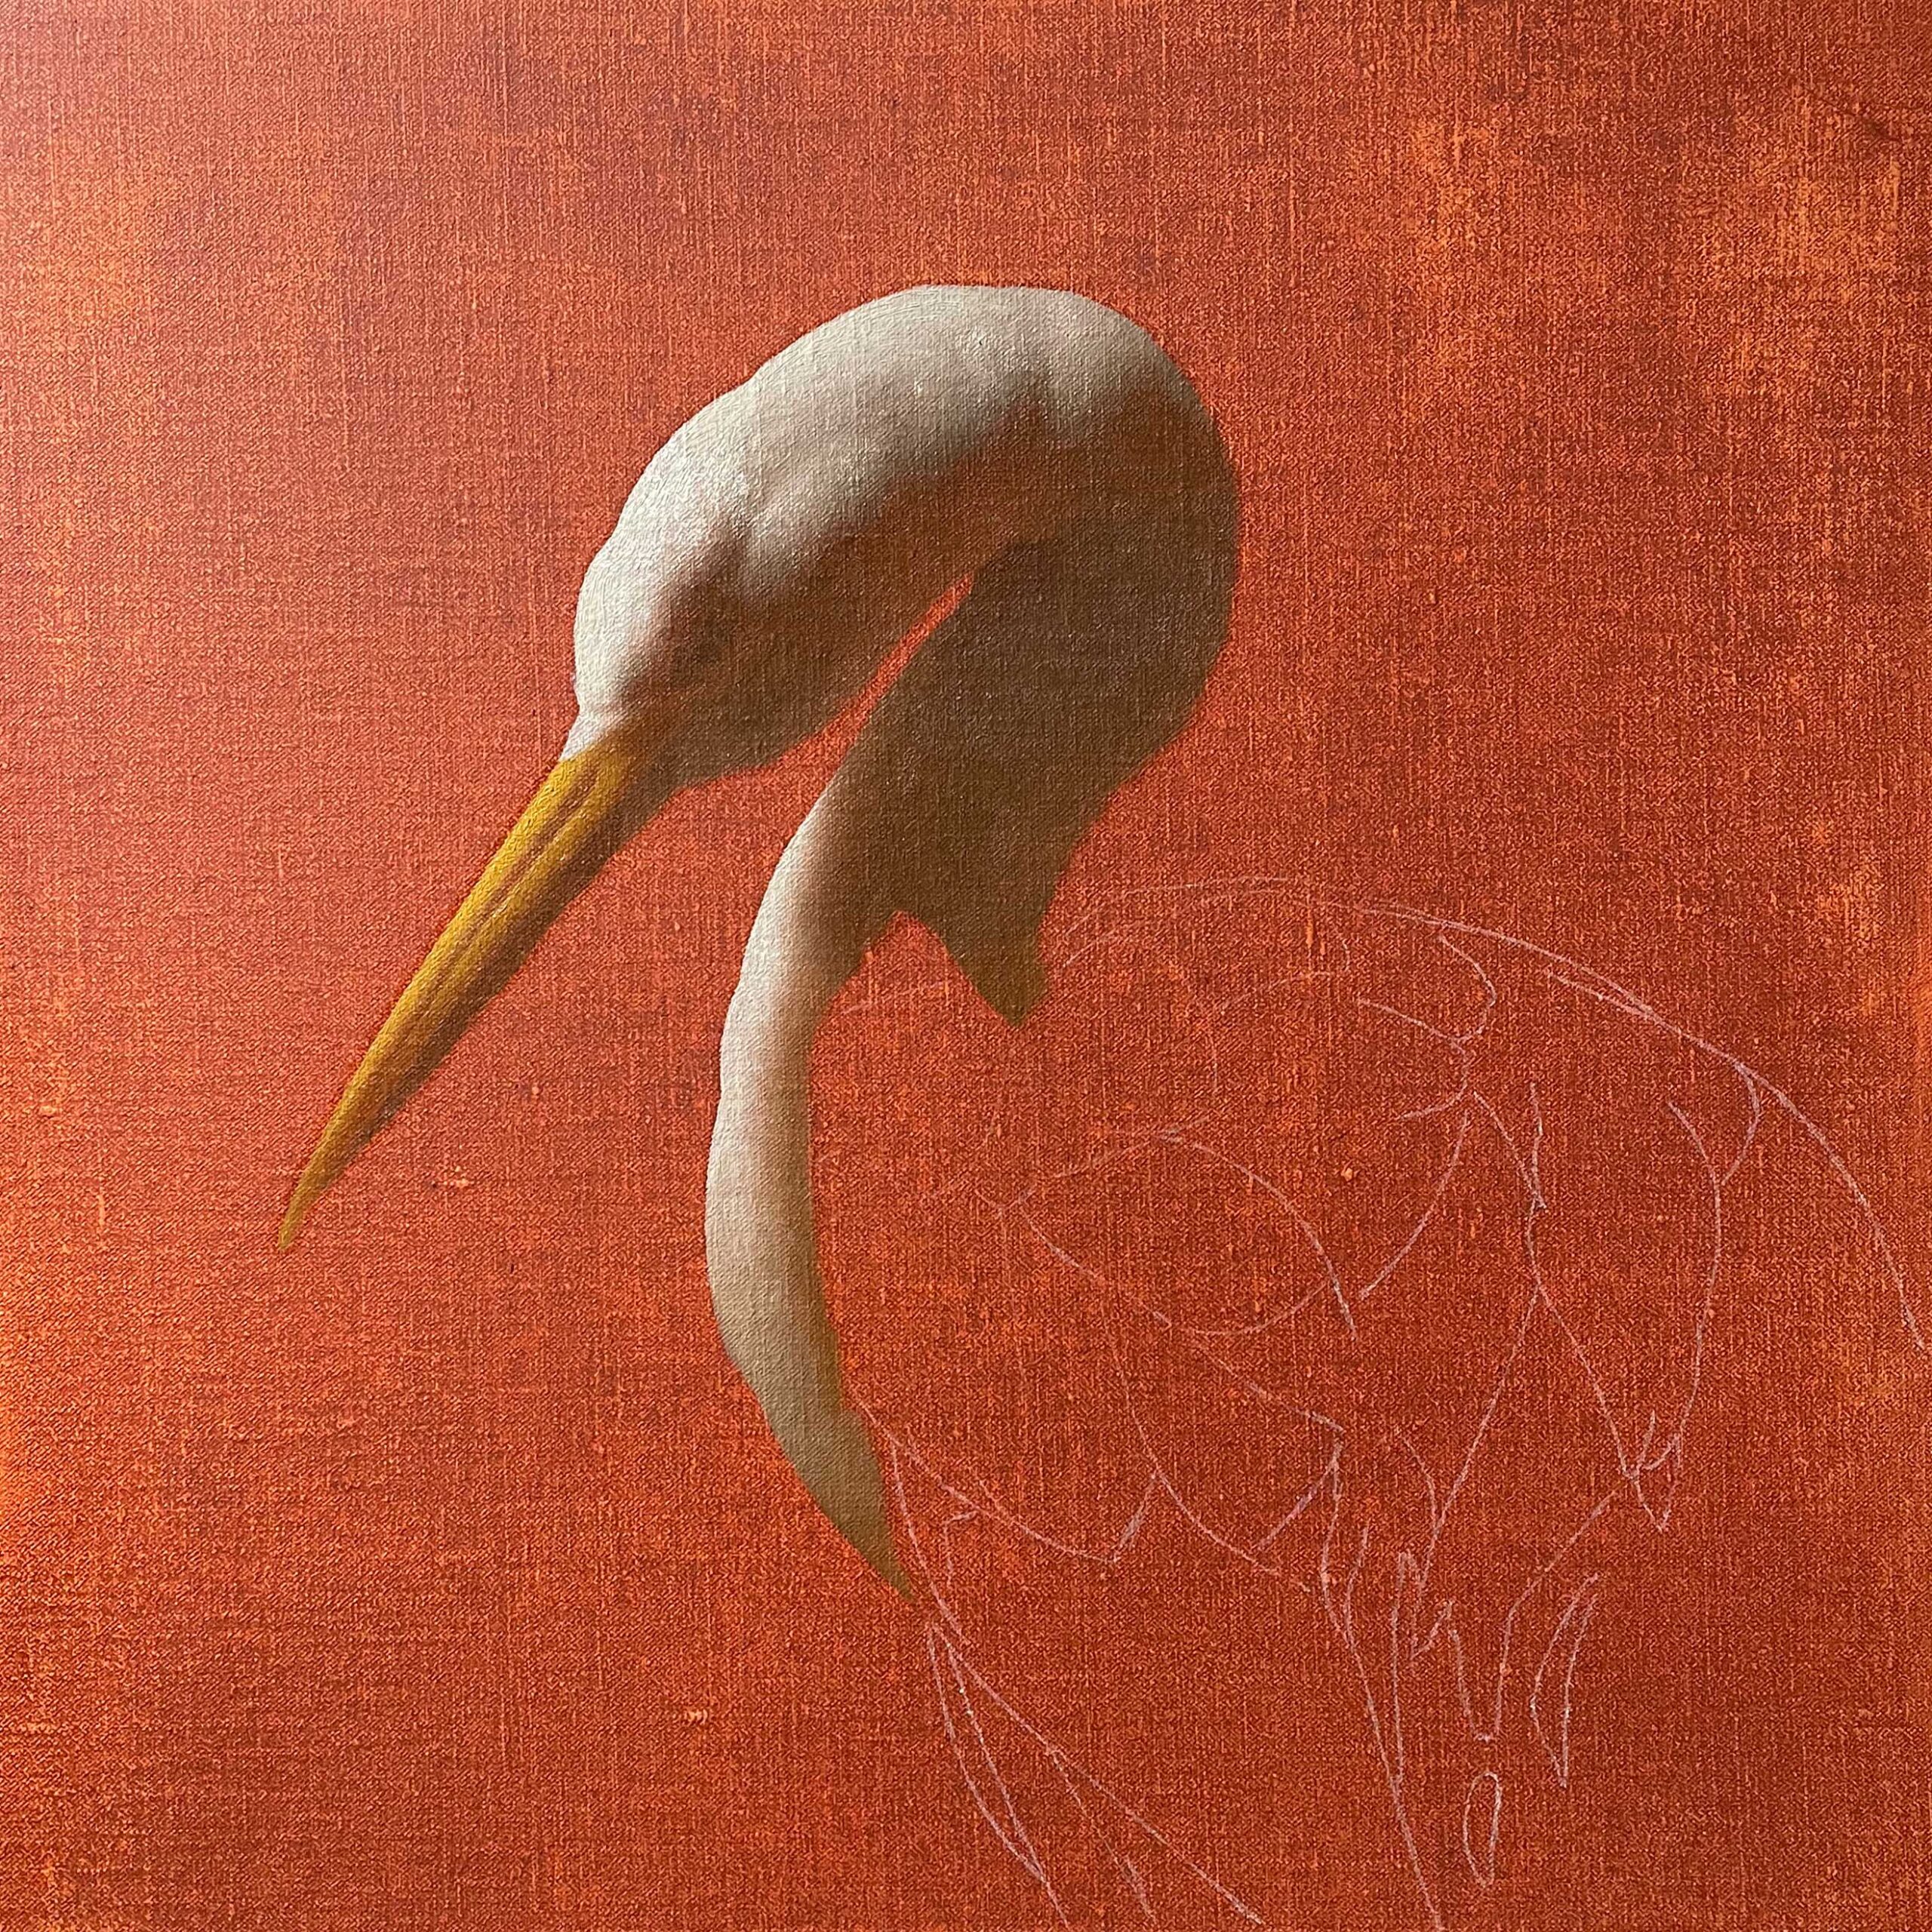
There are many different types of underpaintings that a painter can choose to use, but the ébauche has always been my personal favorite. Essentially it’s a full color underpainting which is just painted a little bit more thinly than the final layer of the painting. An ébauche can be very thin and washy, or it can be somewhat more developed.
For this painting I opted to work out a little bit more in my ébauche so that I would have a more robust paint layer underneath to support my final pass. In the ébauche I tried to get a decent sense of what I wanted each form to do, even though my overall value range was still a little bit compressed. I moved piece by piece, finishing each form as I went, starting with the head, working my way down the neck and body and then finally ending with the background.
For the ébauche I more or less used pure paint, straight out of the tube, but for a couple particularly stiff colors, I added a very tiny bit of Oleogel (made by Rublev) to loosen its consistency.
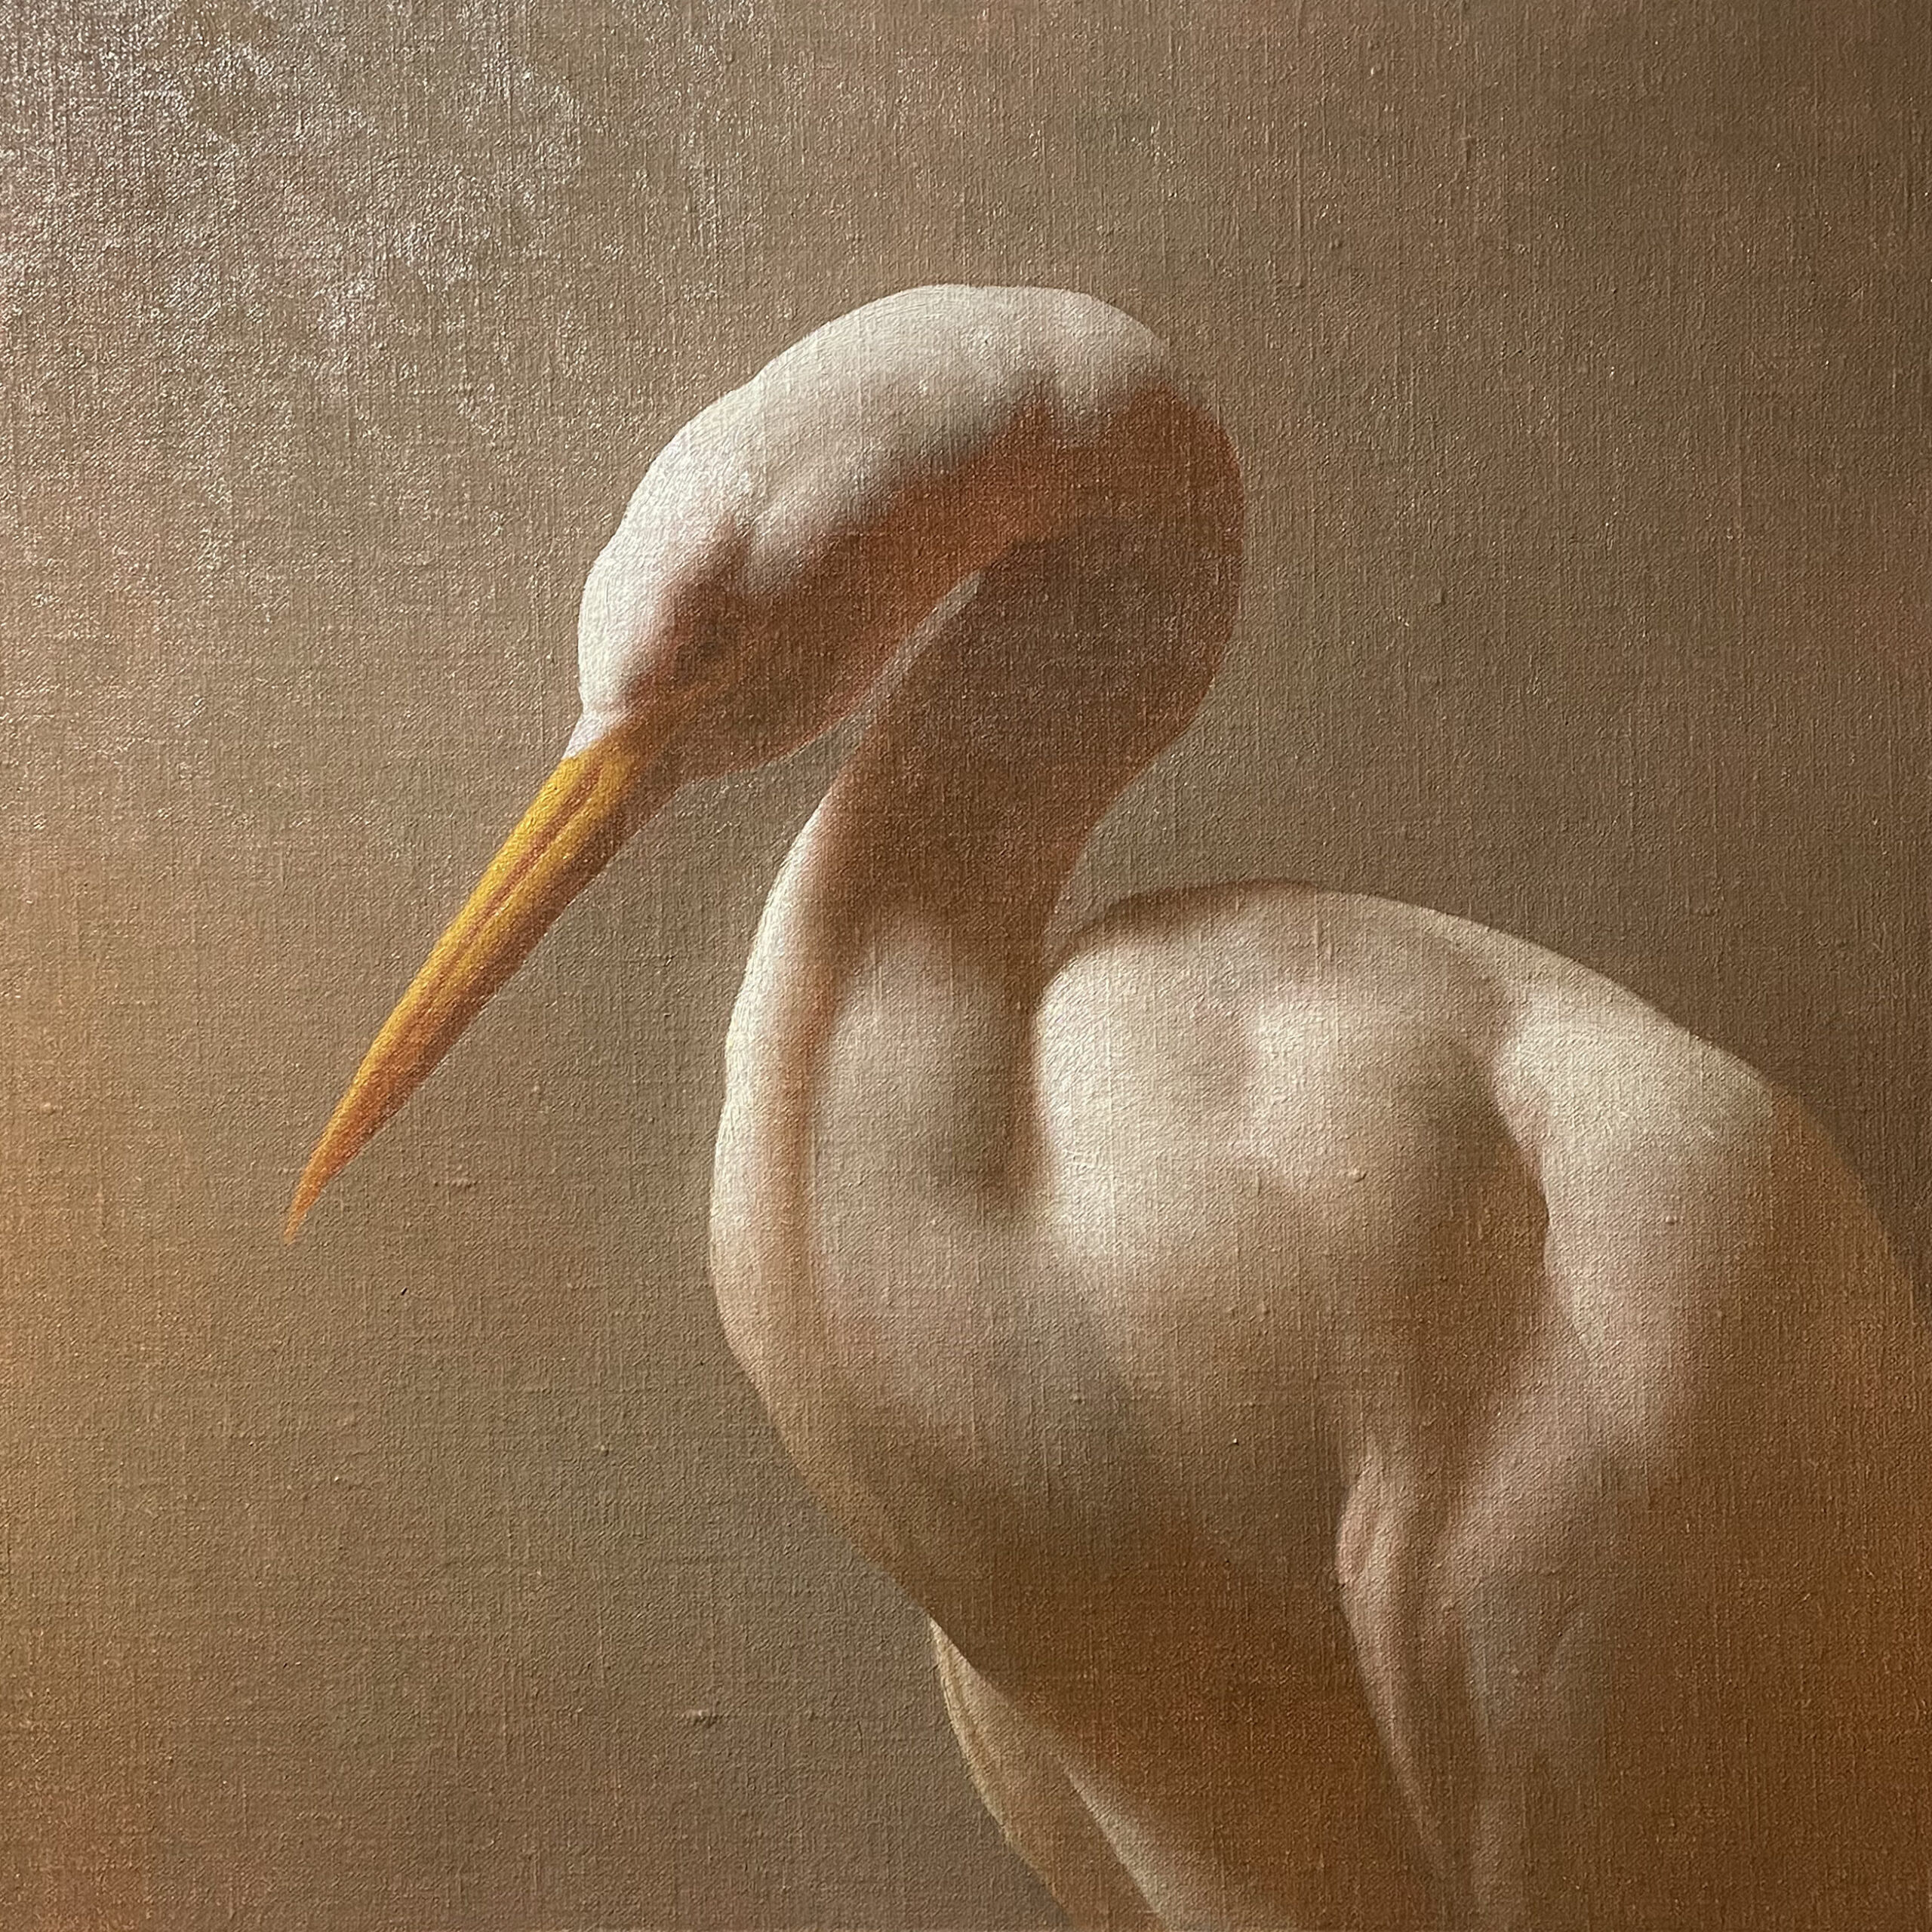
I used round Chungking bristle brushes to scrub the paint around thinly, being extra careful in the shadows not to let the paint get overly thick or textured.
My basic palette of colors for this painting was Lead White, Naples Yellow, Yellow Ochre, Raw Sienna, Raw Umber, Red Ocher, Burnt Umber and Ivory Black.
Main Pass of the Contemporary Realism Bird Portrait
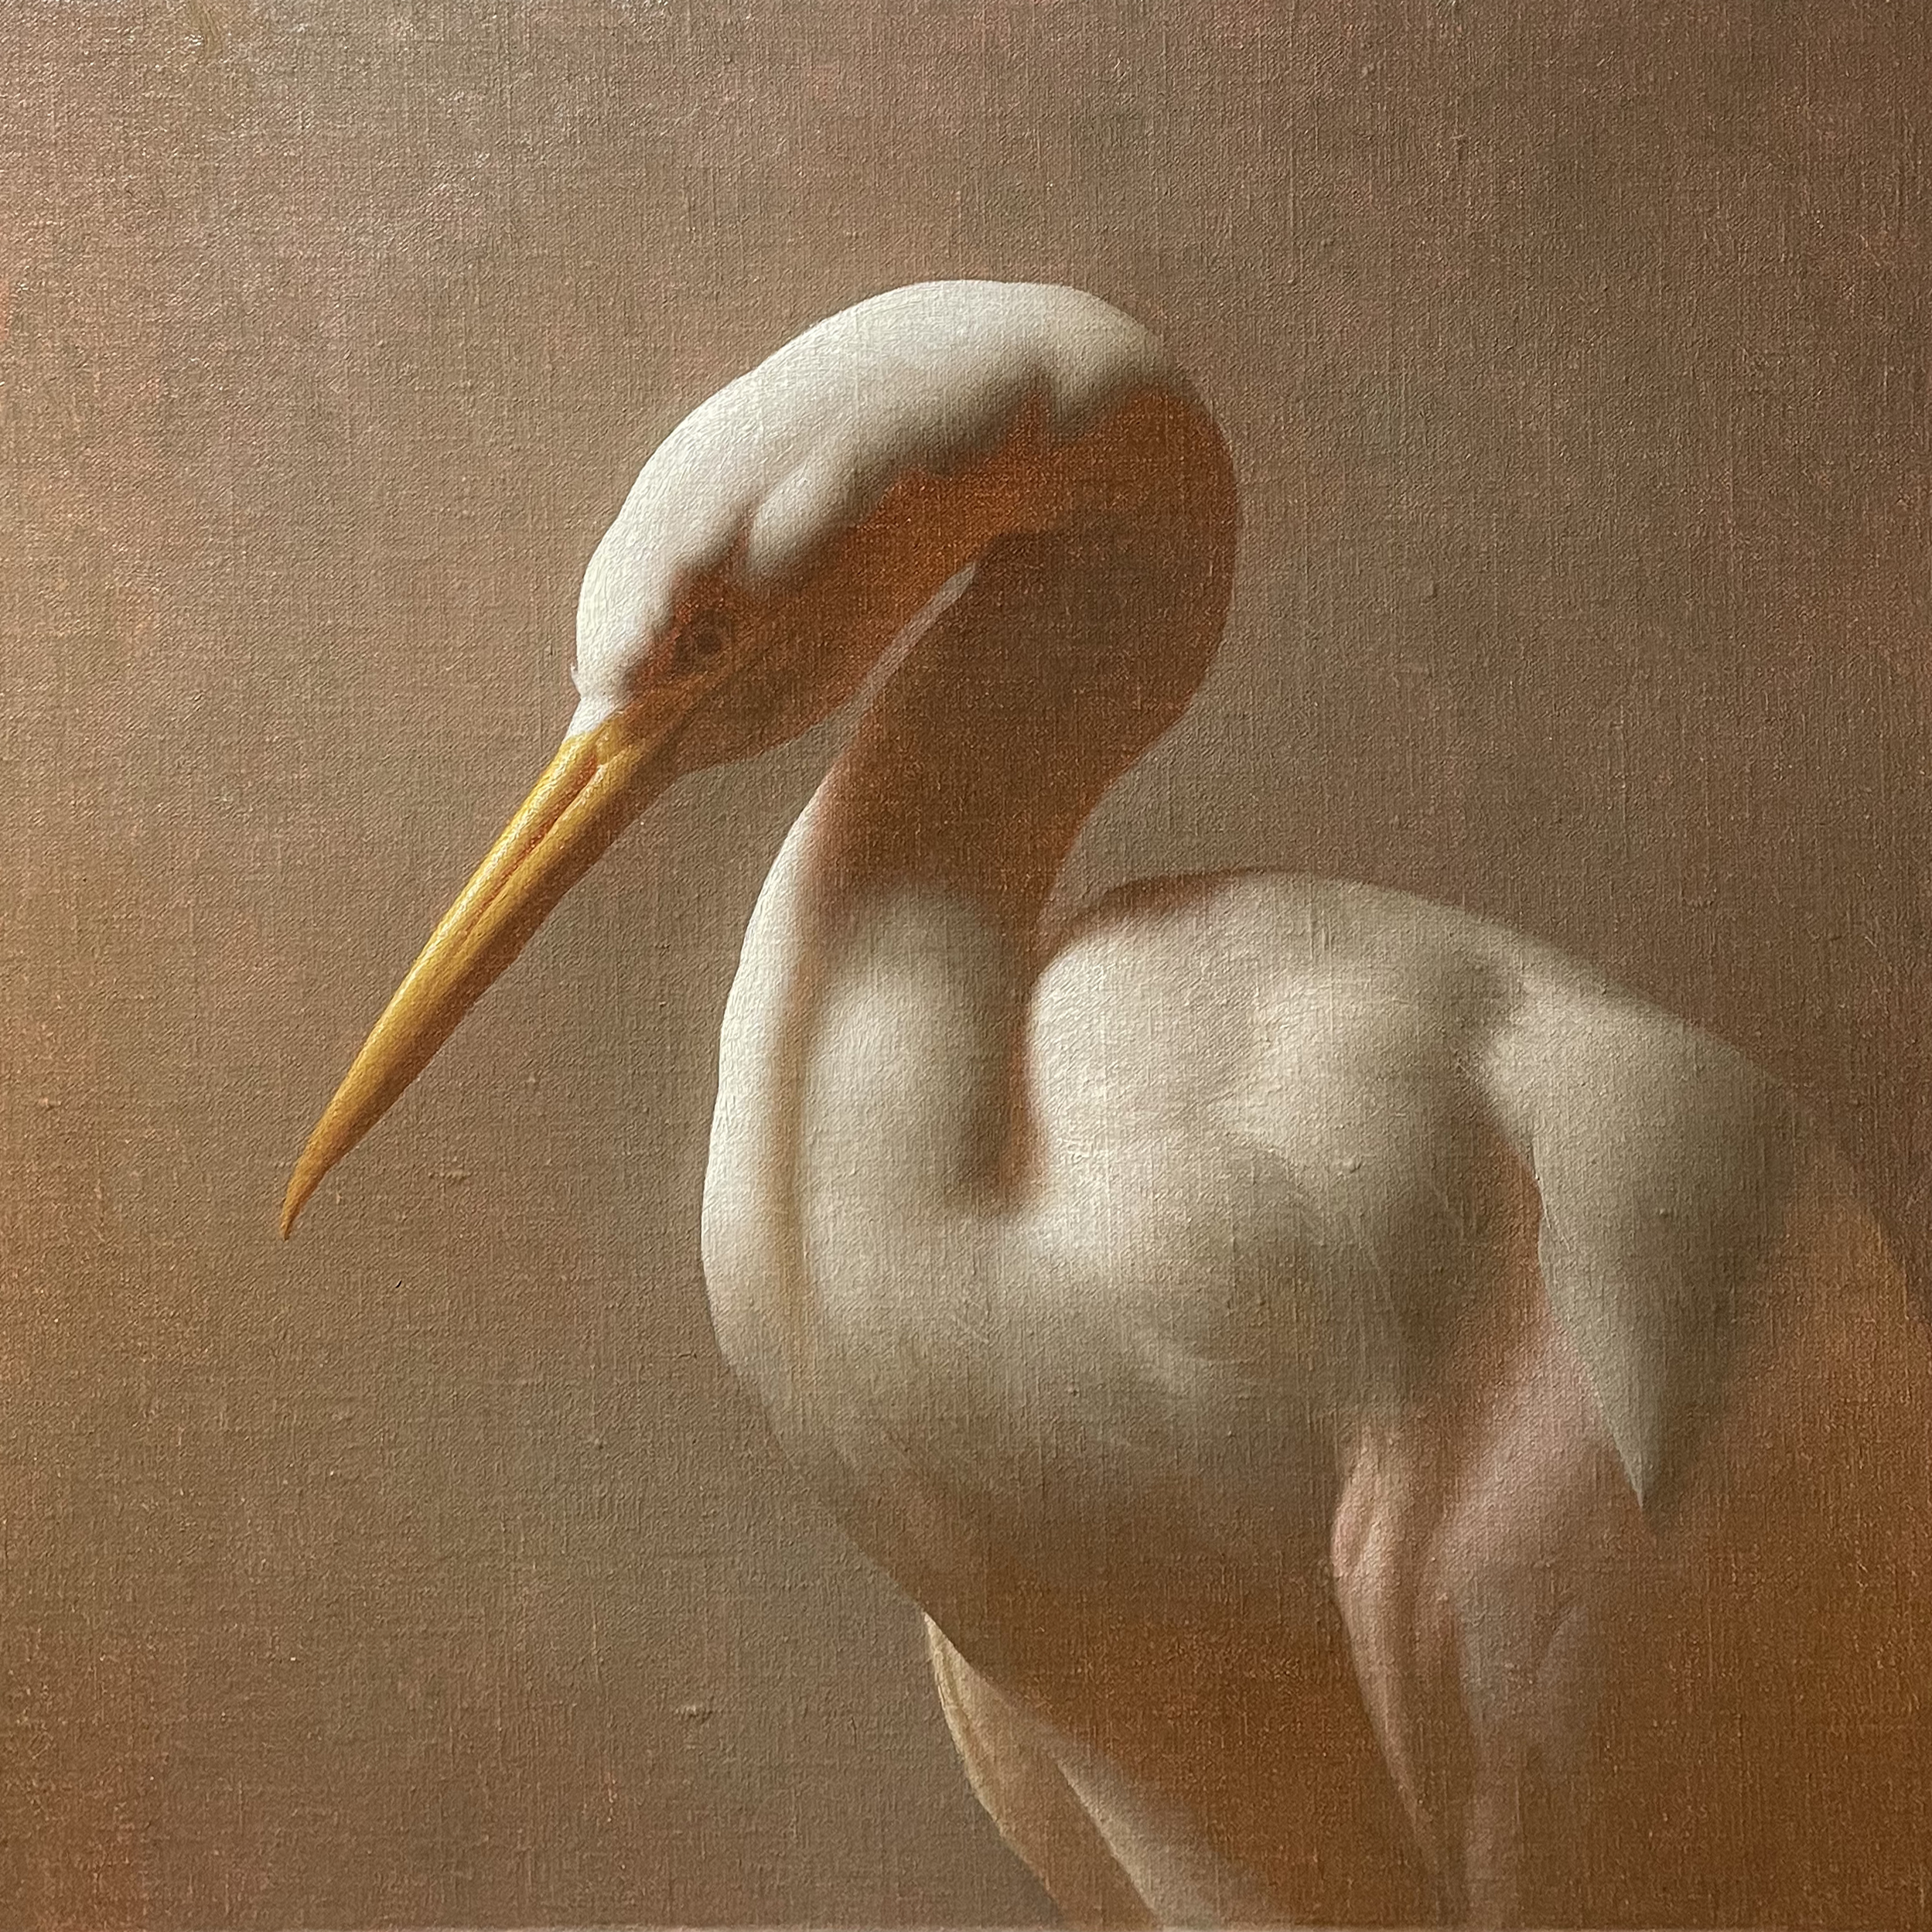
After letting the ébauche thoroughly dry, I began my main pass. Starting with the beak I began piece by piece painting in the final forms which would be visible in the finished painting.
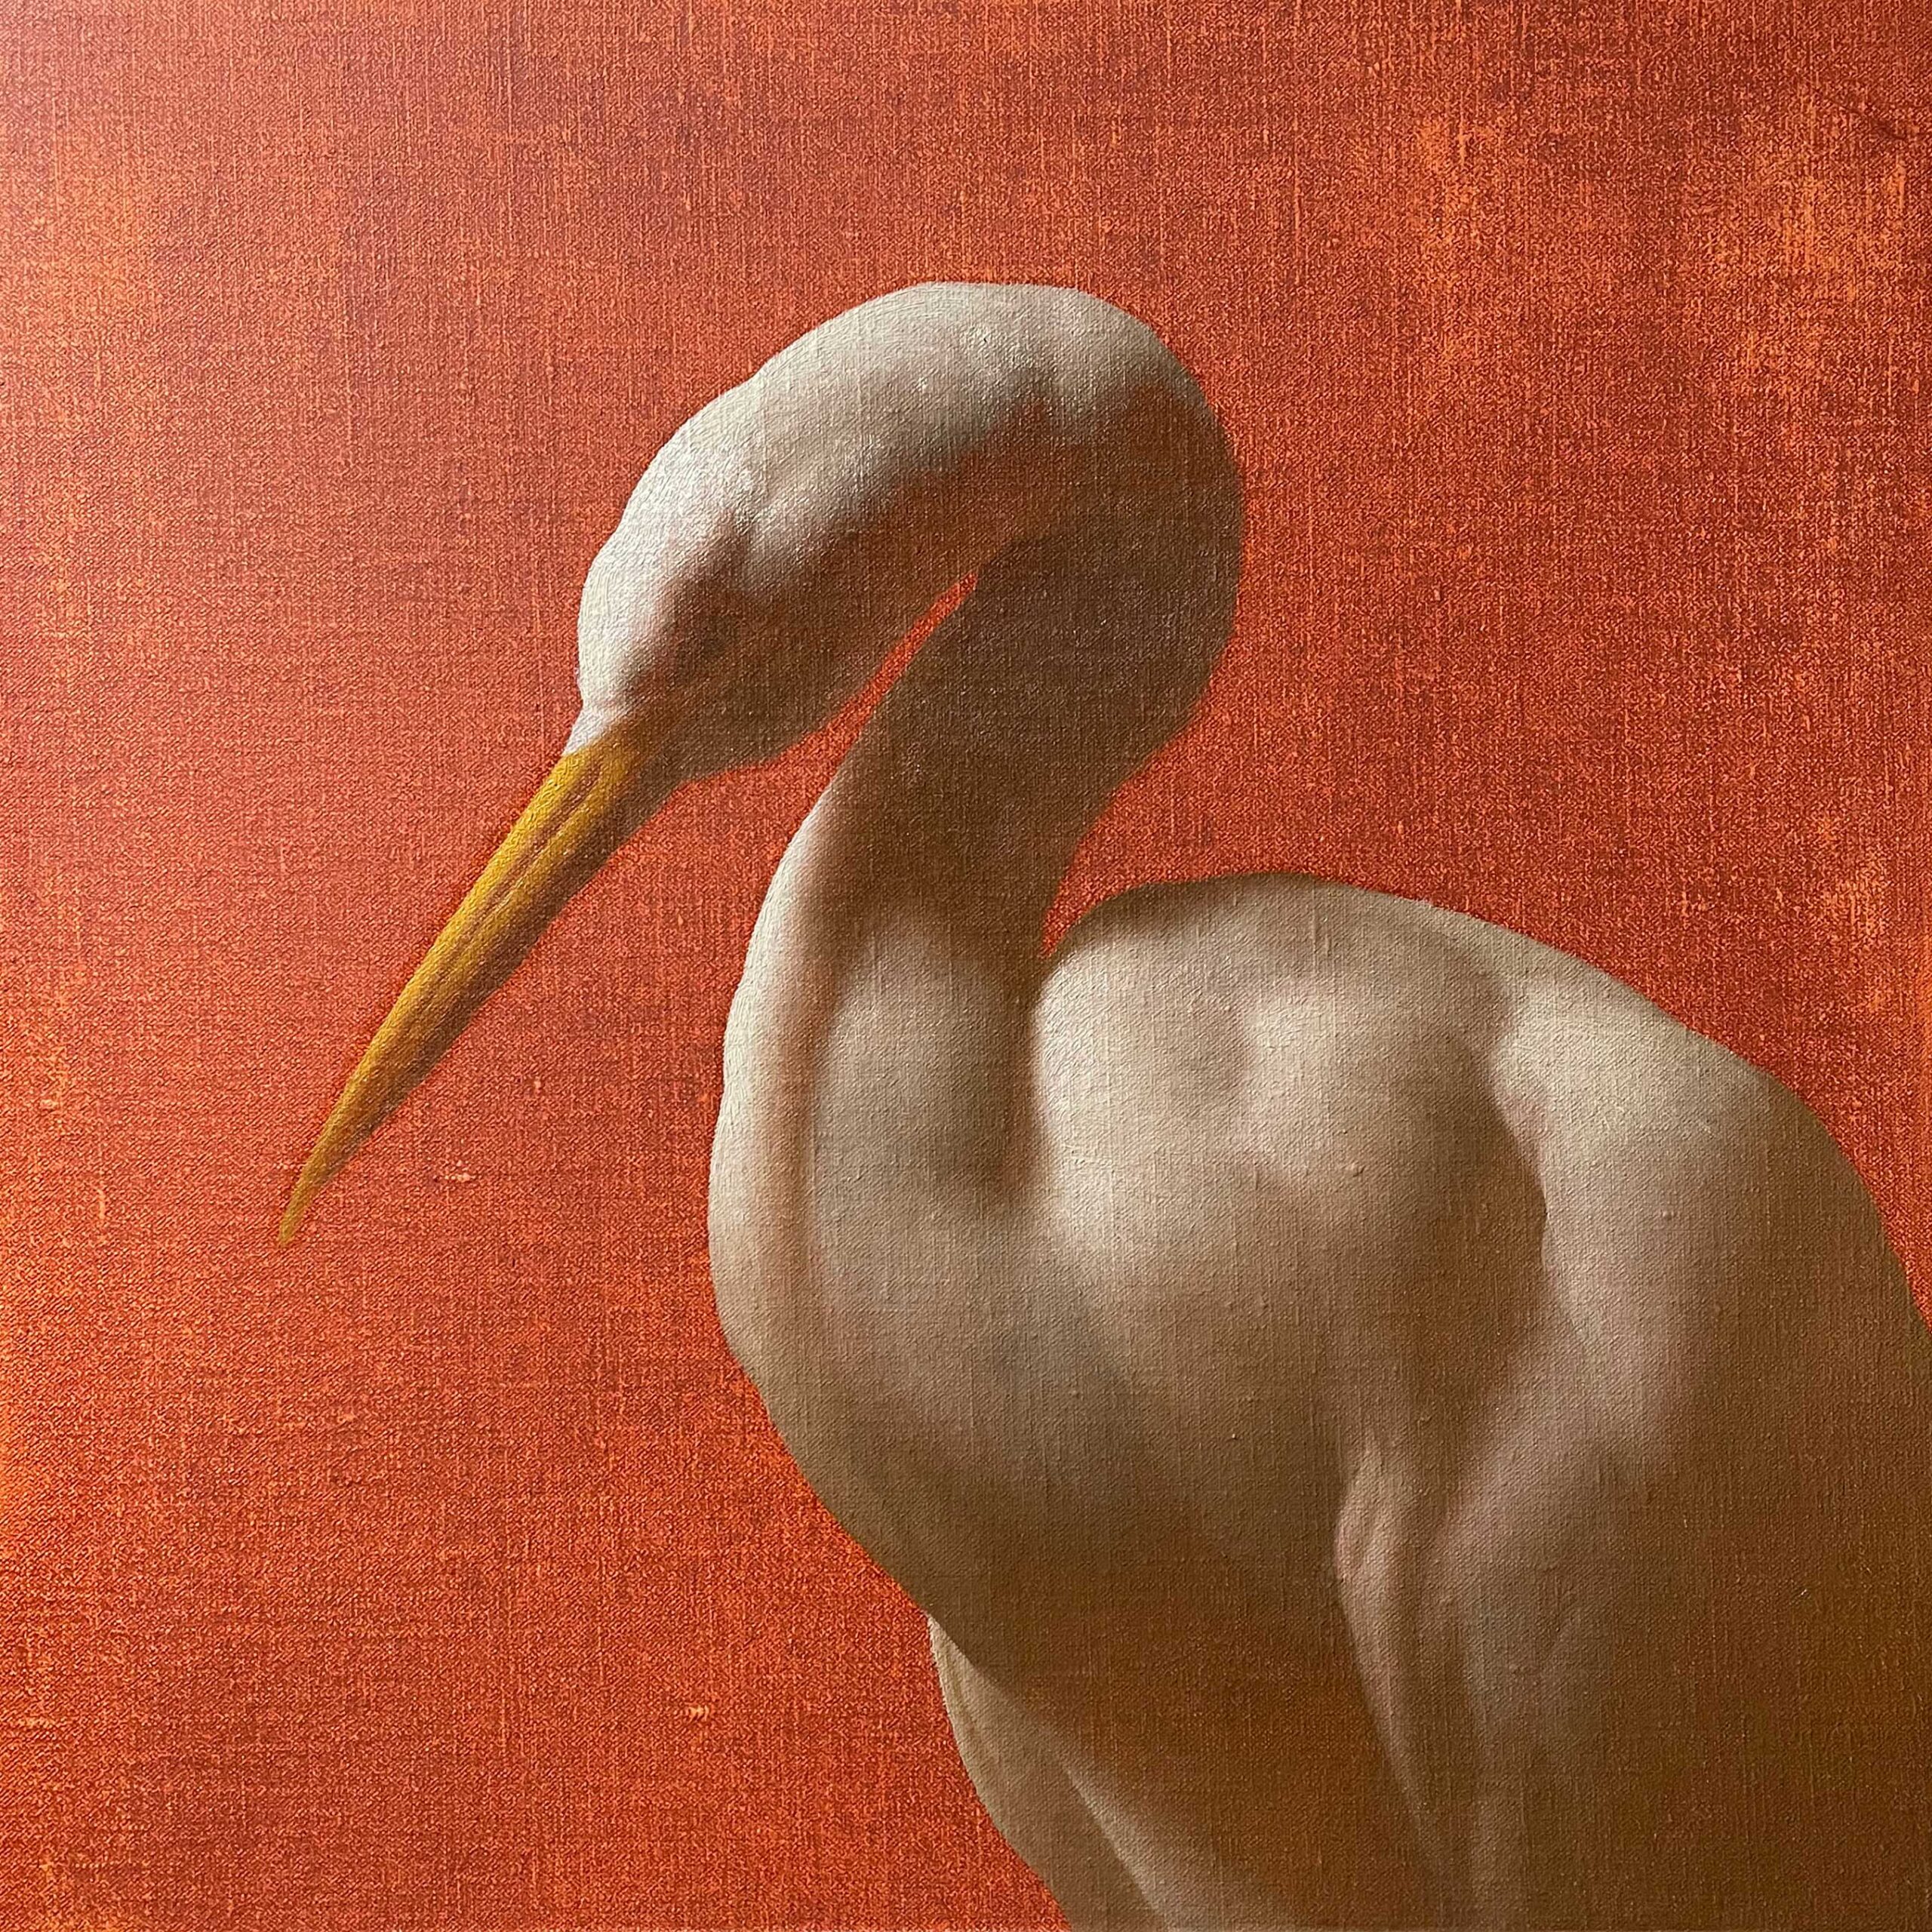
I began using pointed, round sable brushes rather than the bristle brushes which I had used for the ébauche. I intentionally built up my lights more thickly and kept the shadows more transparent so that the initial tone of the canvas would slightly show through. In this main pass, I went in with the intention of painting each section one time and finishing as I went.
I expanded my value range slightly from what it had been in the ébauche, piling on thicker, brighter lights and putting in thinner, darker shadows. During the main pass I was focused on trying to describe the sculptural qualities of each form on the bird, while also trying to increase the drama of the light effect.
I wanted the bird to feel strong and muscular, keeping in mind that he was in the middle of hunting for fish. Having observed these birds many times in person, I also wanted to emphasize the laser focus they have when they are fishing, which has always impressed me.
Varnish
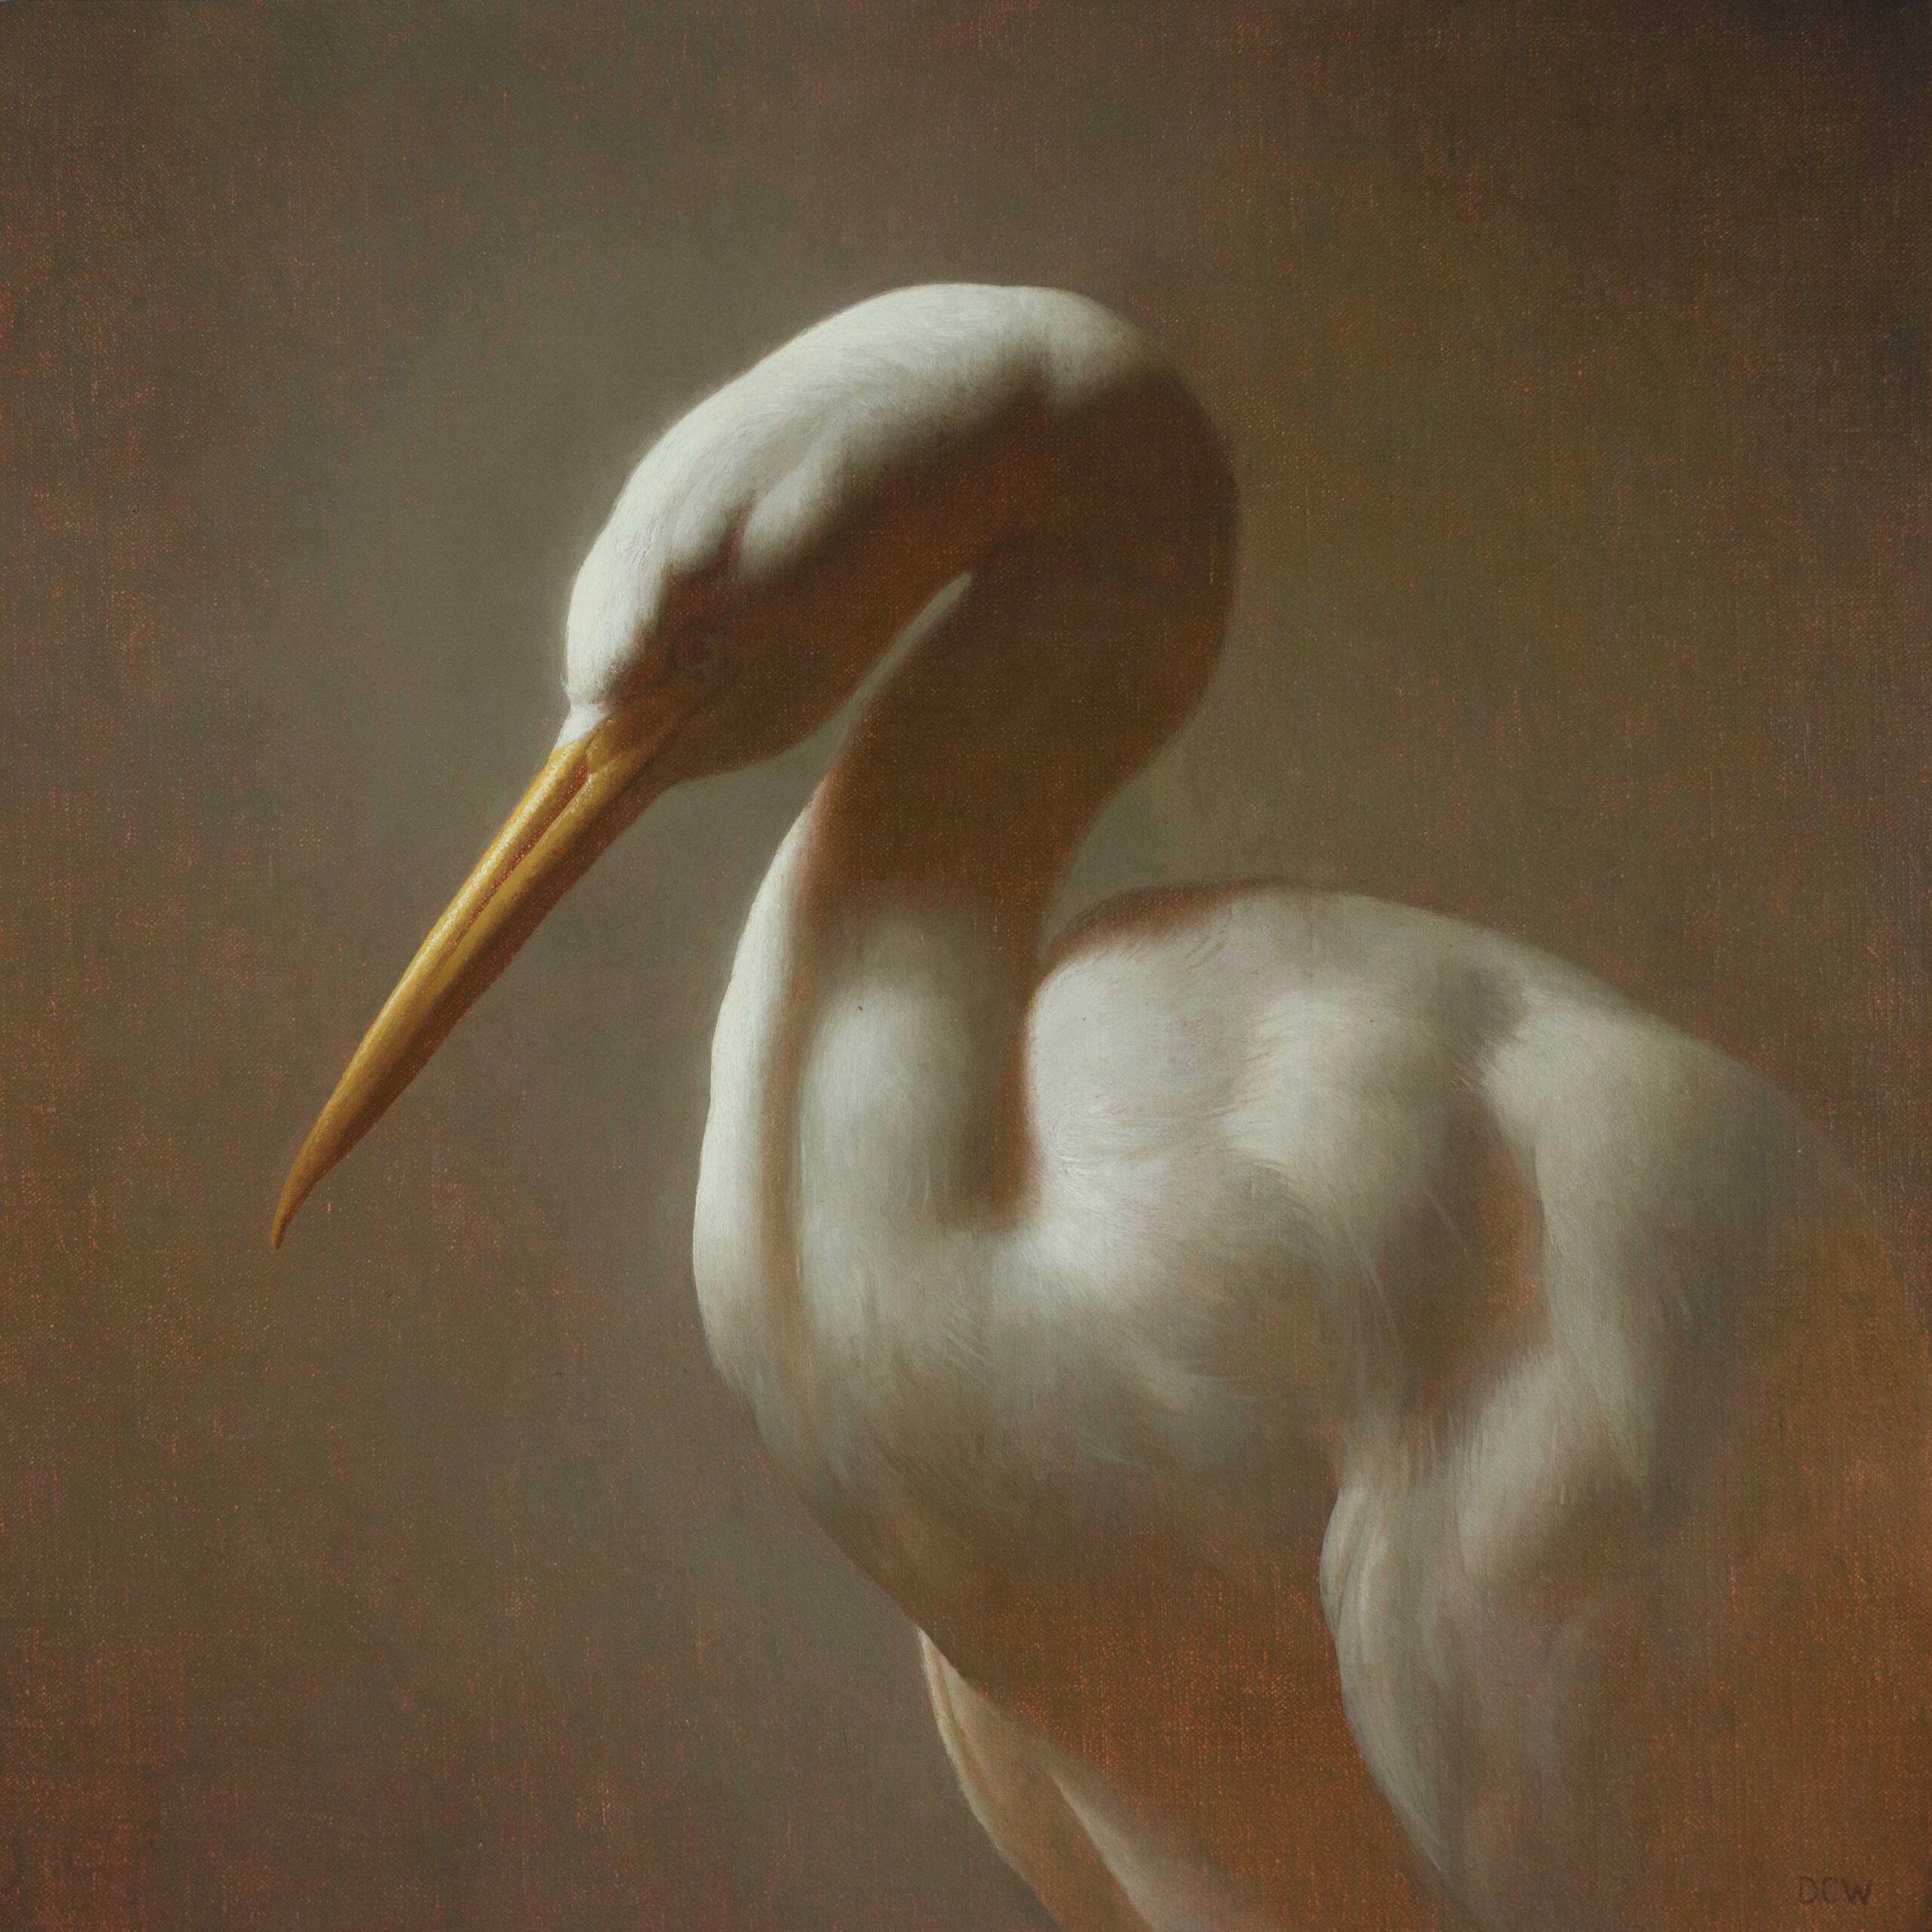
After finishing the painting completely I set it aside for a few months to fully dry before applying a final varnish. I used Gamvar (glossy) which I applied thinly with a disposable foam brush. After applying the varnish I placed the painting face up inside a sealed box so it would be protected from falling dust as it dried.
About Contemporary Realism Artist Devin Cecil-Wishing:
Devin Cecil-Wishing (b. 1981 in San Francisco) is an oil painter based in New York City who favors traditional methods for creating paintings. He works exclusively from life, memory and imagination, choosing to avoid the use of photographic references, AI or other such tools, based on the deeply held belief that the process of creation and the end product are intrinsically connected. His work takes inspiration from many sources, but his largest influences are the Dutch and Flemish painters of the Baroque era and earlier. He has always been fascinated by the idea of depicting light and by the connection between light and emotion. In many of his paintings, the light effect can be considered to be just as much the subject of the painting as any of the objects being depicted.
Devin grew up in San Francisco where he earned a BFA in illustration from the California College of the Arts. He later studied at the Atelier School of Classical Realism in Oakland, CA before eventually moving to New York City to become a full time student at the Grand Central Atelier. He went on to become one of the core instructors at the Grand Central Atelier where he continues to teach. He also teaches workshops around the globe as well as online classes for students who are not based in New York and also maintains a Patreon page where he regularly shares videos and articles about drawing and painting. His work can be found in collections across the country as well as abroad and he has exhibited in galleries and museums from coast to coast.
To view his contemporary realism work or for more information on his teaching visit www.devincecil-wishing.com.
Related Article on Contemporary Realism Art > Artist to Watch: Devin Cecil-Wishing


