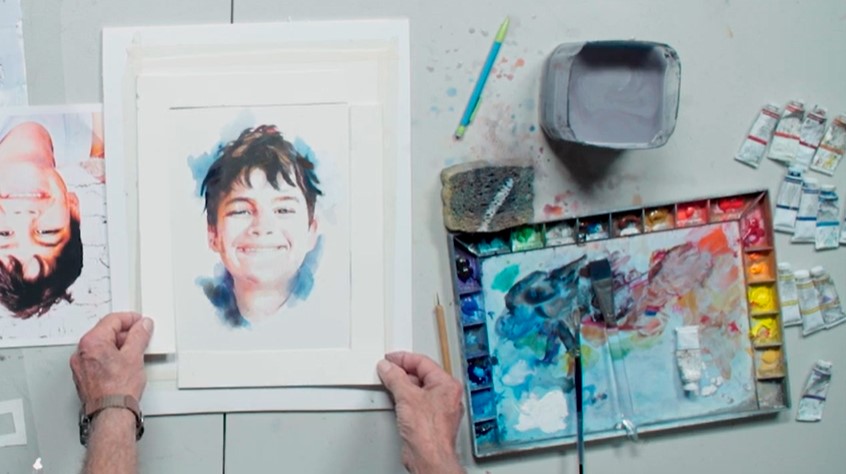
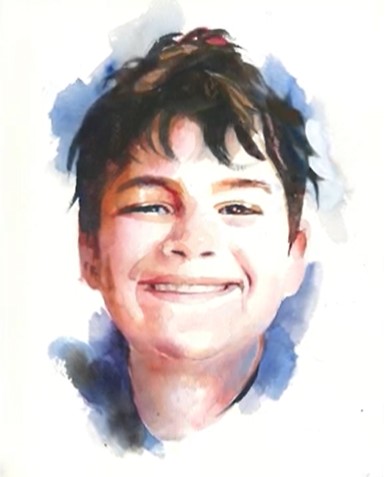
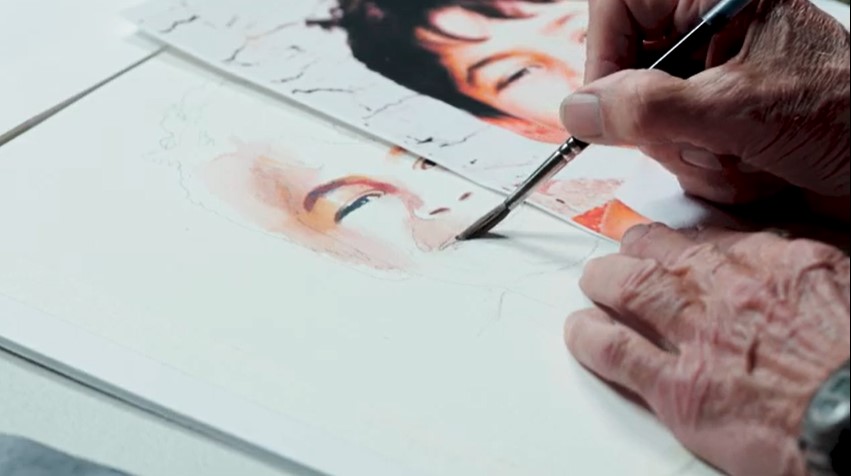
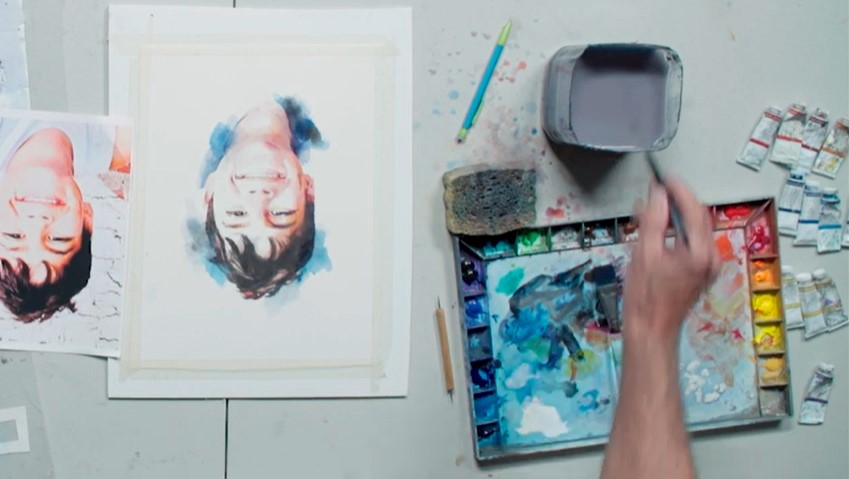
How to Paint a Portrait > At the 3rd Annual Watercolor Live, Stan Miller began his painting demo by going over how to use a photo reference; in this case, it was of his godson. After cropping the image, he showed us how to transfer the photo onto paper to have as a guide for the drawing. During the demo, he flipped the photo and painted it upside down as he continue adding detail.
Here’s a visual step-by-step of his demonstration on how to paint a portrait. (To learn more, get your copy of Miller’s “Watercolor Portraits” video workshop from PaintTube.tv.)
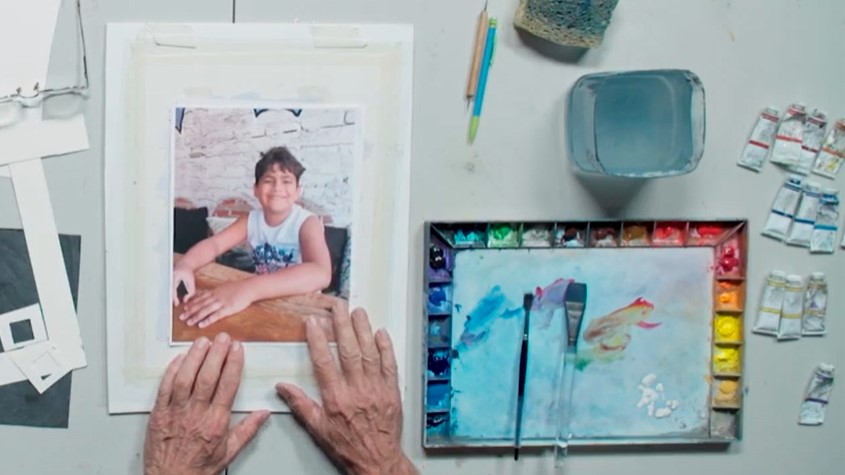
1. Crop and edit the photo reference so it’s the ideal composition for your painting. He then transferred the image onto his working surface.
***
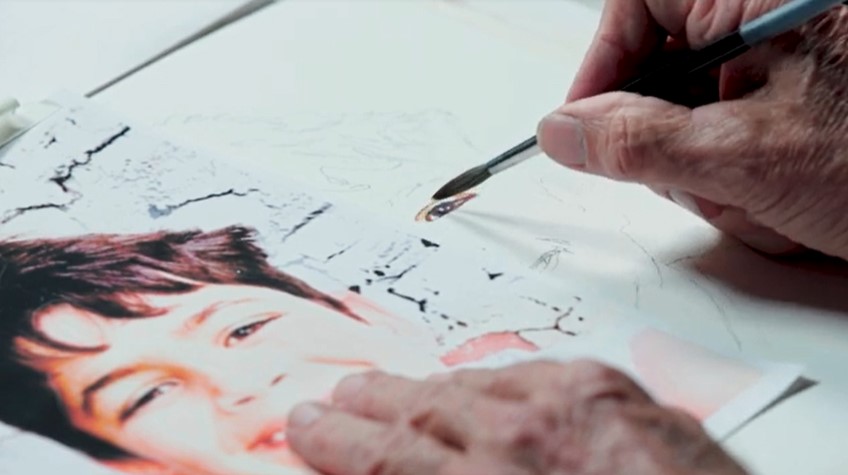
2. “Look and then paint,” Miller said as he began to create the portrait. “We just take our time. There’s no rush.”
***
3. Here we see how he is softening the edges as he continues the portrait painting.
***
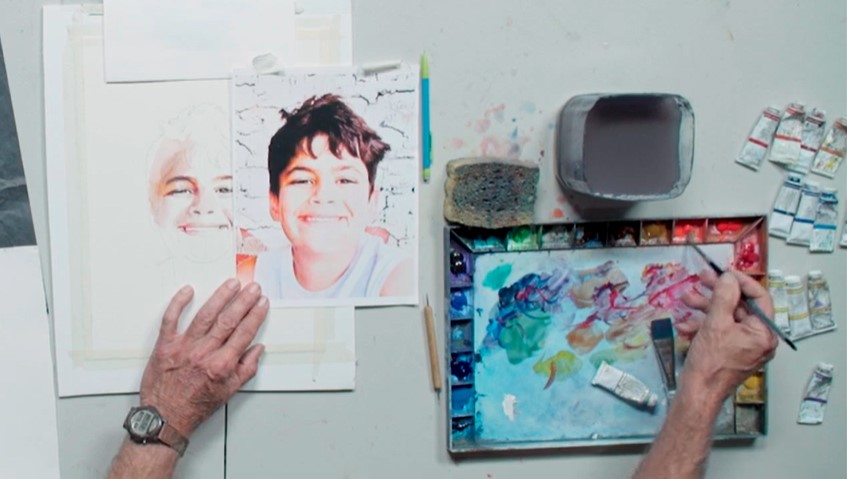
4. In this step, Miller applied reds and whites to create the illusion of the mouth. He noted to be careful when painting teeth, which appear darker when they’re further back in the mouth.
***
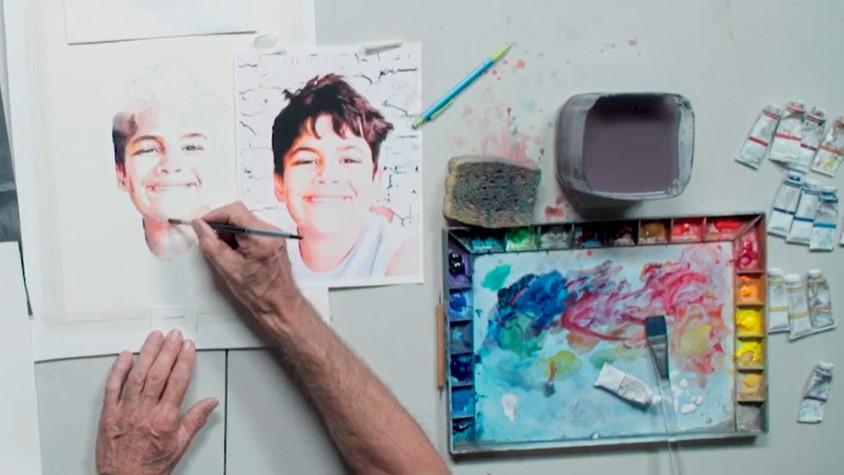
5. In this stage, he is softening the chin line and adding shadow to the chin itself.
***
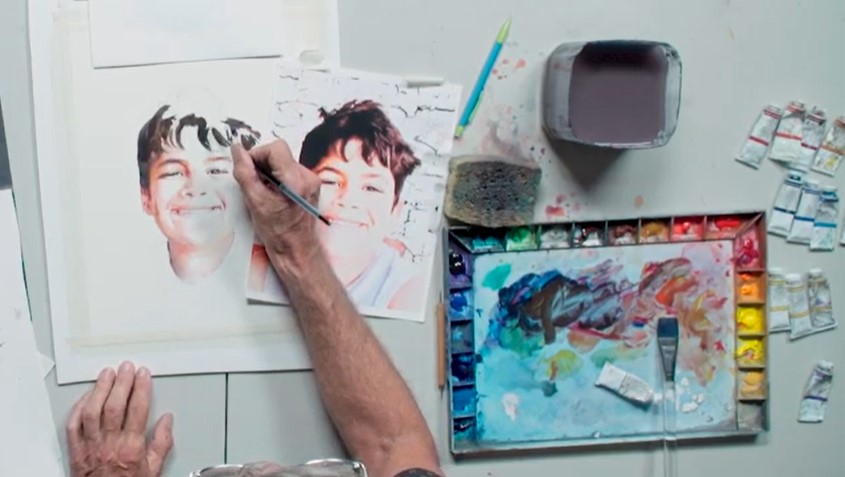
6. He explains that when it comes to painting hair, you don’t want your subject to look like they’re wearing a wig. He used a variety of color to add depth and detail in this stage.
***
7. When he could no longer “judge” the painting after working on it, he stood up and then flipped the reference photo and portrait painting upside down, then continued to refine it with a more objective approach.
***
8. In the final stages, Miller looked at different options for cropping the completed portrait painting, then added his final touches.
