


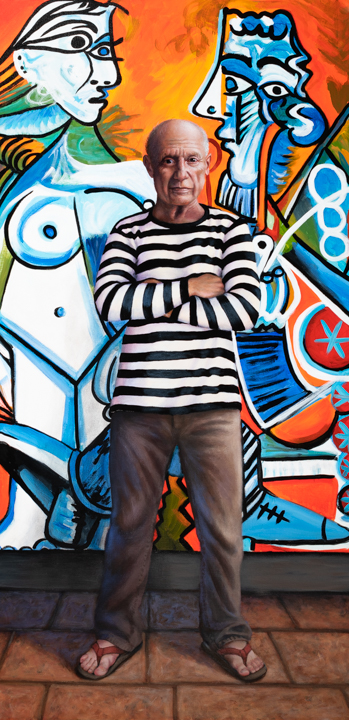
Acrylic Painting Demo > Acrylic paint is known for its quick drying time. Contemporary artist Christina Ramos explains in a step-by-step demo how she takes advantage of this quality.
Acrylic Painting Demo
BY CHRISTINA RAMOS
The advantages and also the disadvantages of acrylic paint can be its quick drying time. Over the years, I have learned to use it to my advantage. The thing you will lack with acrylic paint is the ability to blend colors while they are still wet. For that reason, my technique is what would be considered an “indirect” method of painting. For me that means using lots of thin layers of paint to give the illusion of blended colors without that necessarily being the reality.
I alternate between opaque and transparent layers of paint, utilizing the opaque layer to build bone structure and create form, while the transparent layers restore the desired color to the painting. With each pass, these layers become smaller and more concentrated.
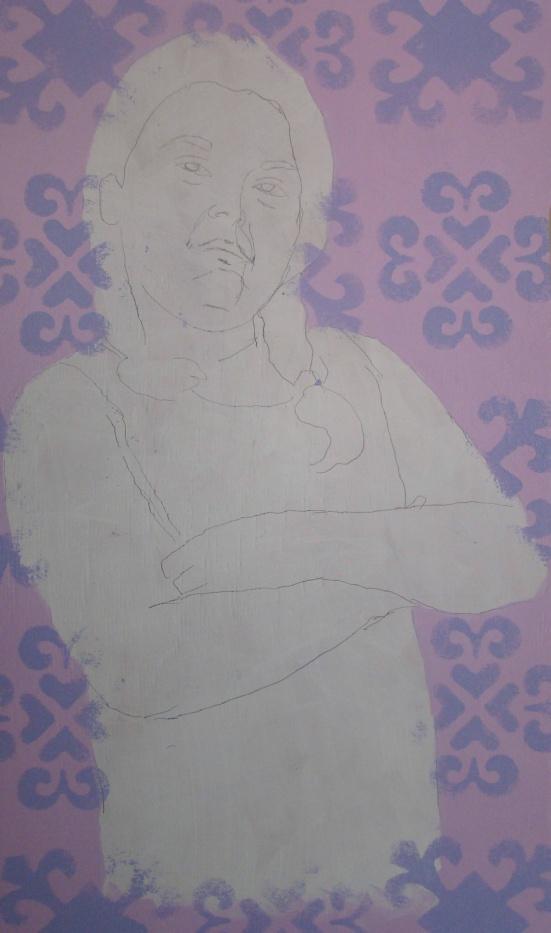
Step 1: Prepping the Substrate
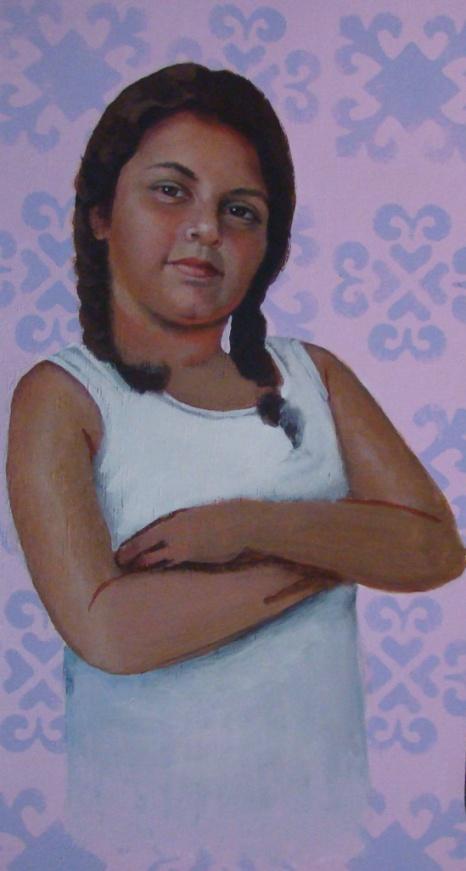
I began this work by applying two coats of Golden’s GAC 100 to seal the wood panel before applying two coats of gesso. GAC 100 is used to prevent substrate-induced discoloration, which is when the inherent natural oils of the substrate migrate through the microscopic capillaries of the paint and discolor the painting over time. I usually work on pre-primed canvas, so normally I only use gesso. I have the background already established for the sake of keeping the focus on this process on the figure. The background pattern was painted using Light Violet Pale, and Light Ultramarine Blue (all paints are by Golden Artist Colors, Inc.).
I then took my more detailed drawing and transferred it to my surface.
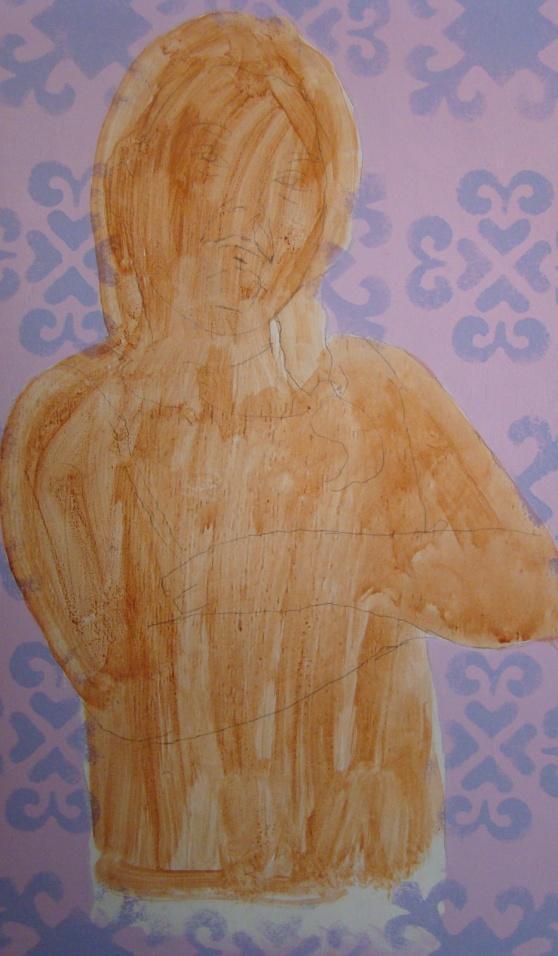
Step 2: Adding a Wash
I usually put a wash of Burnt Sienna over the area of my subject, just to get rid of the white. This is especially important when working with canvas, because the weave lends itself to having white pinholes later if there is no color to obscure it early in the process. I select Burnt Sienna because, as I said, I usually paint people, and it is a good base color for flesh.
A fluid paint instead of a heavy body is ideal for this process. To thin a heavy body down to this consistency can have a negative impact on its adhesion. Anytime you thin your paint with more than 30 to 40 percent water, you stand a chance of poor adhesion. It is always better to either thin with gloss medium, or select a more fluid paint (my recommendation).
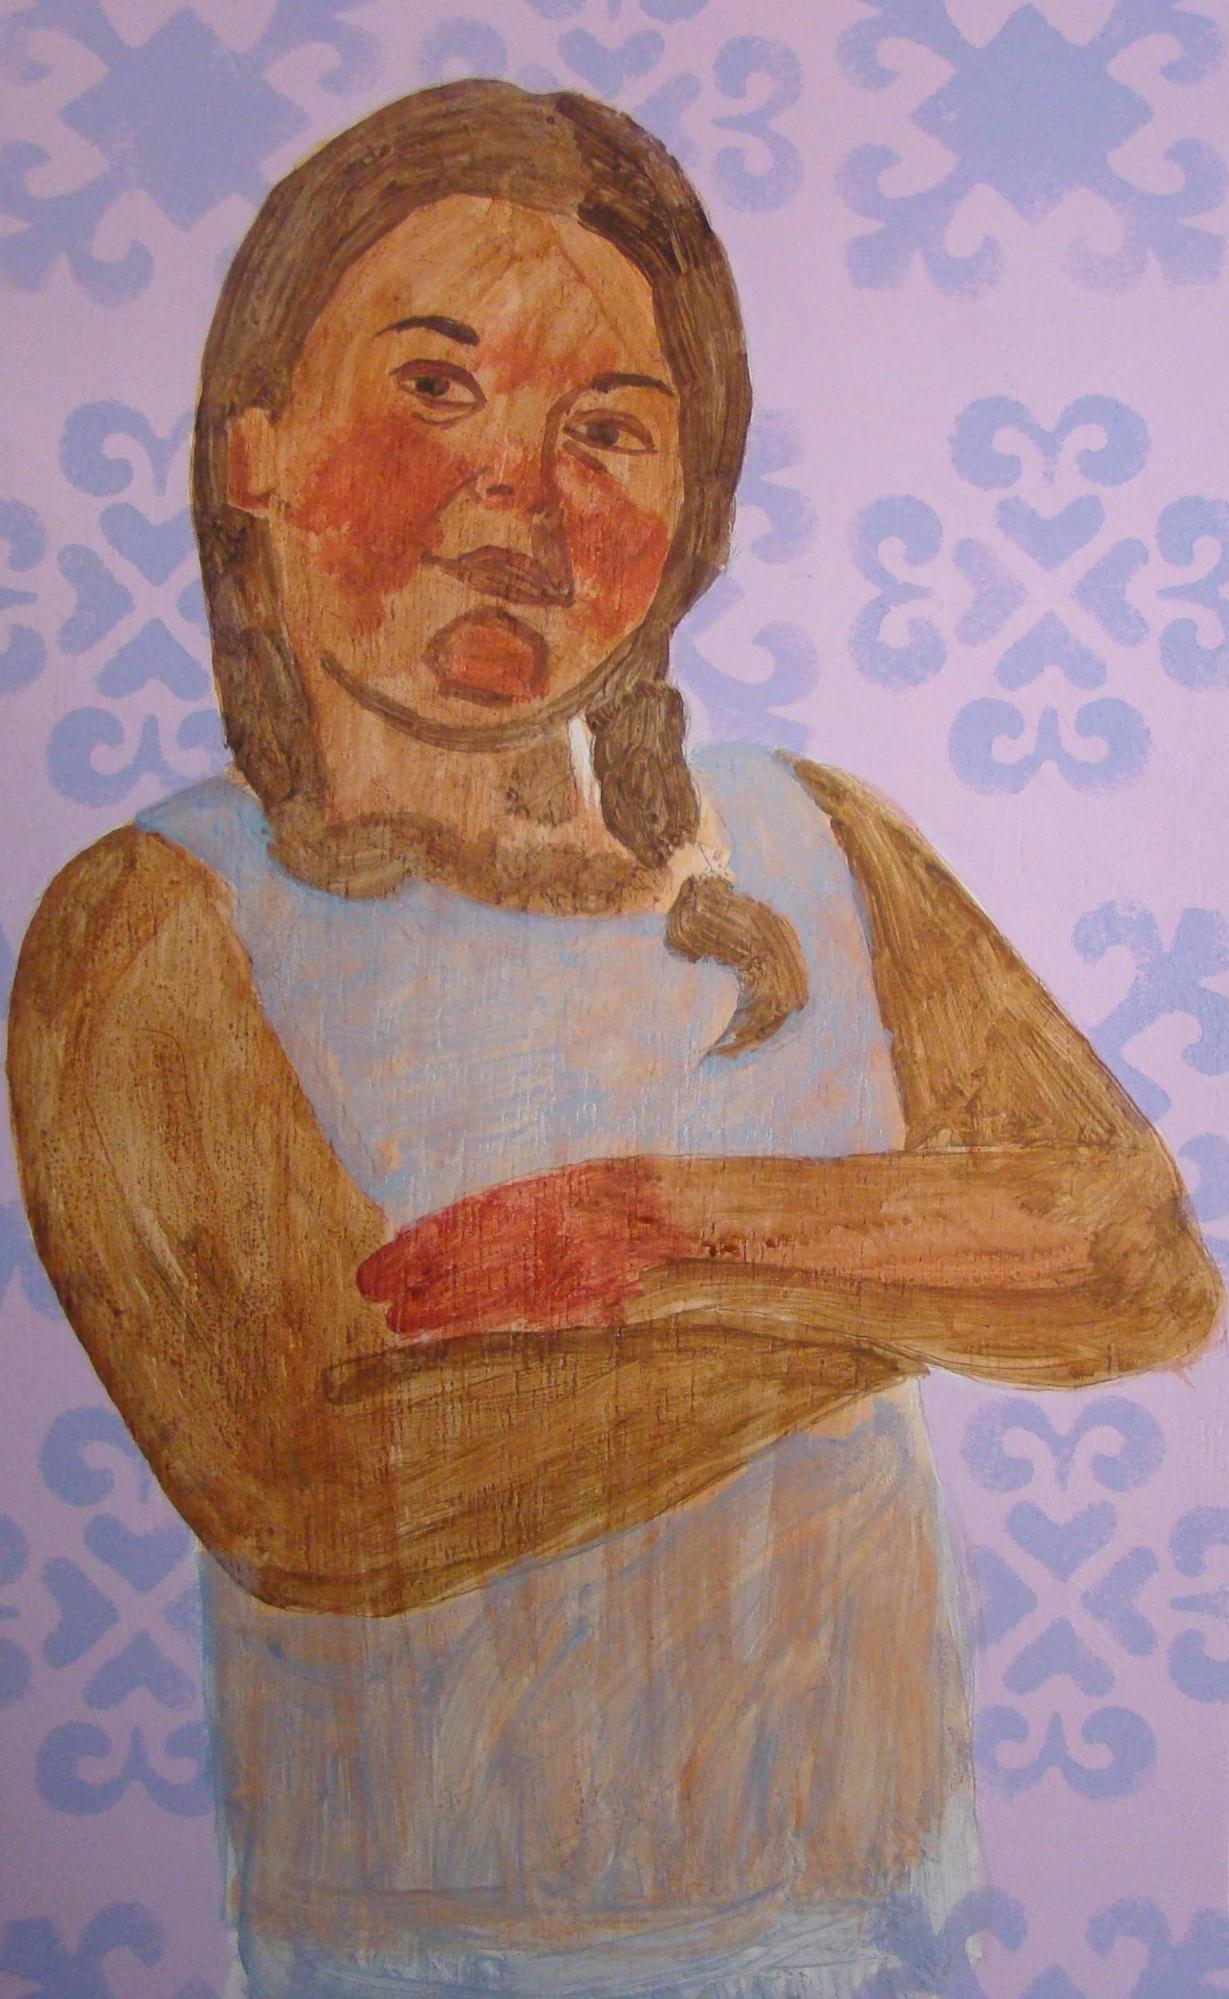
Step 3: The Drawing:
I now go back in and reinforce my drawing. I’m basically just making sure I can see my landmarks like irises in the eye, eyebrows, nostrils, and the seam of the mouth. To reinforce the drawing, color is not really important. I usually just use a color darker than the underpainting, which in this case is Burnt Umber for the irises and the eyebrows, and Quinacridone Burnt Orange for the lips, seam of mouth, the rim around the eyes, the cheeks, chin, and hands.
I love to use the Quin Burnt Orange in any areas where the flesh is redder. I always say it has the color of blood and that’s why it works so well in these areas. I also lay down a medium value of the entire skin tone, in this case using Cadmium Red Light mixed with Permanent Green Light. There is no white added to paint in this first stage of the painting.
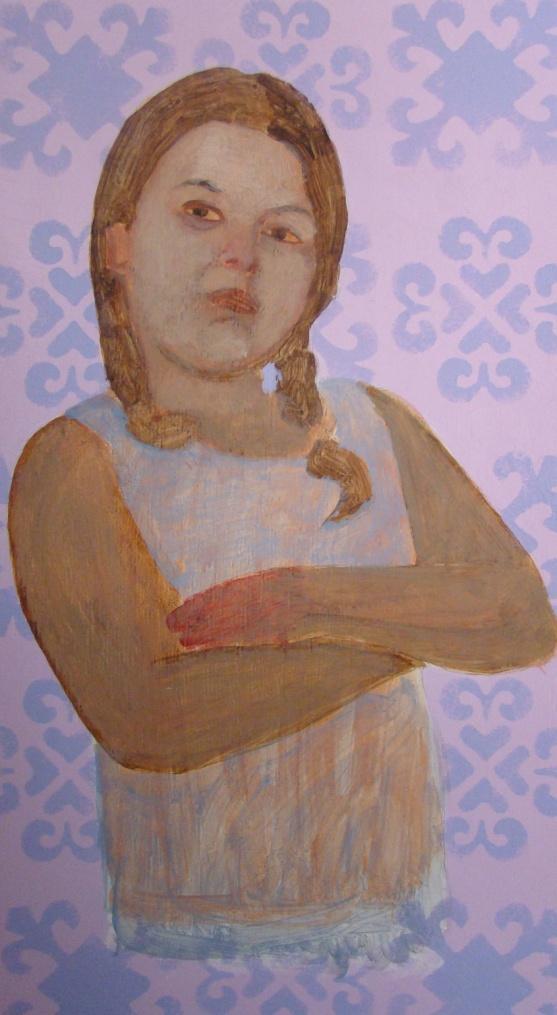
Step 4: Modified Grisaille
Now we begin the first opaque layer of the painting. I usually call it a modified grisaille. So instead of just using umber and white to create the form, I use a medium value of the flesh — in this case, Cadmium Red Light and Permanent Green Light mixed with Titanium White. I like to call this “putting skin” on the painting. I use more white where I want to create more volume.
At this point, all we want to do is have a foundation for our future transparent layer. When I am referring to transparent layers, I am not necessarily using a transparent pigment. I am simply using color without the addition of white, painted very thinly.
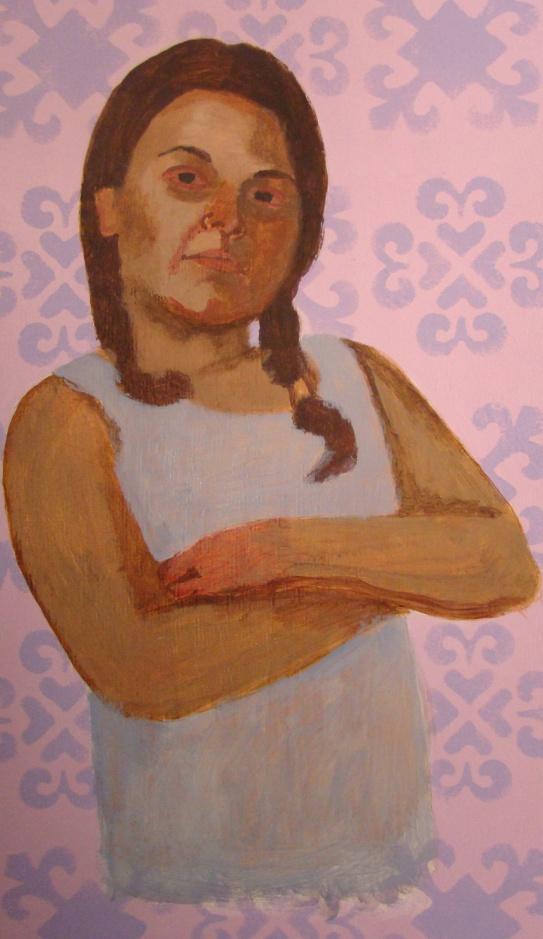
Step 5: Transparent Layer
We are now returning to our next transparent layer, paying more attention to the dark and the light side of the face. I like to determine my color choices by looking at the color temperature on each side of the face. If the light source is warm, the shadows will usually fall in the cool range, whereas if the light source is cool, the shadows will be warmer.
For the warm, light side, I use Cadmium Red Light mixed with Permanent Green Light. I rarely use any yellows in my skin tones. By using the green (which already has yellow in it) it will create a warm mixture, whereas if we used the blue it would create a cool mixture. For the cool side, I will use either Burnt Sienna, or Cadmium Red Light mixed with Ultramarine Blue. I also add another layer to the hair with a mixture of Dioxazine Purple and Burnt Umber.
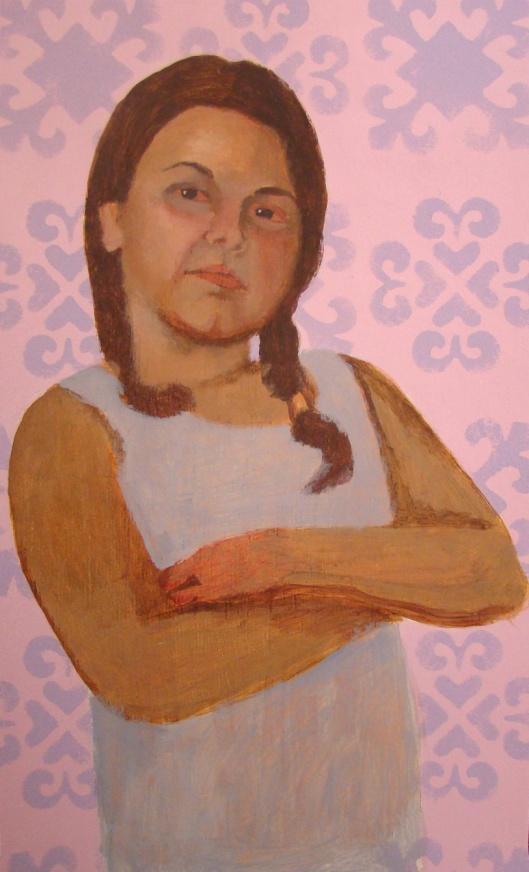
Step 6: Opaque Layer
We are now back to an opaque layer. I begin to work on a much smaller scale, adding Titanium White to the mixtures of my fleshtones. I add a highlight to the eyes just to make sure the gaze is in the right position. The whites of the eyes remain the Burnt Sienna of the underpainting.
I am not working out the arms at this point, and only continuing to refine the shape of the face and continuing to add more white in the areas where I want more volume. I pay close attention to changes in flesh tones as I move from the more blue transparent skin around the eyes and the redder parts of the cheeks, chin, and nose to the greener quality of the skin around the mouth and under the nose.
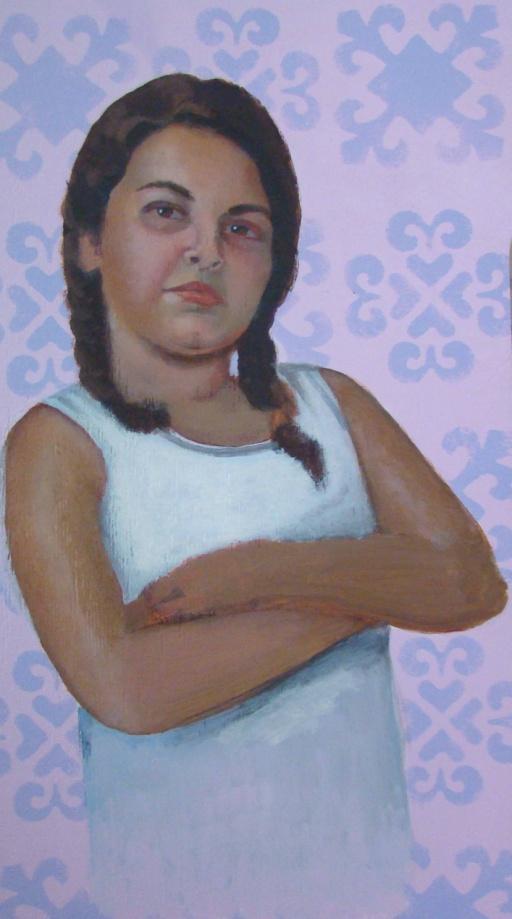
Step 7: Adding Dimension
At this stage, I begin to work on each feature separately. I exaggerate the darker values and delineate the eyelids, the flares of the nostrils, and the seam of the mouth. Once again, we are working with the more pure transparent colors, continuing to refine the face by pushing edges back into space with color. I add a mixture of Titanium White and Ultramarine Blue to begin to make the T-shirt more correct in value. I add a few lighter values to the hair to begin to give it more dimension.
Step 8: Making Overall Refinements
I continue to work on each element individually. Because the paint dries so fast, I scan the image when I have mixed a color and see if it needs to be used anywhere else in the painting. I continue to push my darks and add more accurate local colors in more specific areas. At this stage, I use a combination of transparent and opaque colors to get the desired effect in a specific area. I continue to refine the shape of the arms.
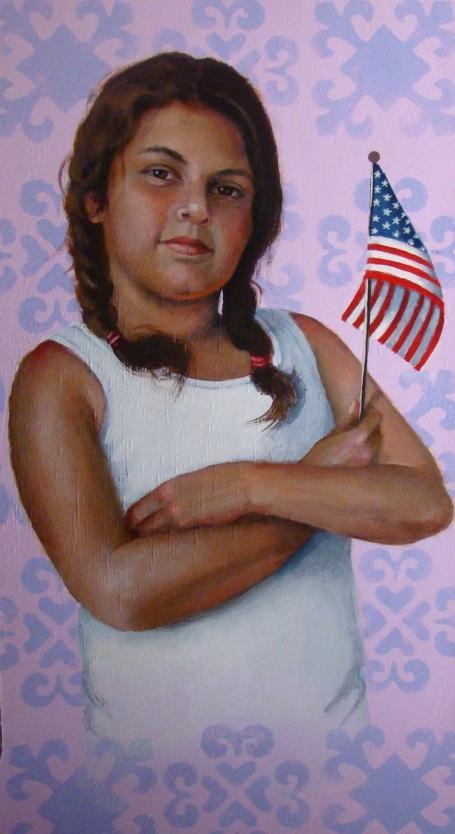
Step 9: Final Touches
My final passes just work on refining areas of the face. I worked a bit more on the hands and arms and added the flag. When the painting has dried for a day or two (depending on the thickness of the paint), I will add two coats of gloss medium. Gloss medium is basically paint with no pigment added. This will unify the painting, and restore the depth and luminosity of the colors. It is also considered an isolation coat. Acrylic paintings should always have an isolation coat before varnishing. This is to help protect the painting if the varnish ever needs to be removed with solvents for cleaning.
Note: If you are interested in learning more about all things acrylic, please look for a Golden Working Artist in your area. All lectures are free of charge to your group or class.
Related article by Christina Ramos> Portraits in Acrylic: An Unconventional Approach
ABOUT THE ARTIST
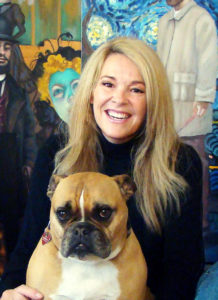
Christina Ramos is a nationally recognized artist from Southern California. Specializing in figurative realism, Christina was named as an “Artist to Watch in 2015” by Southwest Art magazine, and as one of America’s Great Painters by American Galleries. Her work has been shown throughout the United States and has been honored with awards from the Portrait Society of America, the Society of Acrylic and Casein Painters, the National Acrylic and Oil Painters Society, the International Society of Acrylic Painters, and many more.
Her innovative use of acrylic has made her a much sought after demonstrator and instructor. She is currently a Golden Working Artist representing the Golden Artist Colors, Williamsburg Handmade Oils, and QoR Watercolor companies.
Ramos’s work has been shown at the Santa Paula Museum of Art, San Diego Museum of the Living Artist, International Museum of Contemporary Masters of Fine Art, Pacific Asian Museum, and many galleries throughout the United States. She is an active member of the Portrait Society of America, National Oil and Acrylic Painters Society, International Society of Acrylic Painters, and the California Art Club. Ramos’s work is held in many private collections in the United States and Europe.
Visit EricRhoads.com (Publisher of Realism Today) to learn about opportunities for artists and art collectors, including: Art Retreats – International Art Trips – Art Conventions – Art Workshops (in person and online) – And More!


”")
