


BY ELIZABETH ZANZINGER
I have never been particularly drawn to gilding as part of my painting practice, but something switched on in my brain and I wanted to try it. I had a small painting to complete for the Quintessence show at Raison D’être Gallery in New York, and it felt like a great opportunity to experiment a little. The painting marks a slight pivot in my work.
The painting imagery (shown at top) is my representation of the goddess Flora, who symbolizes earthly flowers and plant life. Historically, most depictions of Flora have a human manifestation; I wanted to go beyond the typical image of Flora and imply a different relationship between her and humanity. The small painting needed to feel lush, and as I was thinking over a warm and light composition, the background was screaming for literal gold. So I took the plunge.
Gilding for Oil Painters
There is so much information out there about different approaches to gilding that it can seem overwhelmingly mysterious. I watched quite a few YouTube videos and sought the advice of my friends who have more experience with gold leaf than I did. I wanted a technique that would be compatible with oil painting. My friends at Natural Pigments advised me to gild the surface before I paint, rather than gilding on top of the oil paint. This would mean that I would sacrifice portions of the gold leaf to the painting above, but the end result would be more brilliant and easier to work with. As I finished burnishing my first gilded surface, I was surprised at how incredibly beautiful it was. For any other painter out there who wants to try gilding, but is as confused as I was, I hope you’ll find my notes about the process helpful.
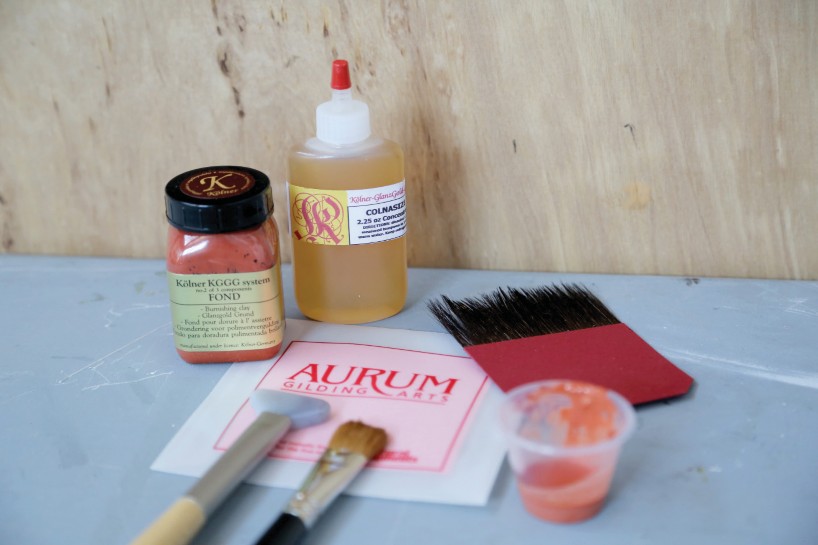
Materials for Gilding:
• Rigid panel surface
• Quality sandpaper 200 – 800+ grit
• Golden Sandable Gesso
• Kölner Burnishing Clay
• Kölner Colnasize
• Mixing cups and clean palette knife
• Gilder’s tip
• Soft natural hair brush (I used a ¾” filbert sable)
• Flat agate burnisher (I used Aurum Agate Flat #30)
• Metal leaf (the real stuff is highly recommended)
Preparing the Surface
First, you need to sand the surface to a very smooth finish. I started with acrylic-primed ACM panels from Trekell Art Supplies. Because the panels are so small, I didn’t need to worry about cradling them. Then apply several coats of the Golden Sandable Hard Gesso, which can be thinned slightly and sanded in between layers. When sanding, use between 320-400 to knock down any edges. When you have some good layers of the gesso, gradually increase the sanding grit from 400, 600 to 800. You can keep sanding to get an even finer finish, but I got lazy. Any inconsistencies in the surface will come through in the gilding, and they worked really well with my painting.
Applying the Clay
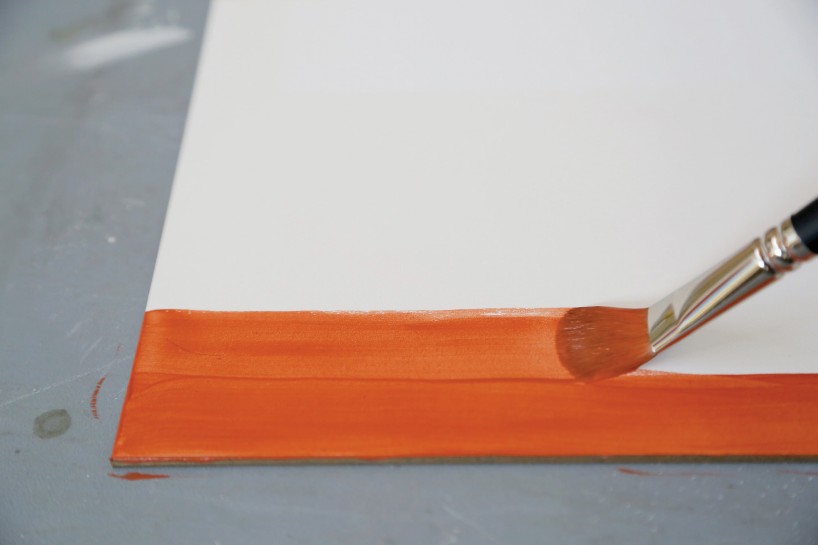
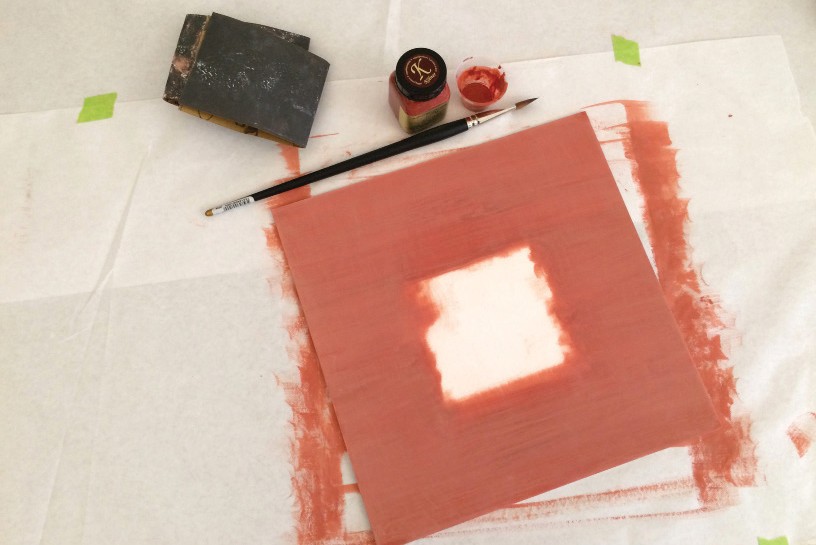
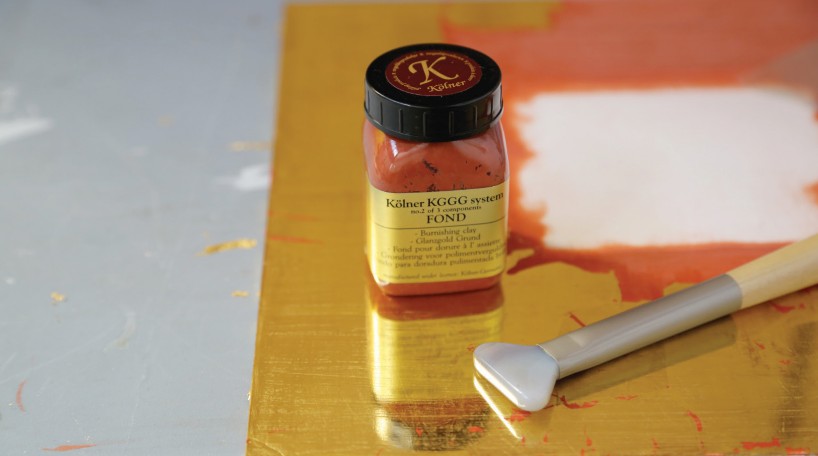
My friends at Natural Pigments recommended the Kölner system for my painting, and it is compatible with an acrylic primed surface. The Kölner system consists of two parts—the burnishing clay and the Colnasize. I found that it is completely easy to use if you follow directions.
First, thin the clay slightly and decant the amount you plan to use for the day. It should be mixed well but slowly to avoid air bubbles. Then, take a soft brush and begin laying down the liquid clay in long strokes in a single direction. Once you have the area covered, allow it to dry before applying two or three more coats. It dries fairly quickly in warm and dry conditions, and the clay will appear lighter when dry. You can briefly sand between coats, and then sand to a fine finish when the last layer is dry. The finer you sand the panel, the smoother the burnished gilding will appear.
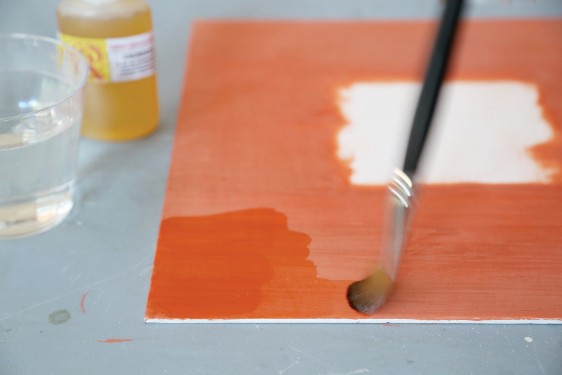
Applying the Size
The Colnasize is similar to applying a glue size for canvas or traditional chalk gesso. Add one-half measured teaspoon to one cup of warm water and stir to combine. Be sure to wet your brush first in clean water (wipe off the excess water), so the bristles do not soak the Colnasize up into the ferrule. Then, generously brush onto the dried clay surface where you plan to gild. You want to be sure there are no gaps or beading in the water or the leaf will not stick. Now that the surface is fully wet you need to move quickly with the leaf or reapply the size.
Applying the Leaf
This part is tricky and I recommend watching a few YouTube videos of master framers doing water gilding to help you with the technique. You want to be sure you are working in a room without a draft, because even a cough is enough to send the leaf flying. While the surface is wet, have the gold leaf book open to a fresh square of the super-thin gold. Use the gilder’s tip to gently lift the gold from the page, by way of a slight static charge on the bristles. I leave about a quarter inch of the leaf extending beyond the tip so I can be sure it’s lined up with the edge of my surface. In a gentle but decisive movement, float the leaf over the intended target and allow the surface tension of the water to grab the leaf. This happens in a split second with very little effort.
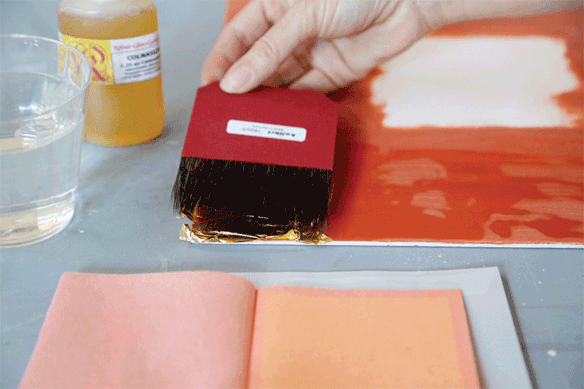
Sometimes the leaf goes down perfectly, other times the leaf will leave unintended gaps. With a little practice, is it easy to resolve “less-than-perfect” areas by reapplying a little size and leaf in the broken areas. I like the lack of perfection in the surface, and a little red clay showing through is quite nice and does not interfere with oil painting.
Then proceed to go leaf by leaf around the surface to be gilded. Keep in mind that you never want to gild more than you can burnish in a day. My small 12 x 12 inch panels are easily accomplished in two to three hours, just for reference.
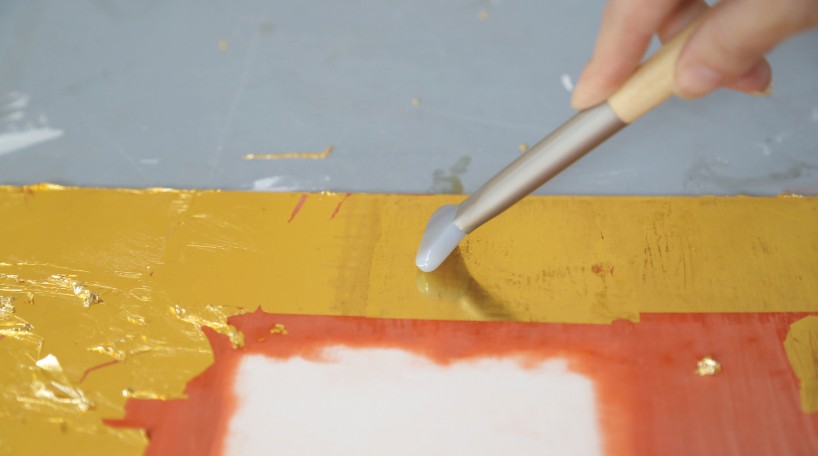
Burnishing
This last step MUST be accomplished in the hours immediately following your application of the gold. I am able to begin burnishing my gold leaf about an hour after applying it to the Colnasize. The window of time for burnishing generally relates to the ambient temperature and humidity of your studio.
This step has definitely become my favorite part of the process and is often overlooked by painters working with metal leaf. Some other gilding methods will not allow you to burnish, so I recommend trying this one out if you are looking for a glittery sparkle. After your gold leaf has set up on the clay for about an hour, you can try burnishing it. You need a special tool made of agate stone for the burnishing to work properly, and I definitely recommend the flat burnishers that you can find through the Natural Pigments website. Burnishing does not require any special skill, just a little patience, sensitivity to pressure, and a watchful eye. I’d recommend starting out with gentle pressure and slowly increase it till you can start to see the surface gleam.
I work the tool back and forth in perpendicular directions till I begin to see reflections in the gold leaf. As I mentioned earlier, any inconsistencies in the clay and gesso surface will be revealed in the burnishing. Since I applied my gesso in perpendicular directions, burnishing reveals a subtle weave pattern that reminds me of fine linen. The flawed surface works with my brushwork and creates a more interesting surface for painting.
Painting on the Gilded Surface
The painting part can be a bit tricky. You can’t work in a normal painterly fashion and need a clear plan before you start. I sketched out a preliminary drawing and then began painting in the shapes monochromatically. Gold leaf does not like solvents, so take care not to use too much or wipe too vigorously. For mistakes, I would use a dry Q-tip and make drawing corrections while the paint was wet.
Making “Flora”
When my underpainting was dry, I had a surface with some tooth that made it much easier to paint at full strength. If you try to paint directly on the gold leaf, your brush will slip around like painting on glass.
Once I have a toothy underpainting, I enjoy painting directly and finishing areas to the best of my ability. This approach works well for flowers, since they are on the move as you paint. I worked section by section, while I tried to keep a vision of the whole painting in my head. Once I had all the flowers in, I was free to go back and fine-tune areas to bring the painting together.
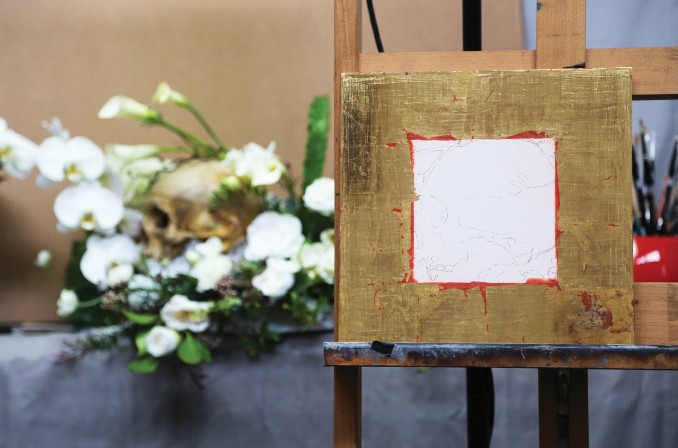
Since my painting contained so many flowers, I worked with a florist to create a formal arrangement that lasted for about a week and a half. Some flowers bloomed and others died early, so I had extras on hand to reference as I worked. I left the skull unpainted until the end and put it in after the bouquet had expired.
My last step is to varnish the painting with the Rublev Conservar Finishing varnish; this will protect the oil painting and the gilding from environmental stress.
ABOUT ELIZABETH ZANZINGER 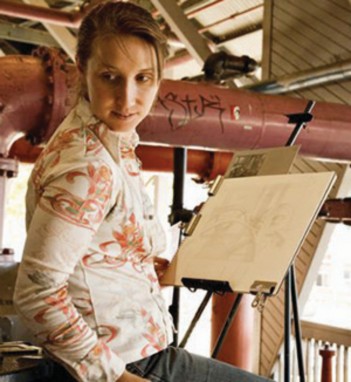
Elizabeth Zanzinger is an award-winning painter with an enthusiastic international following. She developed her artistic voice through her studies at the Aristides Atelier and Gage Academy of Fine Art in Seattle. Elizabeth finished her education with a fellowship award (Grand Prize, 2nd Annual Utrecht Art Competition) at the Grand Central Academy, New York City, in 2012.
Since then she has completed a number of commissioned portraits of accomplished individuals, including former Chief Justice Ronald M. George of the California Supreme Court. She has also served as an honored faculty member for the Portrait Society of America Conference in Washington DC.
Elizabeth’s paintings echo the traditional skills gained from a disciplined classical training, although the work often celebrates non-traditional subjects. Through expert painting from life and rhythmic compositions she imbues mundane subjects with a sense of beauty and wonder. Using strong drawing abilities, skilled brushwork, and luminous color she has combined approaches from multiple influences to create her own unique approach to painting. Her work is often loaded with detail, and yet her brushwork can be loose to give breath and movement to the images. (via John Pence Gallery, San Francisco)
Website: http://www.ezanzinger.com/


”")