

Watercolor painting advice from Michael Holter
(A preview of the video workshop “7 Steps to Watercolor Portraits”)
Q: What are the steps that a student should go through each time they create a watercolor painting? Why is having a repeatable approach important? How does that free you up to create better more interesting paintings?
A: When I talk about steps I refer to everything from the first impression of a subject through to the finished piece. Whether one is sketching from nature or taking photos to bring back to the studio, what catches the artist’s eye is just the beginning of the process, but a very important one.
As an example: For my portrait workshops I talk about the following steps:
Step One: Shoot Straight
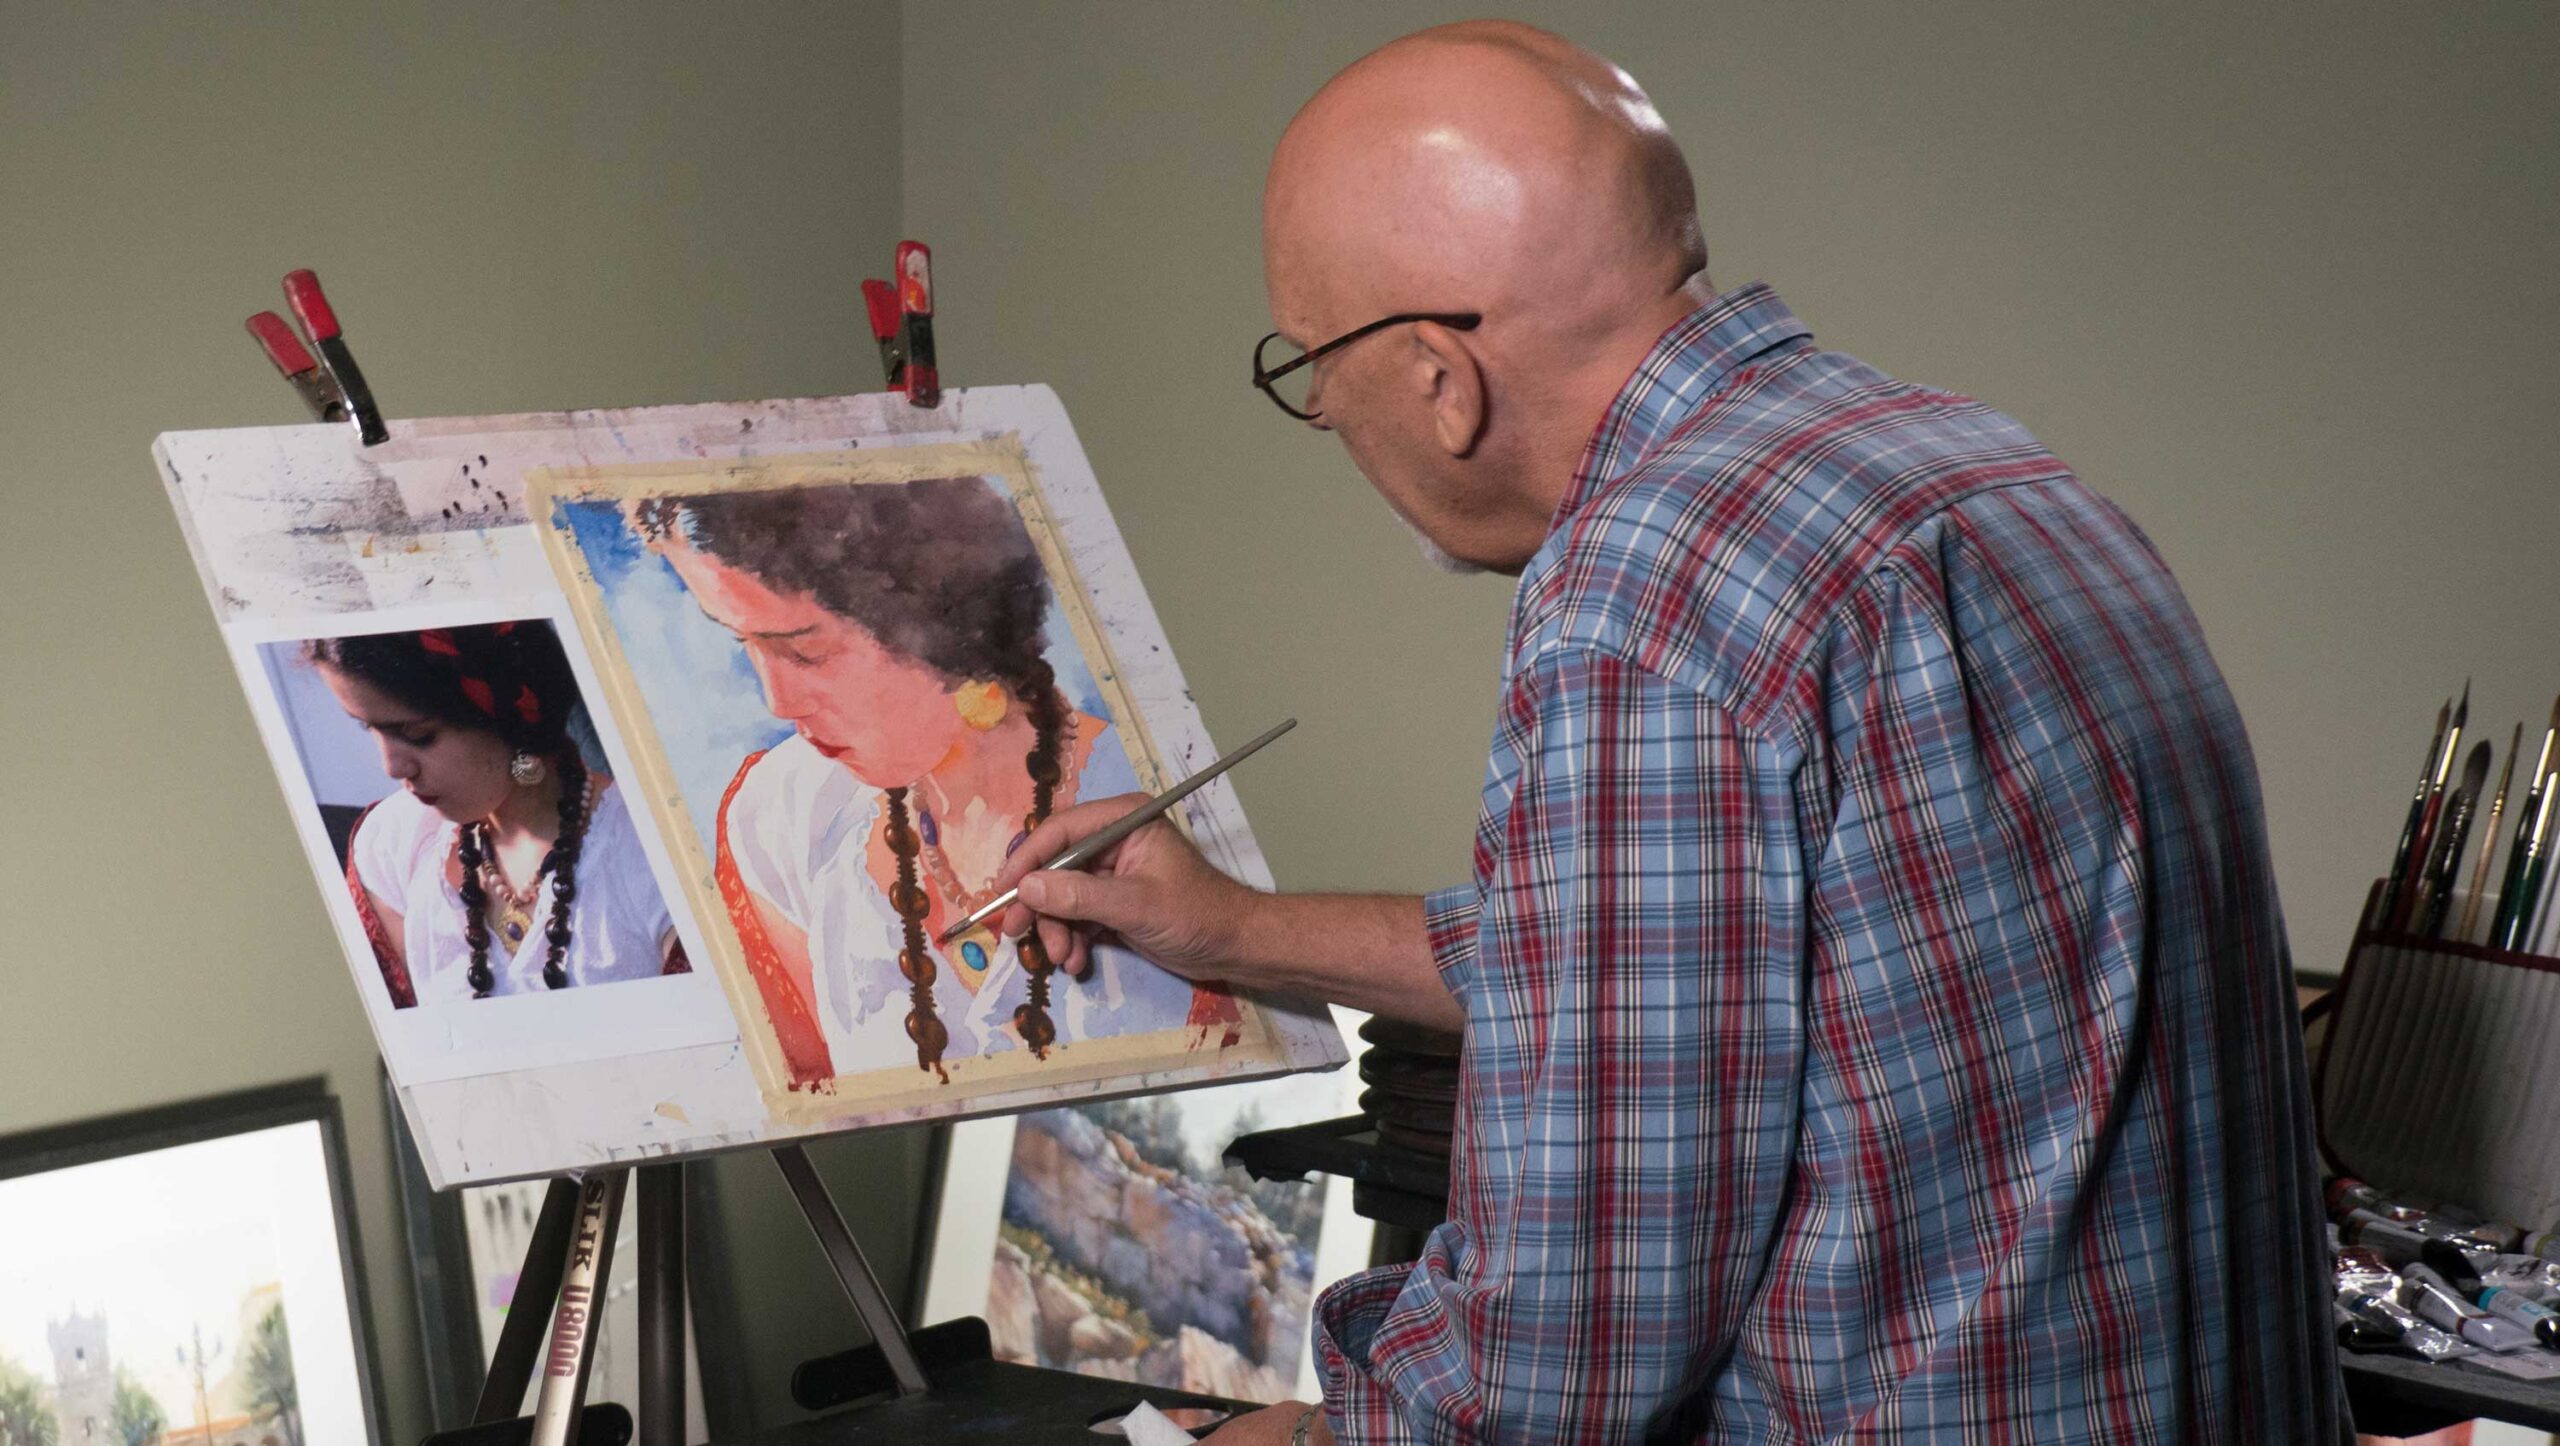
For most of my portraits, I work from photographs. Either controlled setting from a model, or candid images shot when the subject perhaps is not aware of my camera. I like the images when the person is engaged in their own world and not conscious of me. I may take hundreds of photos in some settings to find one or two that give me what I want.
I am looking for light and shadow. I usually shoot in direct sun to get the most from the way light plays on the figure. (unlike portrait photographers who like soft diffused lighting, I like to see the lines and wrinkles, the effect of reflected light and the way a shadow can enhance the shape of the face).
Step Two: Plan Stan
Once I have the photos on my computer I go through them looking for the right combination of light and shadow on the face, and a composition that will work aesthetically. I crop my figures to make the greatest impact. In many cases, I like to get in close and intimate with the face and form of the person. I work hard to make sure that the whole composition is aesthetically interesting.
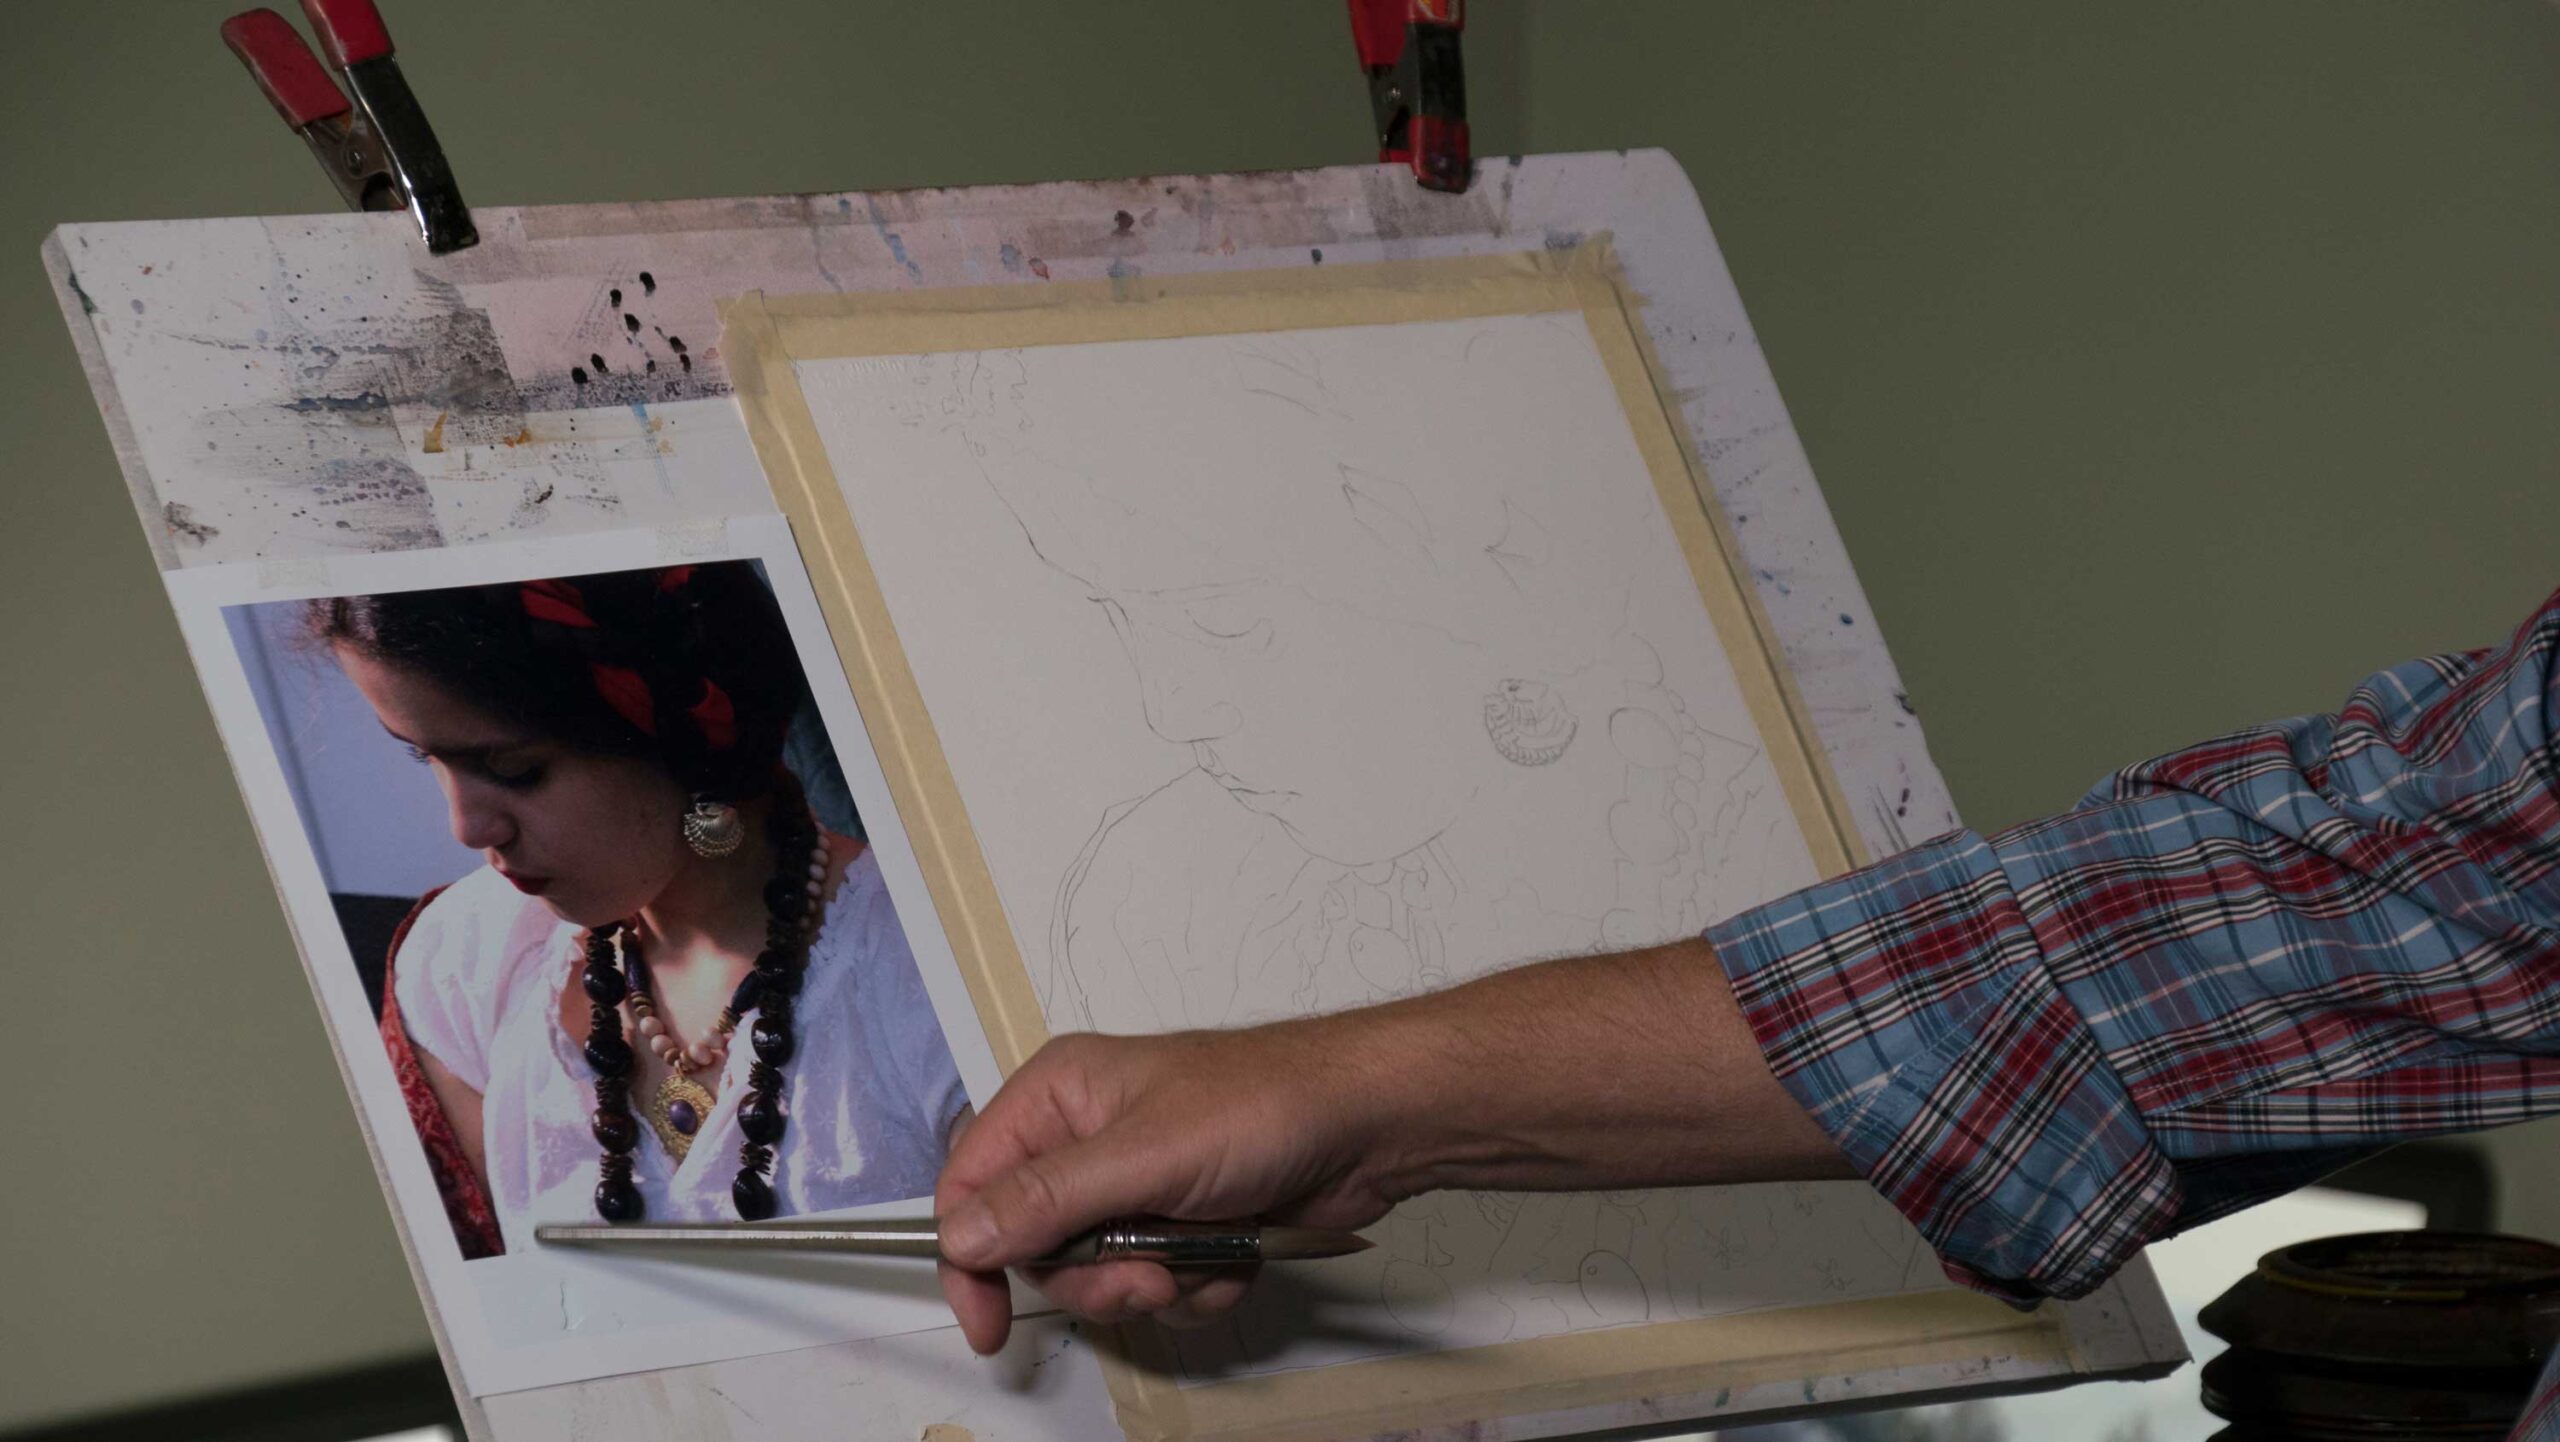
Step Three: Draw Pardner
I then transfer the image to my paper. At this stage, I am not trying to prove my drawing skills. I recommend that my students use whatever means at their disposal to get the drawing accurately onto the paper. I am looking for a simple line drawing that captures all of the facial features, cast shadows, clothing detail, and/or anything that attracted me to the image in the first place.
Step Four: Glaze Phase
Let the painting begin. I start with my first value and place local color on the entire sheet of paper. As the painting progresses, having eliminated the pure white helps the eye see the correct values. The second value is then added which includes all of the shadow areas. More glazes will probably be added as the process continues.
Step Five: Detail Detail
Starting with the eyes, nose, and mouth I carefully indicate the details. The detailing continues with additional values placed within the shadow area and within the lighted area. The face is sculpted by observing the slight changes in the contour of the face. This process may continue for quite some time depending on the complexity of the clothing and any background. It is the most intuitive part of the process and is the most difficult to communicate to students.
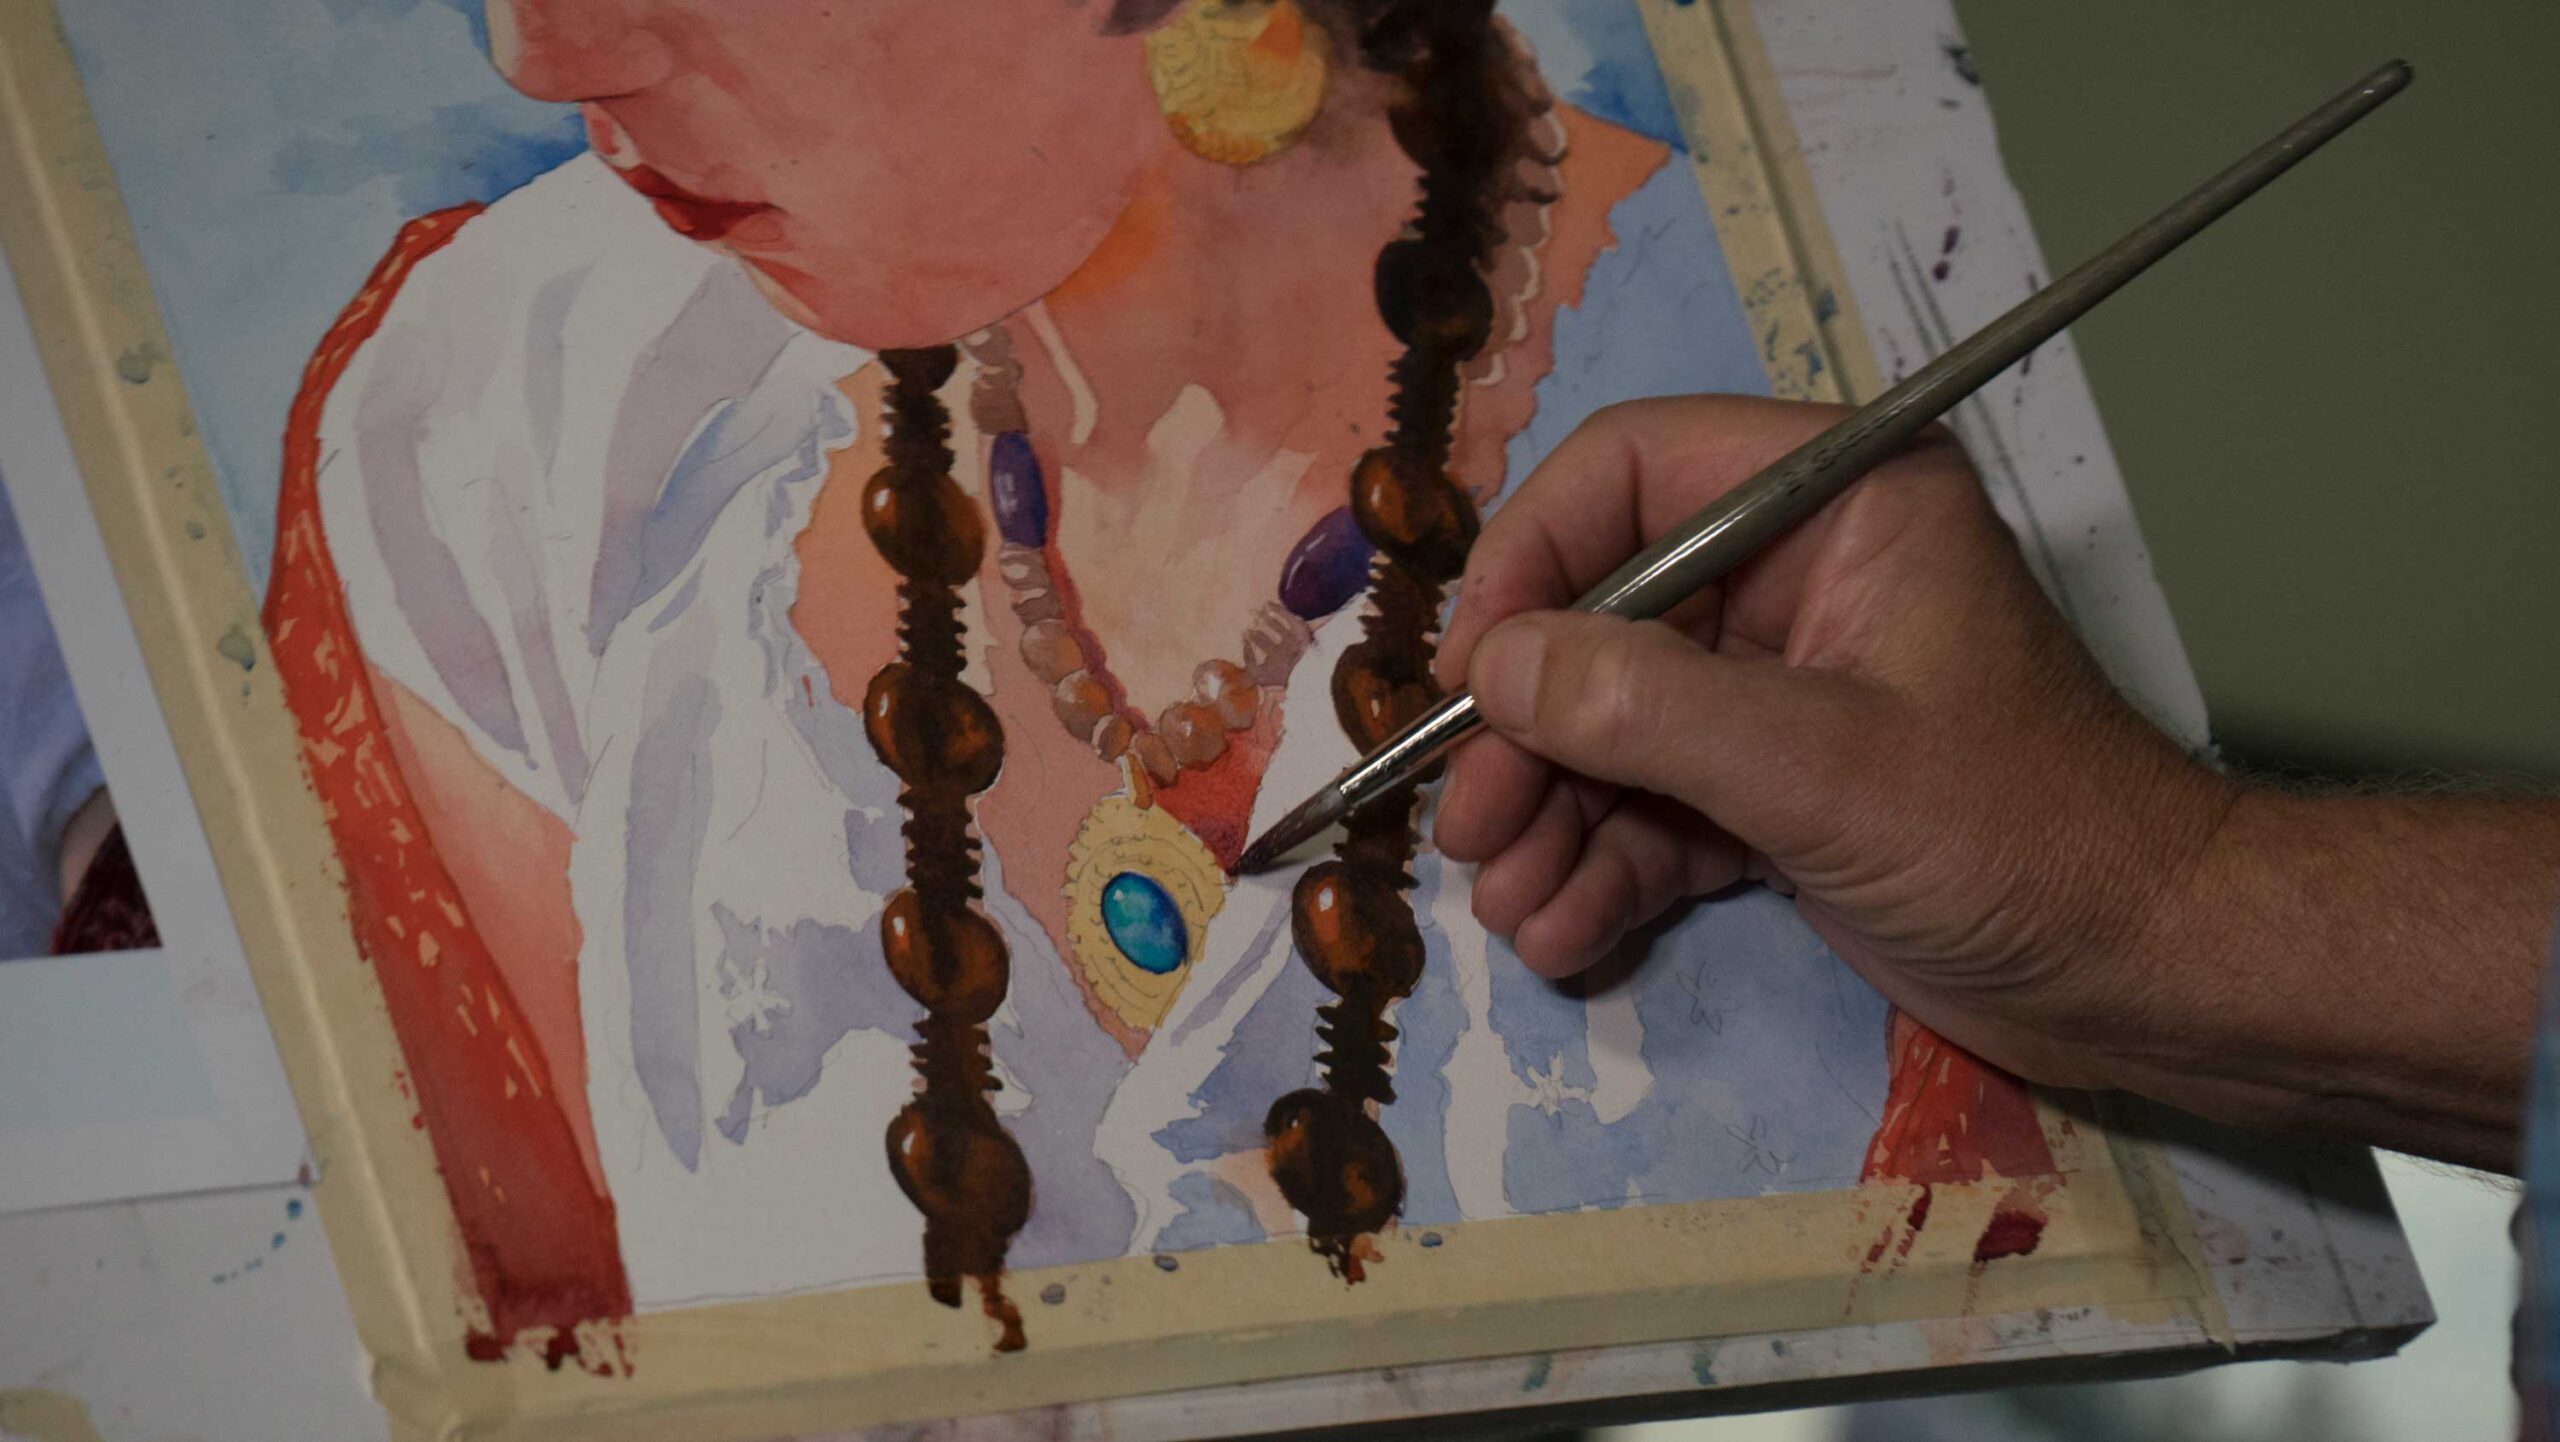
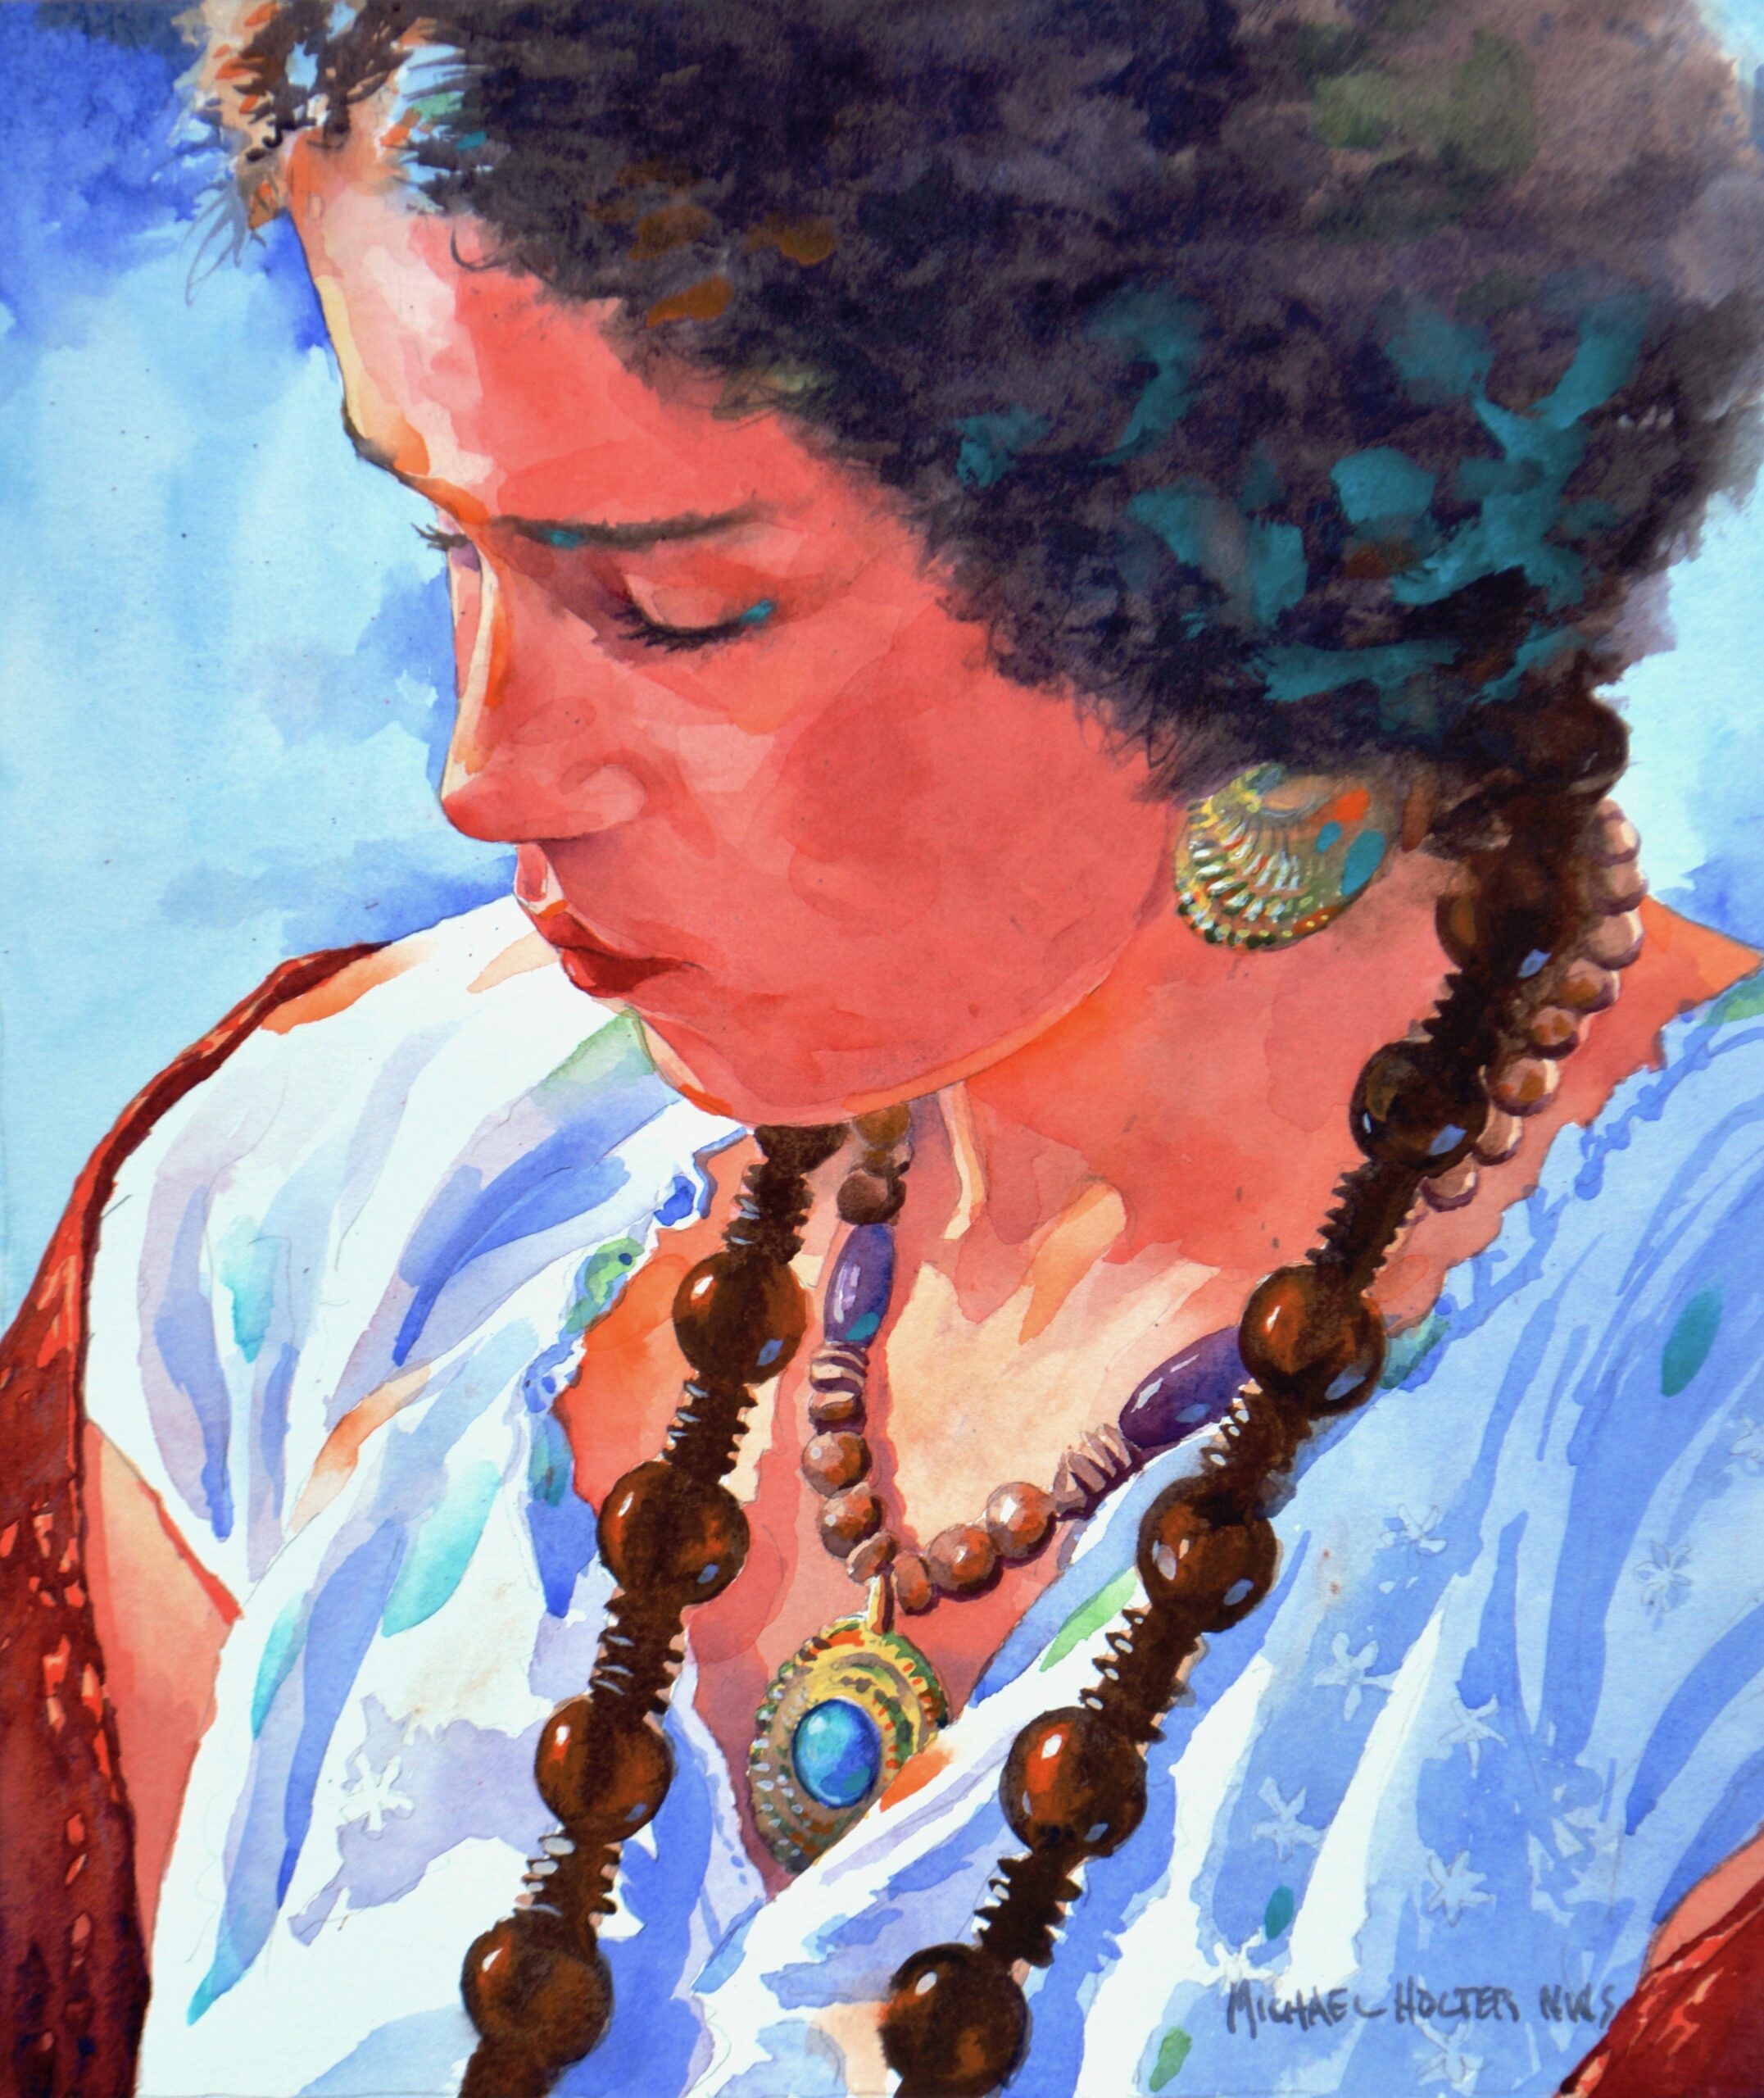
Step Six: Jewel Setting
I reserve some of the sparkle for the end of the painting when I add small facets of light and shadow to the appropriate part of the painting.
Step Seven: Sign It
Take your realism art to the next level when you attend Realism Live ~ a multi-day virtual art conference led by 20+ world class artists. (No tech skills? No problem! If you can click a link, you can join our event!) Learn more at RealismLive.com!
Edited and prepared for the web by Cherie Dawn Haas, Editor of Realism Today


”")
)