


From the beginning drawing to the final figure painting, see how one artist creates a realistic work of art in eight steps.
by Bryce Cameron Liston
listonart.com
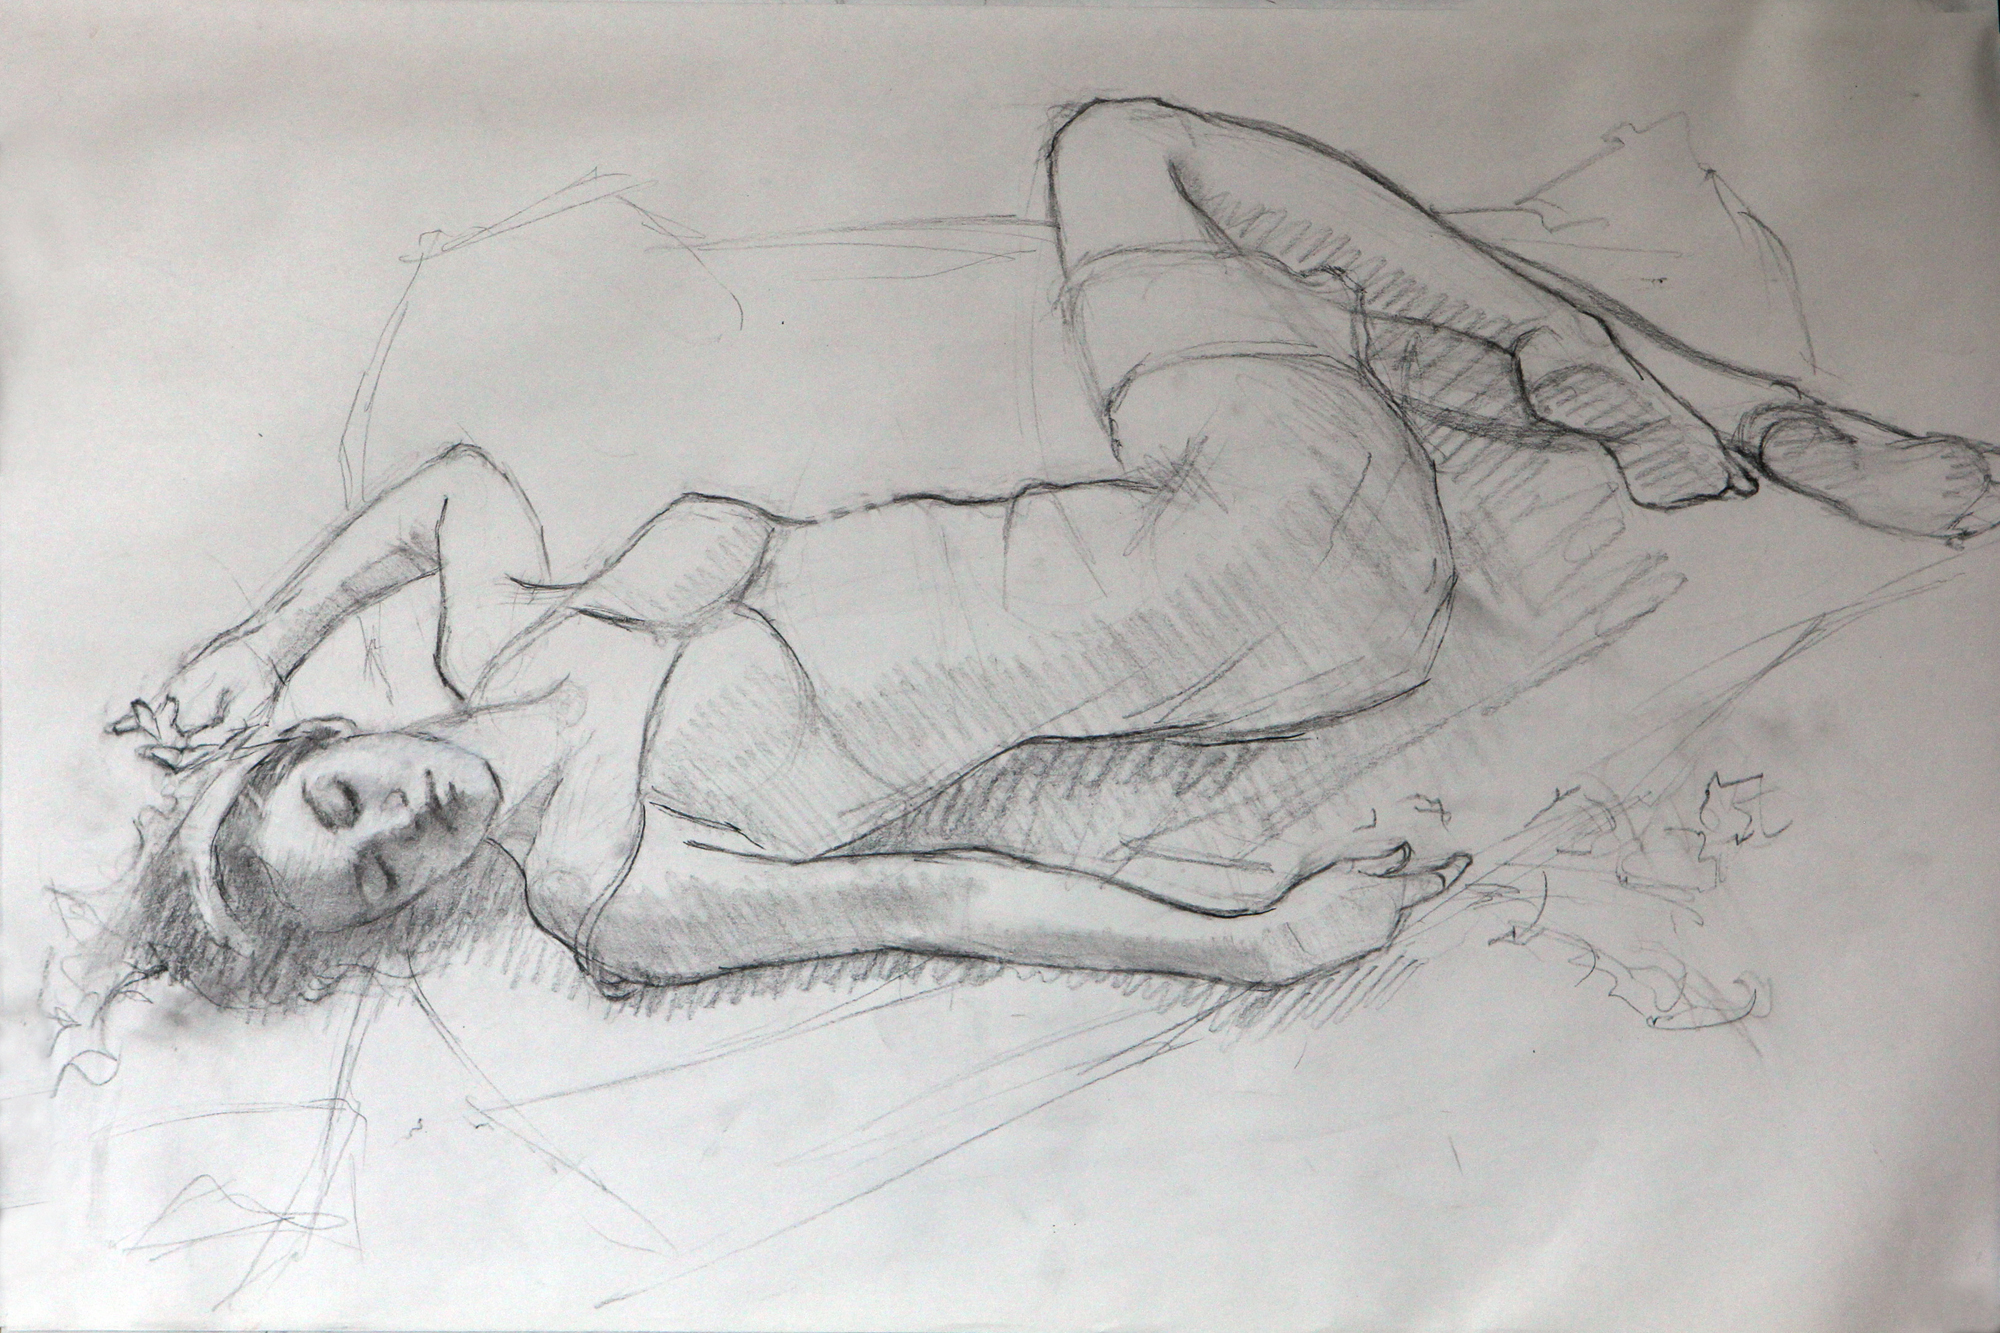
Step 1 of the Figure Painting Demo
I often start off with a drawing of the figure. To have a separate drawing is a little like having a safety net. I can refer back to it when I’m working on the figure painting. The drawing is not very fancy as I really only do it as a reference. It’s just done on a white type of newsprint so it doesn’t take the dark very well, which is okay because I was only after a linear drawing.
***
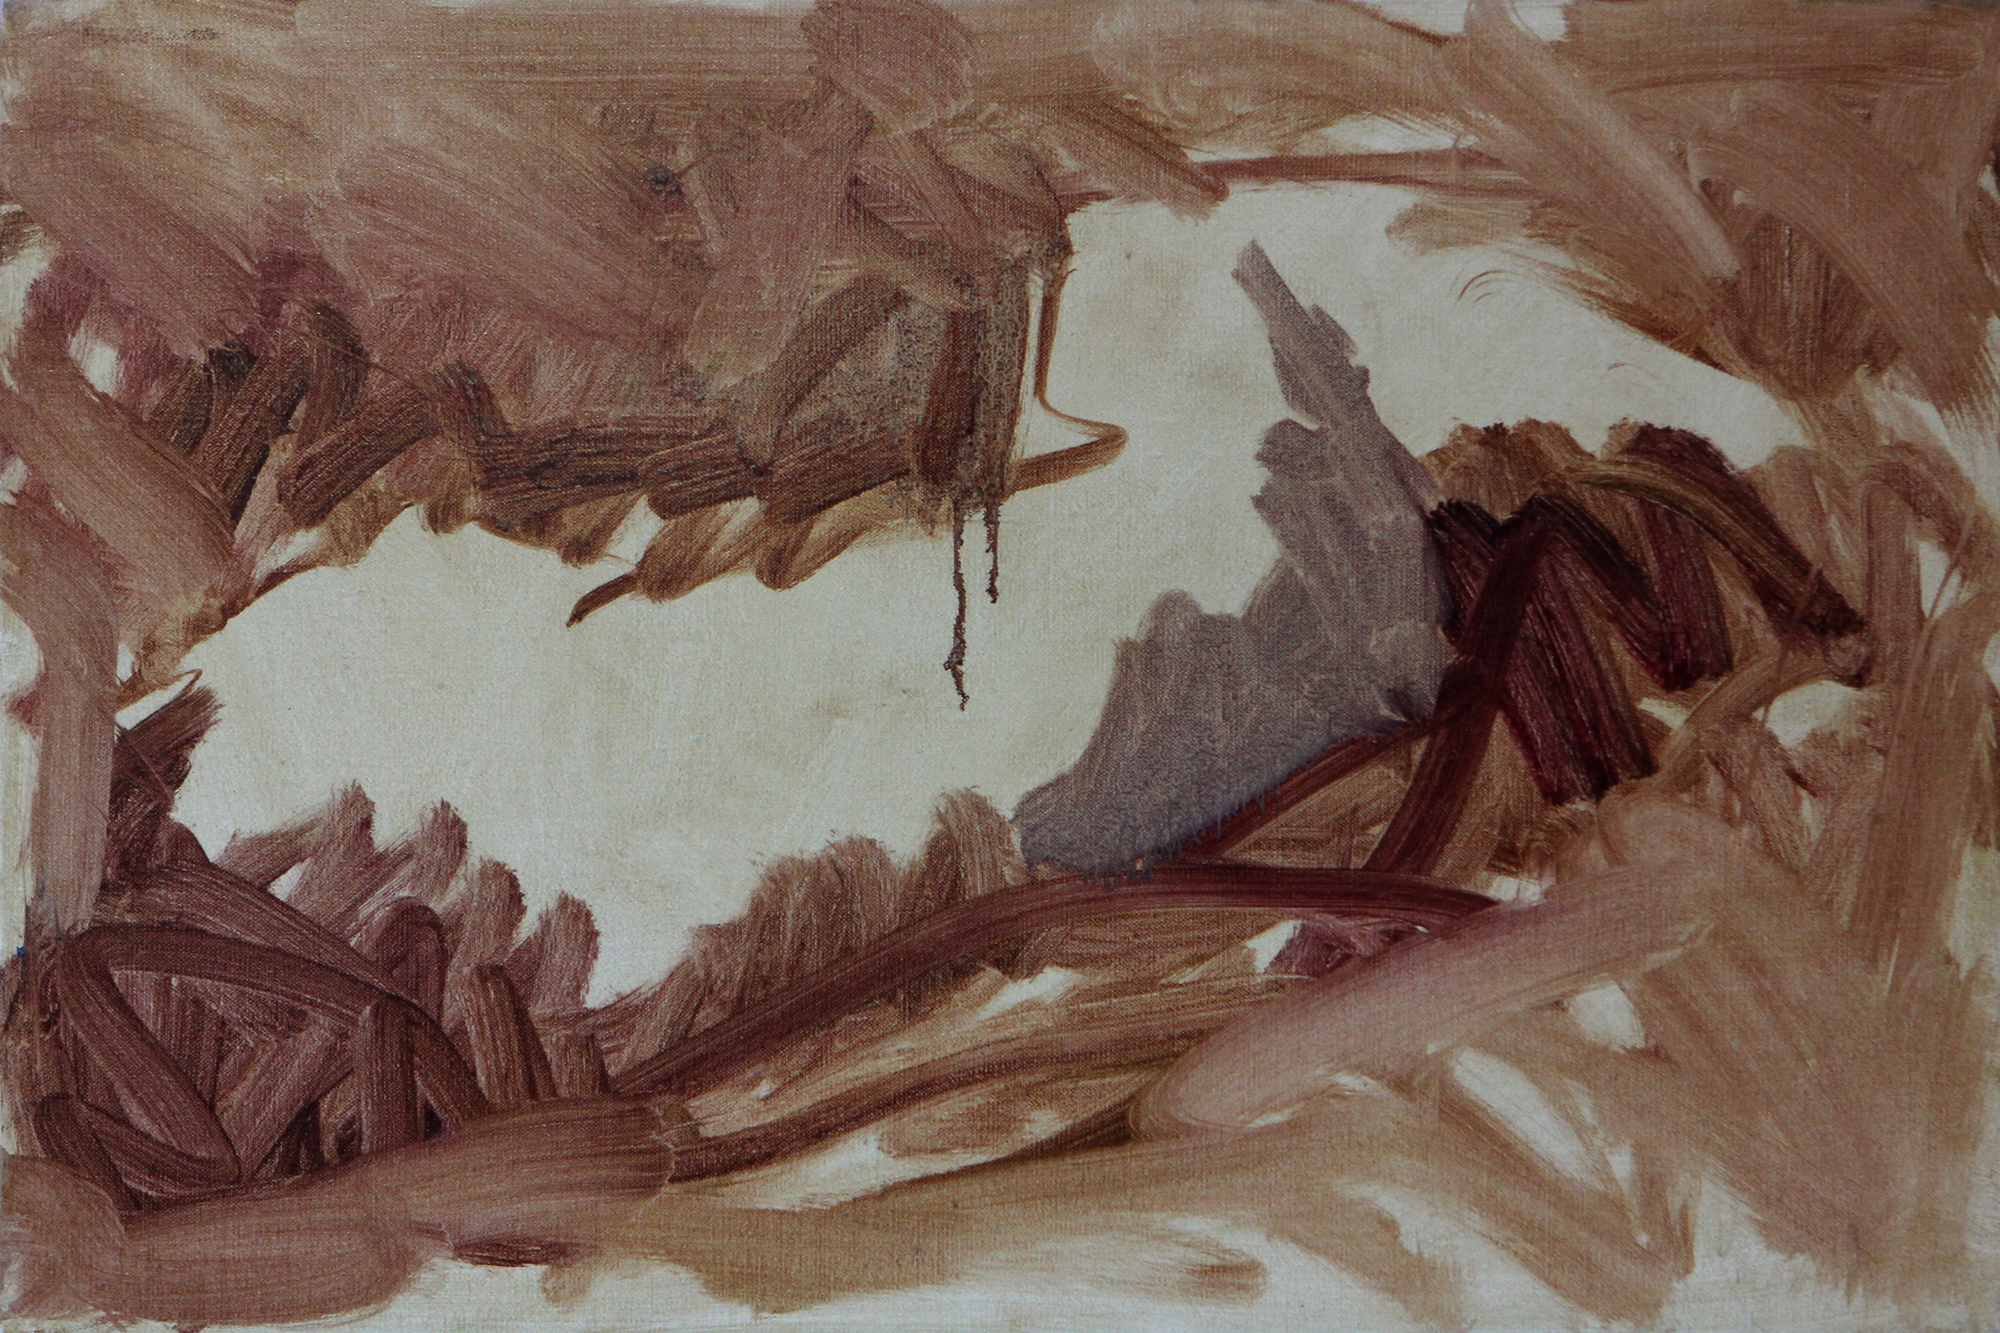
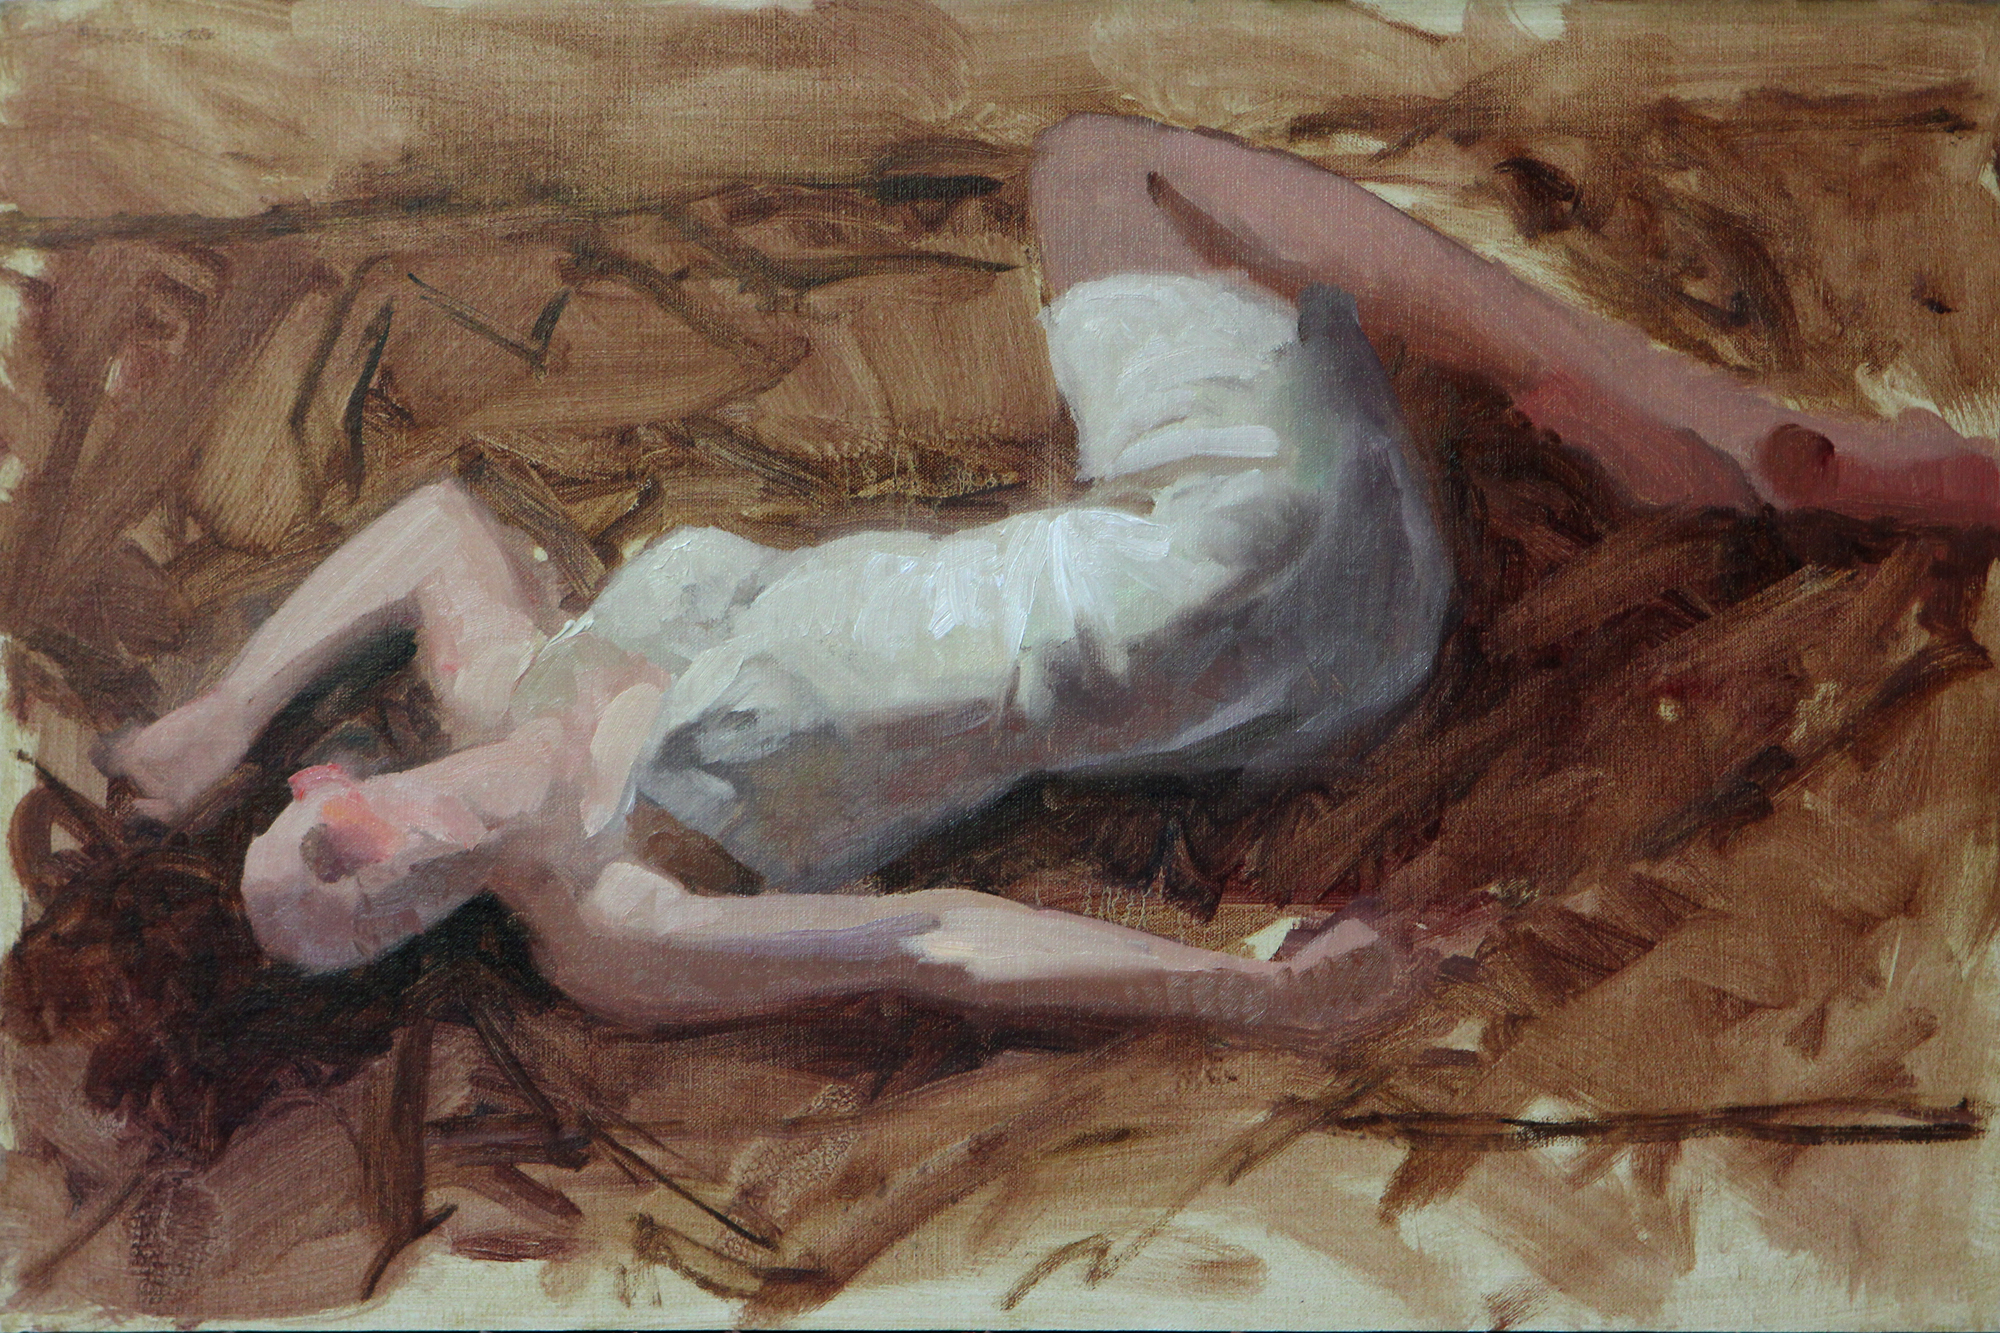
Step 2
On a lightly toned linen I put down some thin washes of paint and develop the basic position and shape of the figure. I’m not concerned about edges or being exact, I’m just looking at the overall composition—this is a particularly enjoyable part of the painting, no stress.
***
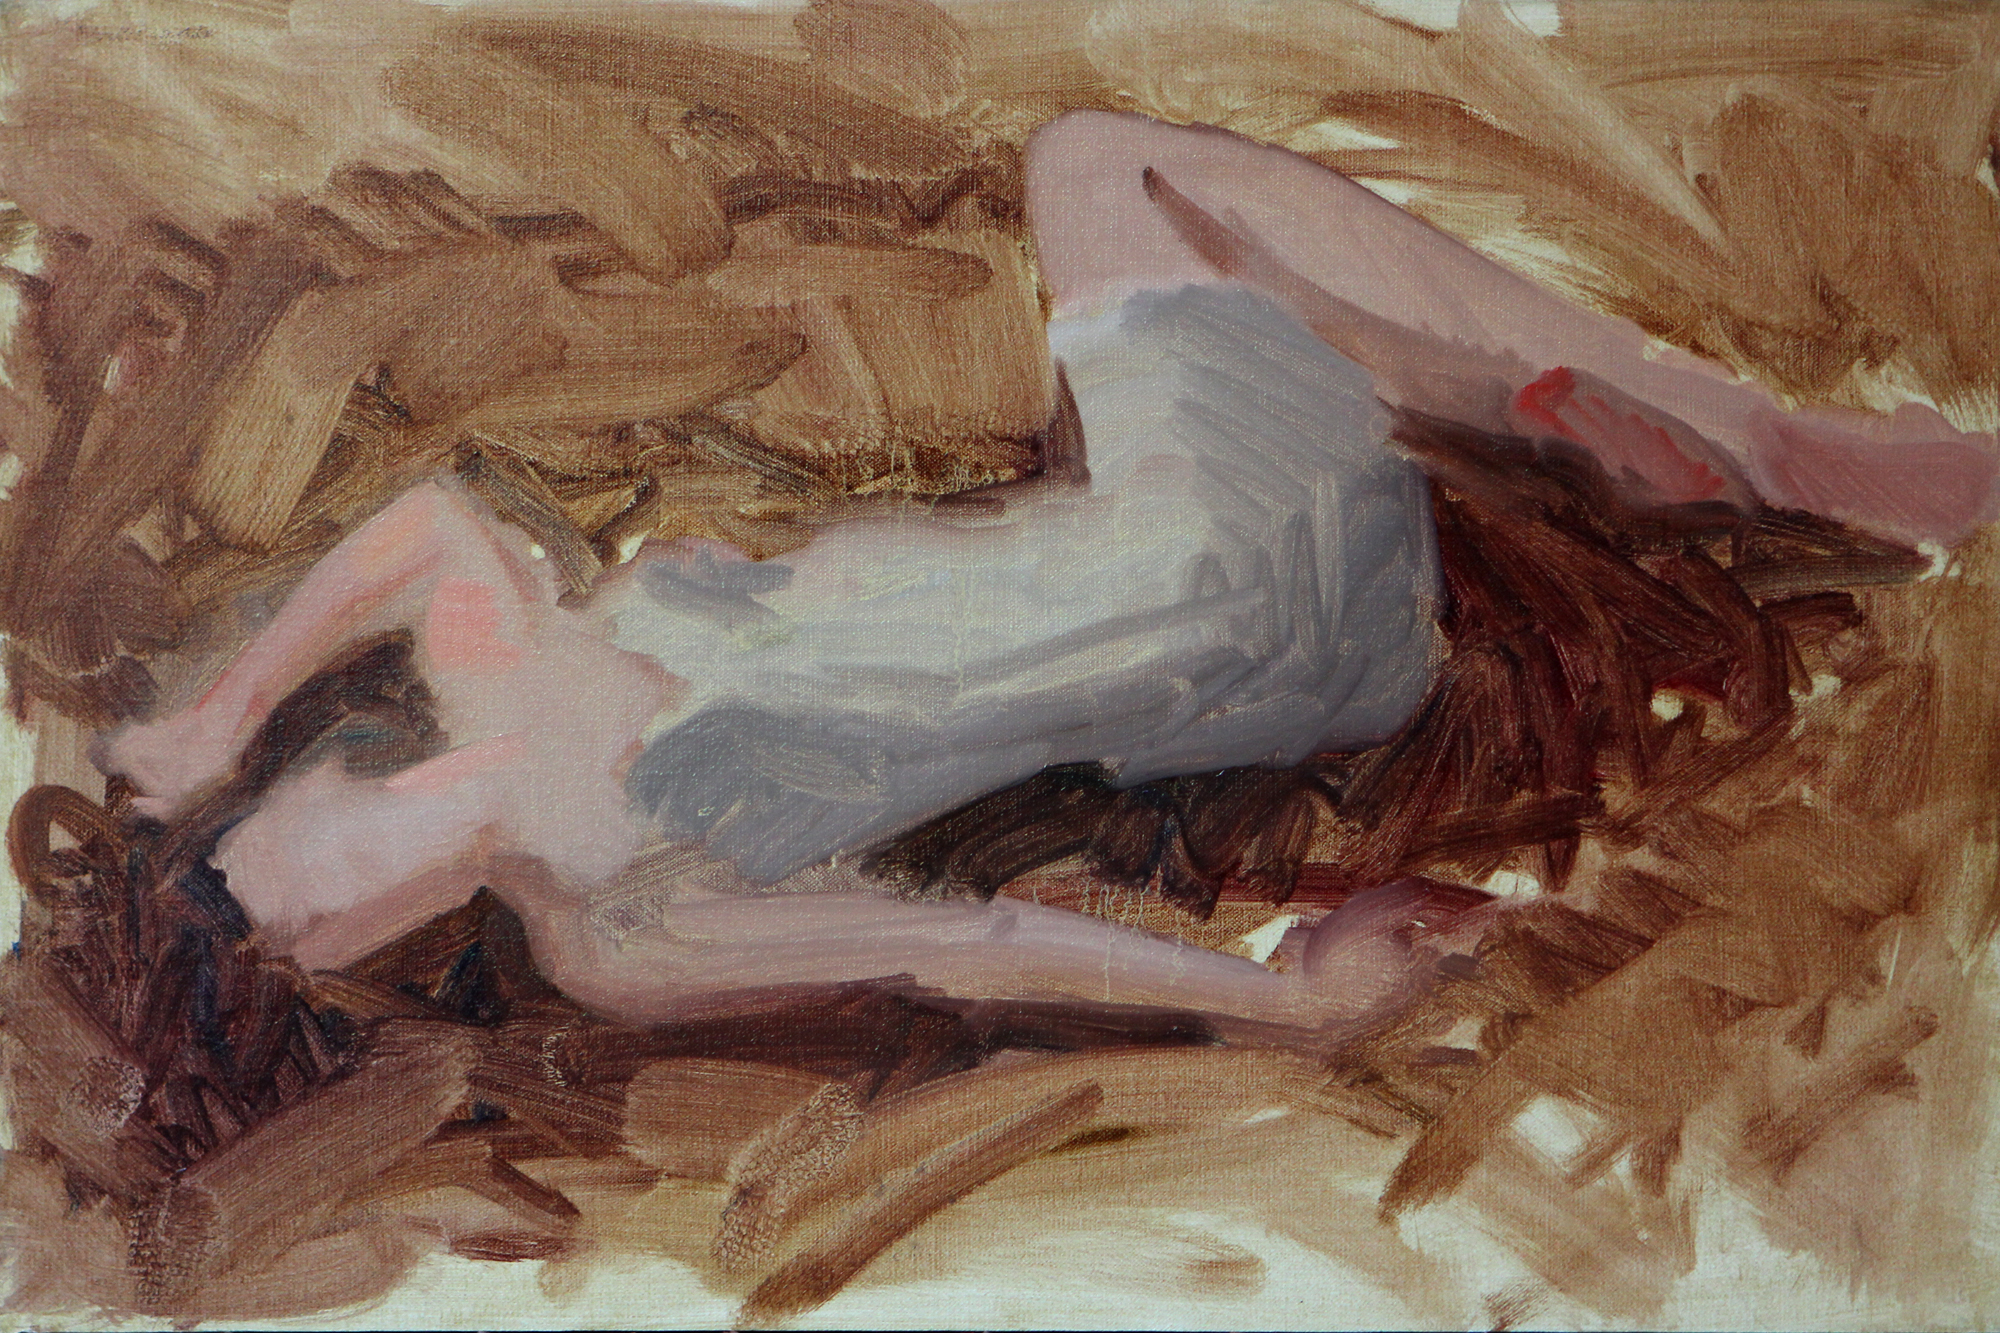
Step 3
I then begin to wash in the figure. I keep the values simple, just focusing on the light side and the dark side. For the flesh tones, I start with a mixture of white, cad yellow lt., and perylene red.
***
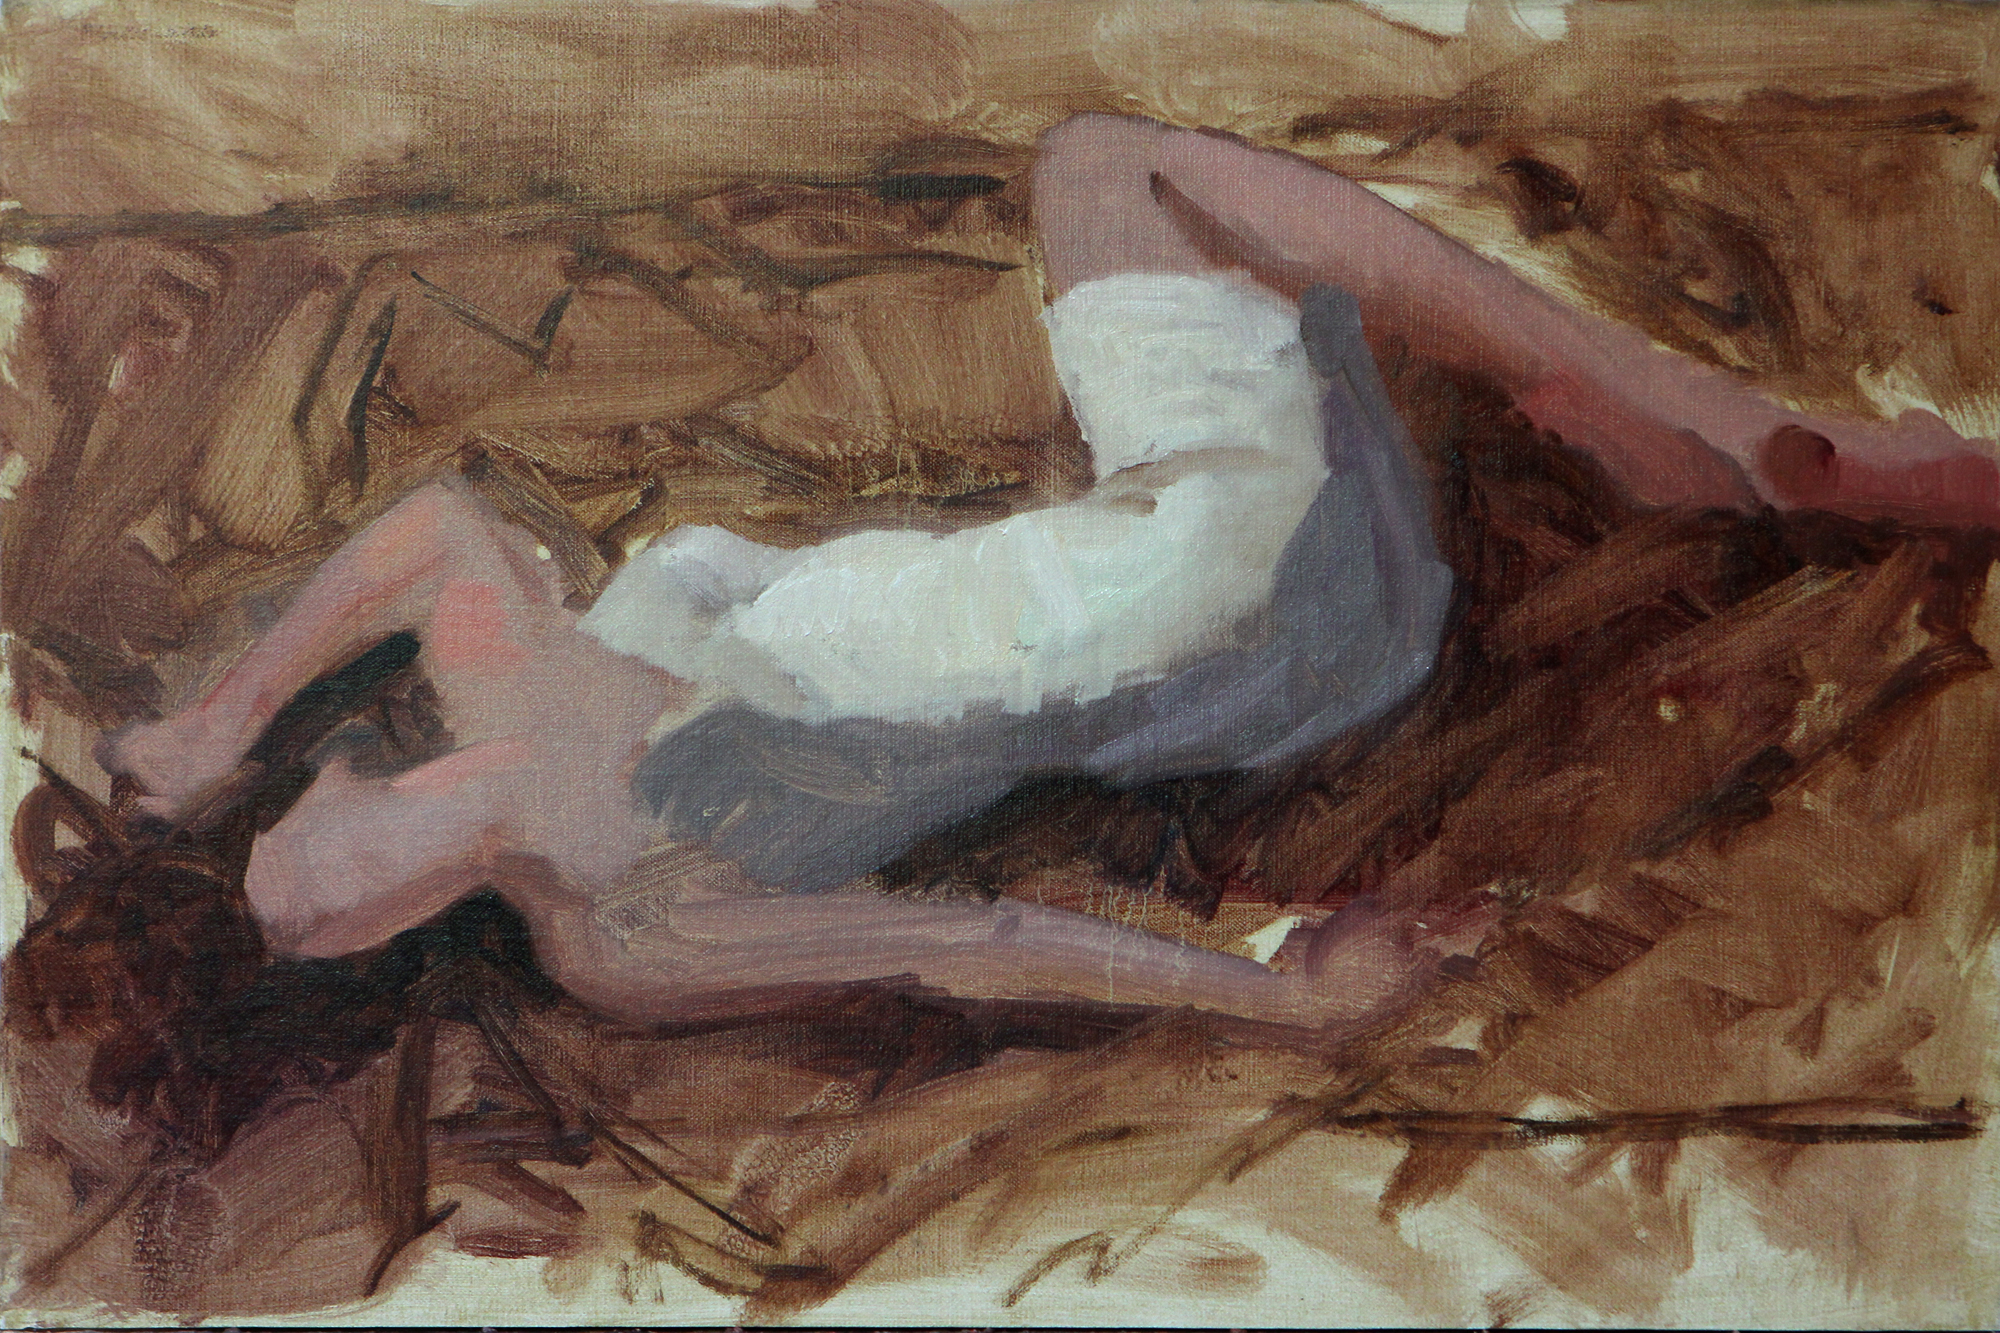
Step 4
I just continue to refine the shapes and values, keeping the color thin and subdued.
***
Step 5
In this stage, I focus on refining a few of the areas. I add a few simple folds to define the drapery and a little definition in the face. I end the session and let the painting dry.
***
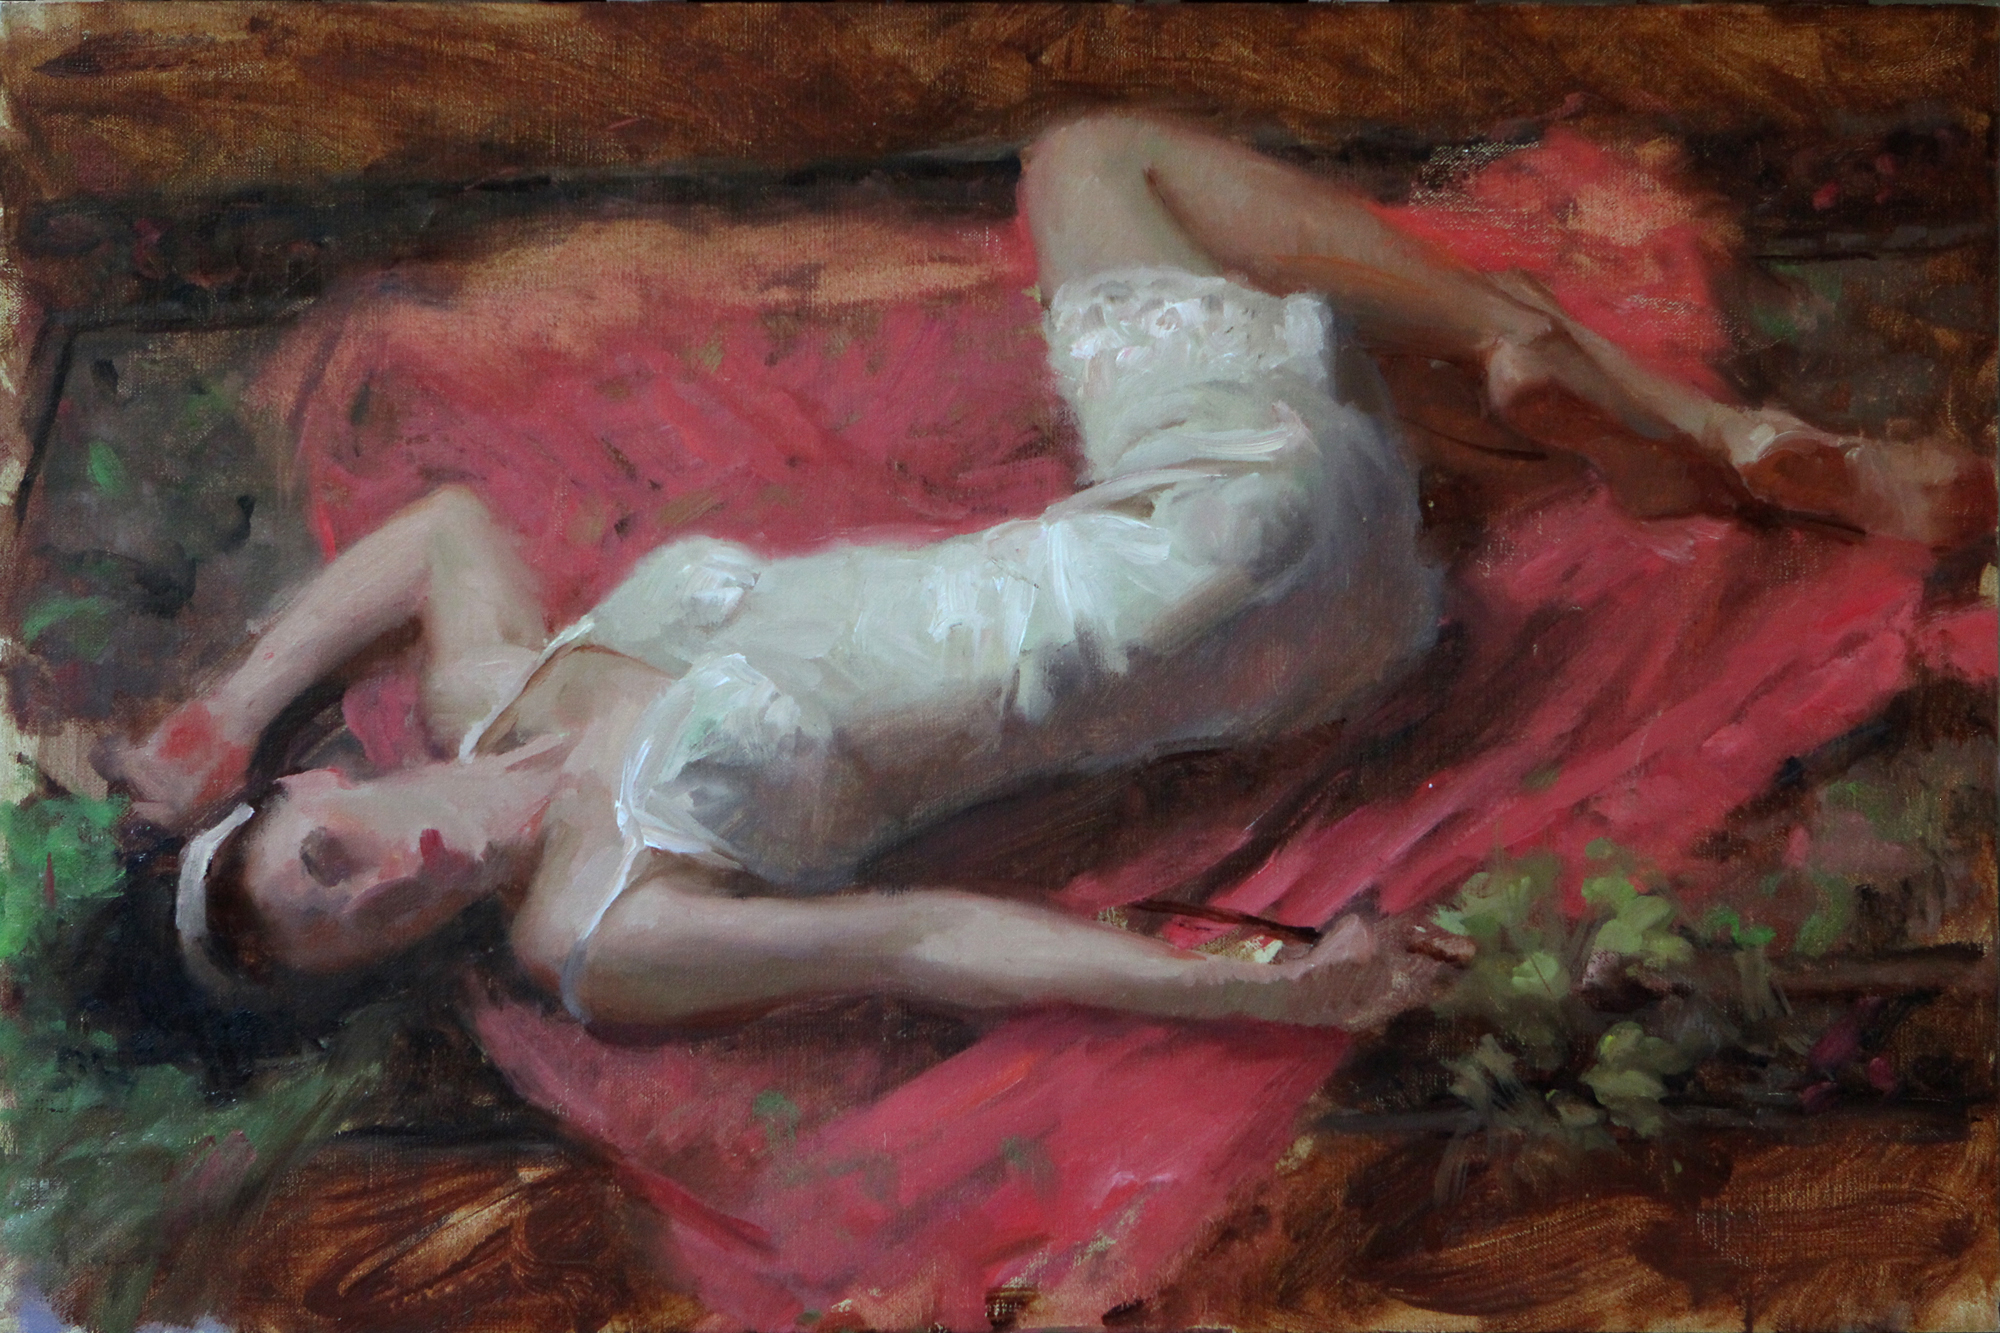
Step 6
Starting the next day I put the paint down thicker and with more of the local colors. I typically work on the entire painting to some degree trying to keep everything moving, but I spend most of my time working on the anatomy and the drapery. I build up the paint layer thick in the lights, particularly in the light side of the slip.
***
Step 7
You can see here I have spent most of my time with the face. I have also simplified and darkened some of the areas in the periphery to keep the focus toward the head.
***
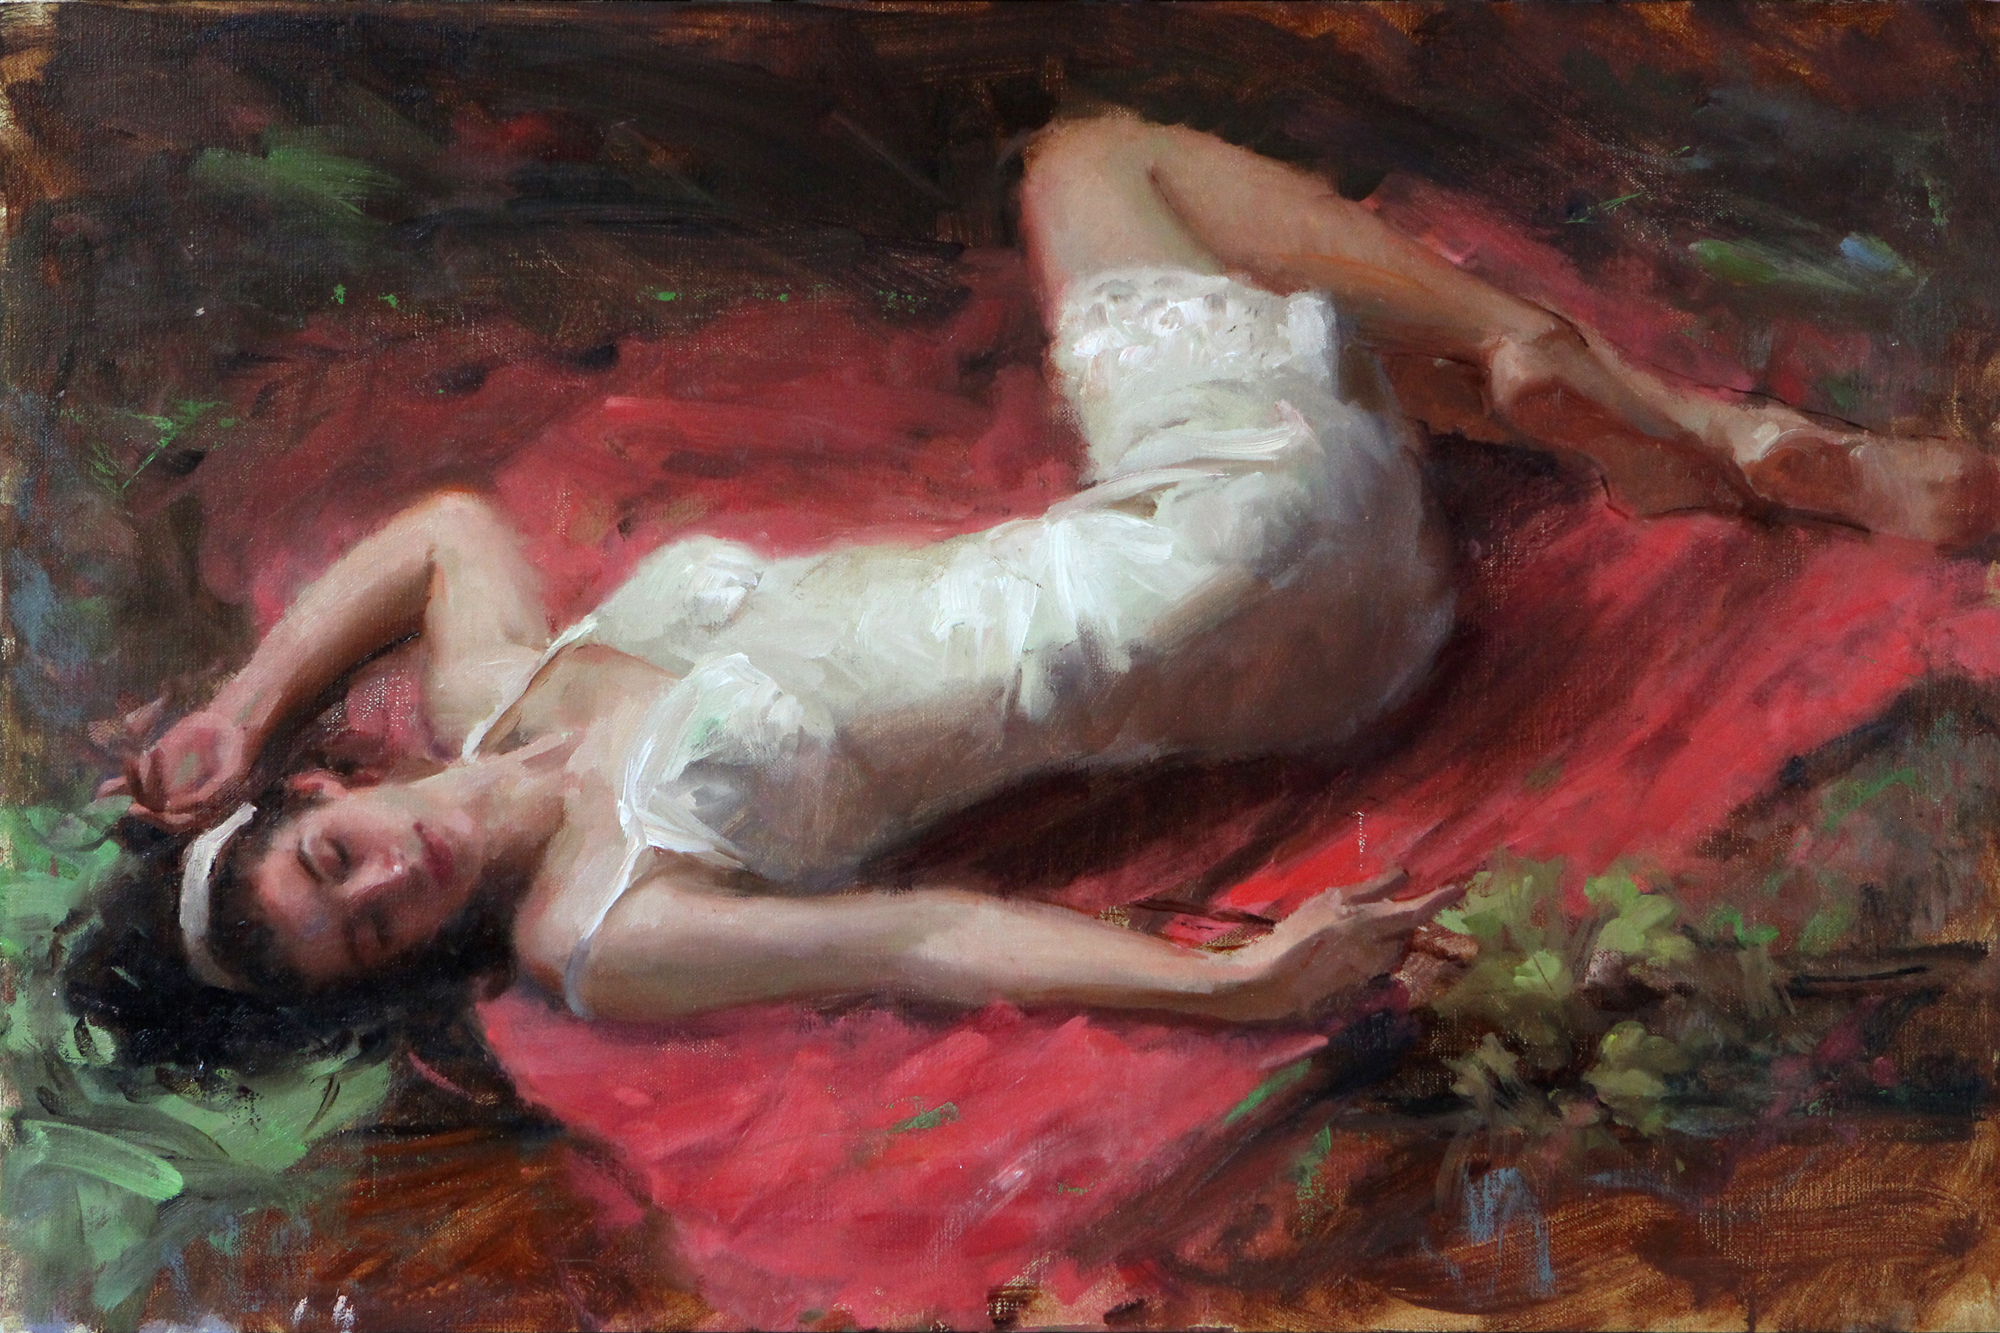
Step 8: The Final Figure Painting
I believe it was two days later before I returned to the painting. By then it was good and dry. My primary focus again is the face; I want the values and colors to be refined. After all, it is the subject matter. As someone who loves anatomy, it was hard for me not to go back into the feet and hands and refine them more. I really want the viewer’s attention to go to the face.
Related Article by the Artist:
FeedSpot has selected Realism Today as one of the Top 20 Oil Painting Blogs on the web (FeedSpot, 2026)
Take your realism art to the next level when you attend Realism Live ~ a multi-day virtual art conference led by 20+ world class artists. (No tech skills? No problem! If you can click a link, you can join our event!) Learn more at RealismLive.com!
Blog post prepared for the web by Cherie Dawn Haas, Editor of Realism Today


”")