See how a watercolor still life painting that includes leaves, crystal, and some unexpected challenges comes to fruition, step by step.
BY MATTHEW BIRD
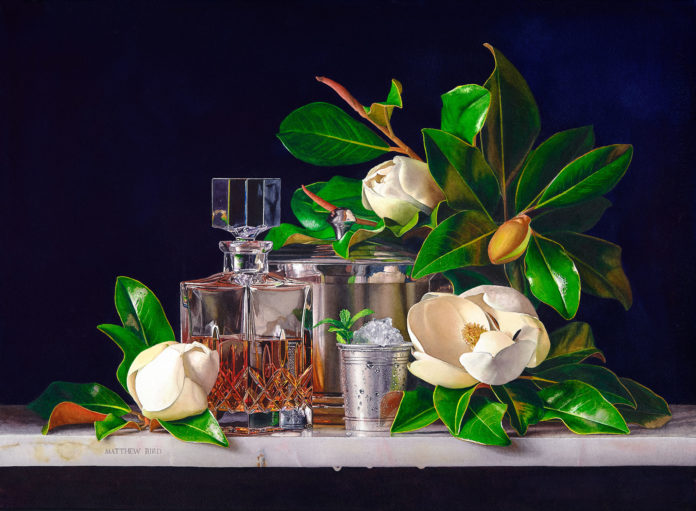
One aspect of still life painting that I enjoy most is exploring textures I don’t encounter in my figurative work. In the case of “Magnolia Still Life,” I was interested in the condensation that formed on the silver cup, not just because it perfectly captures the quenching ability of an icy mint julep, but because it was a new texture for me, and one that I would use to build the entire painting.
Painting with transparent watercolor means there is no white or opaque paint. Any whites in the final painting are the white of the paper, carefully preserved with tracing paper, tape, and masking fluid. The first step is a very detailed drawing, which serves as a road map. For this painting, when the drawing was complete, I masked everything so I could establish the setting of a very dark background and marble table.
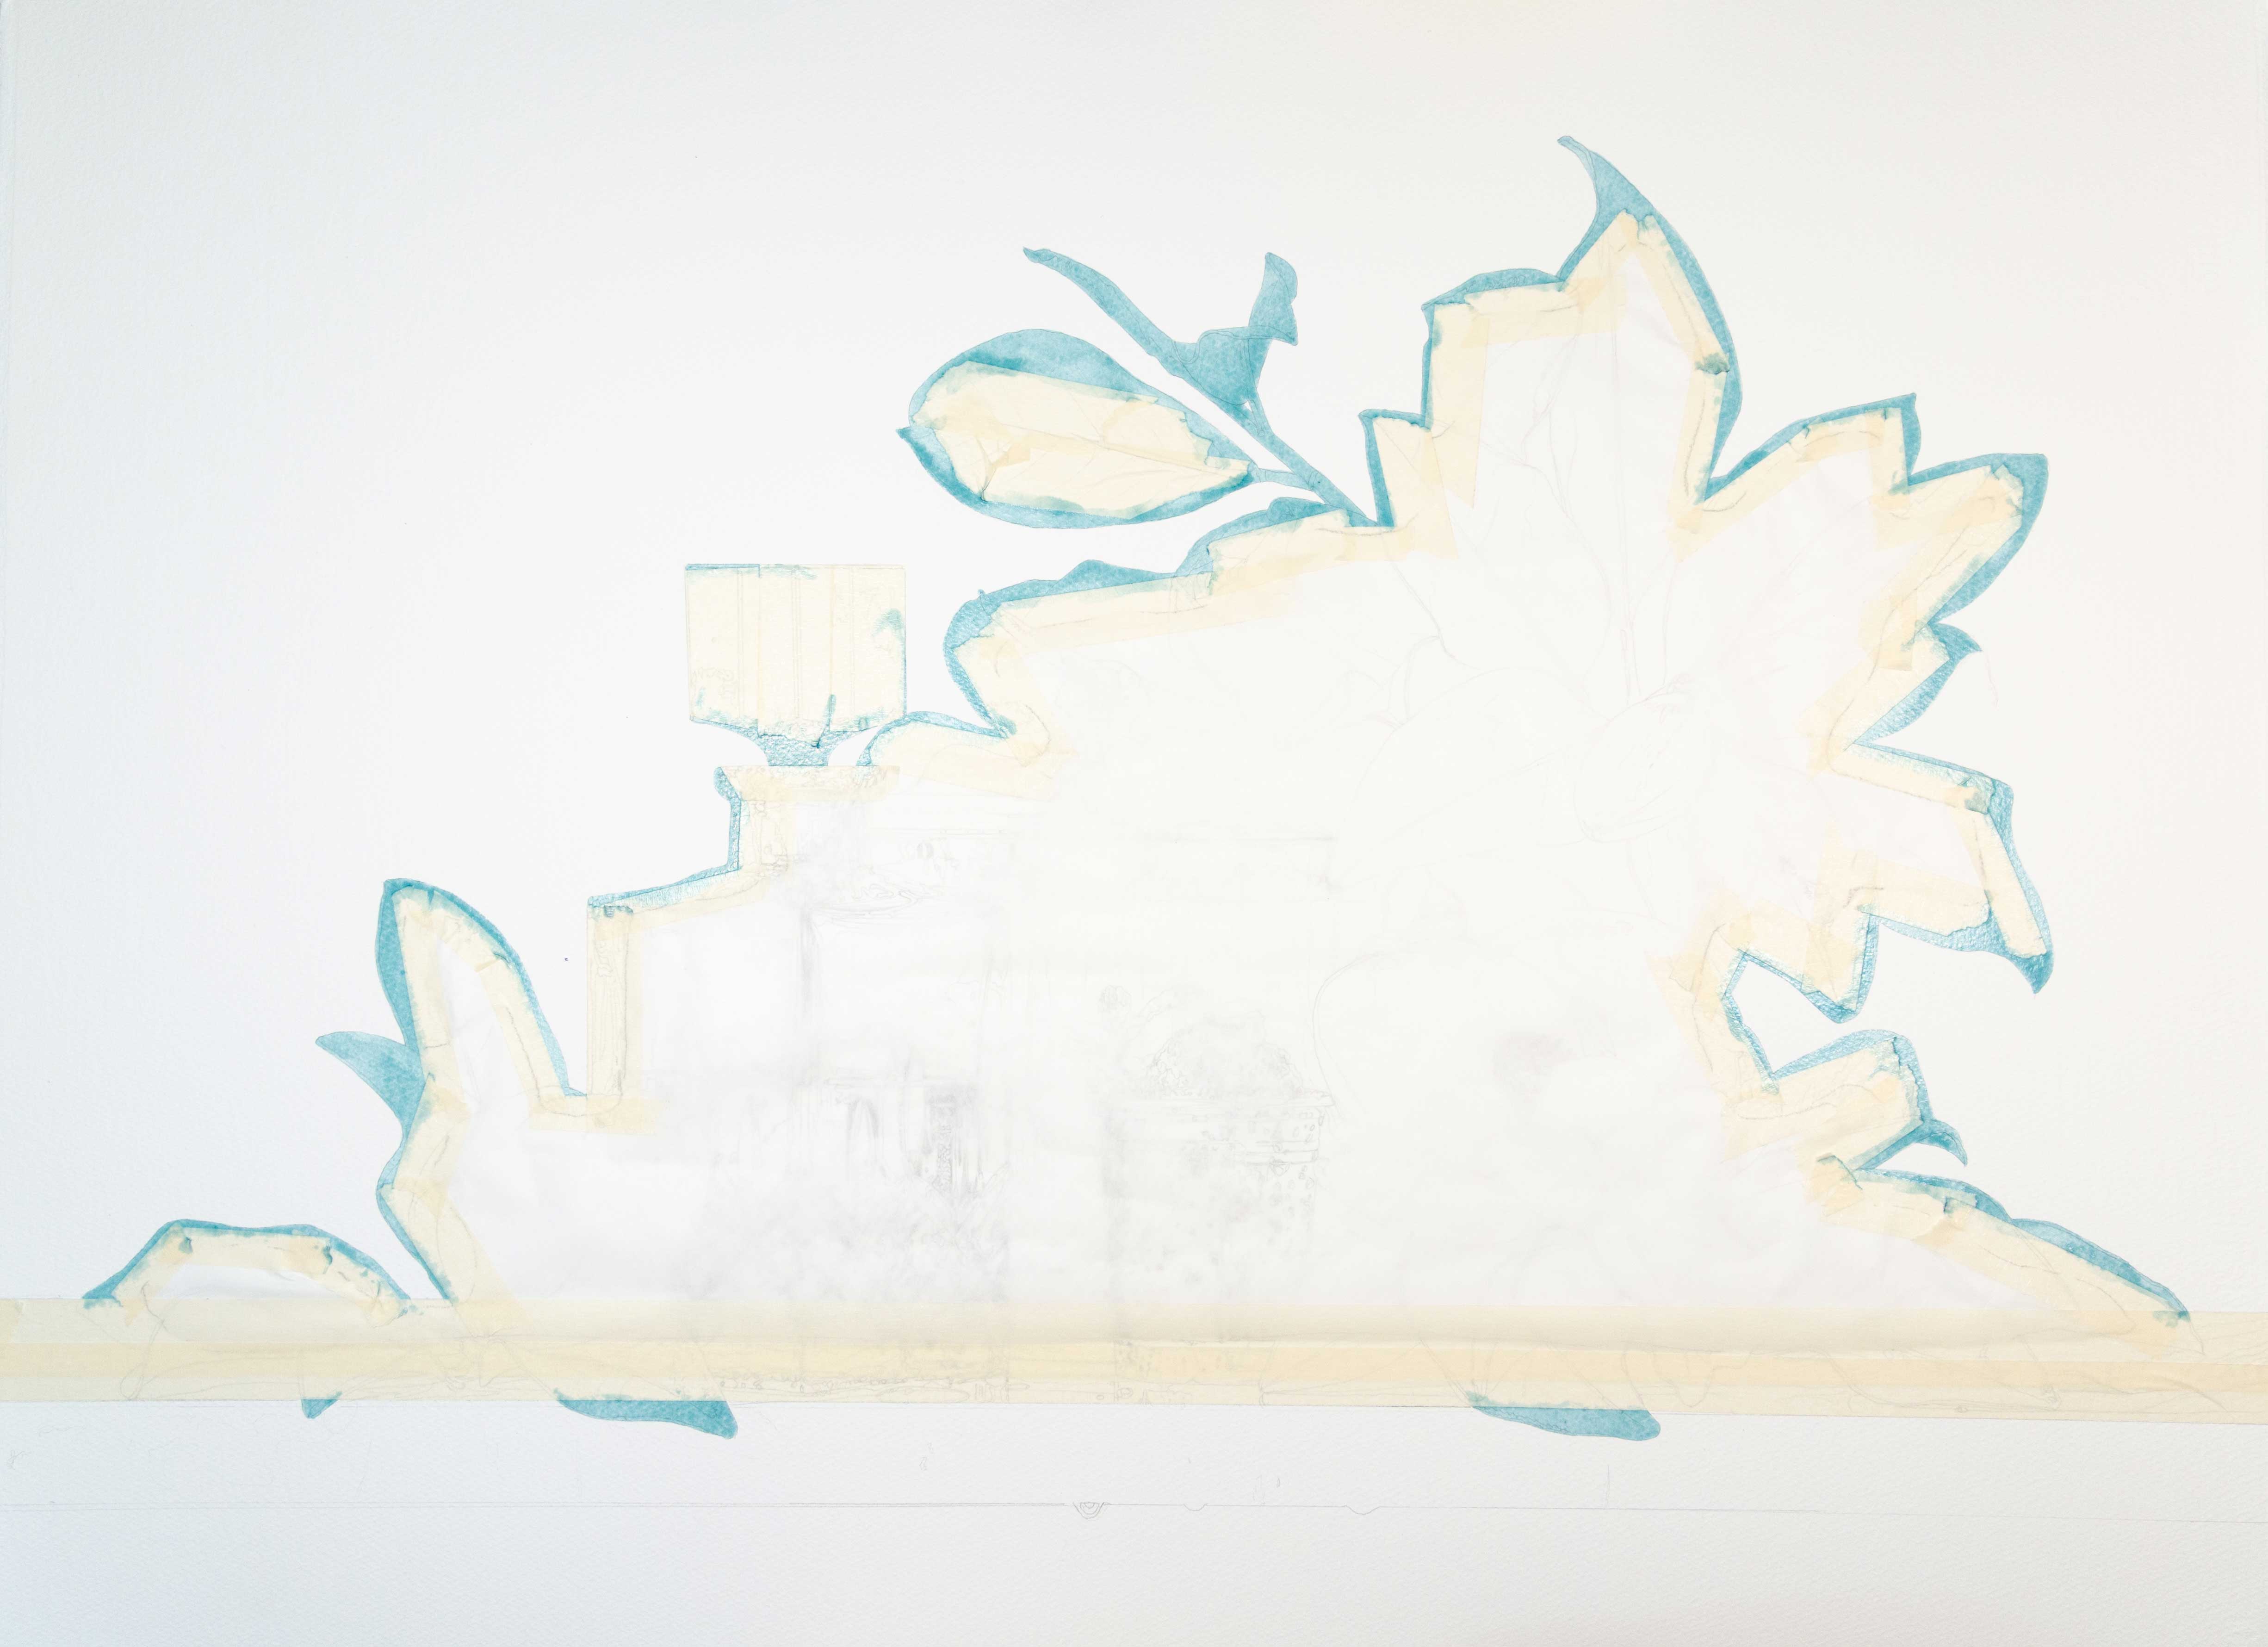
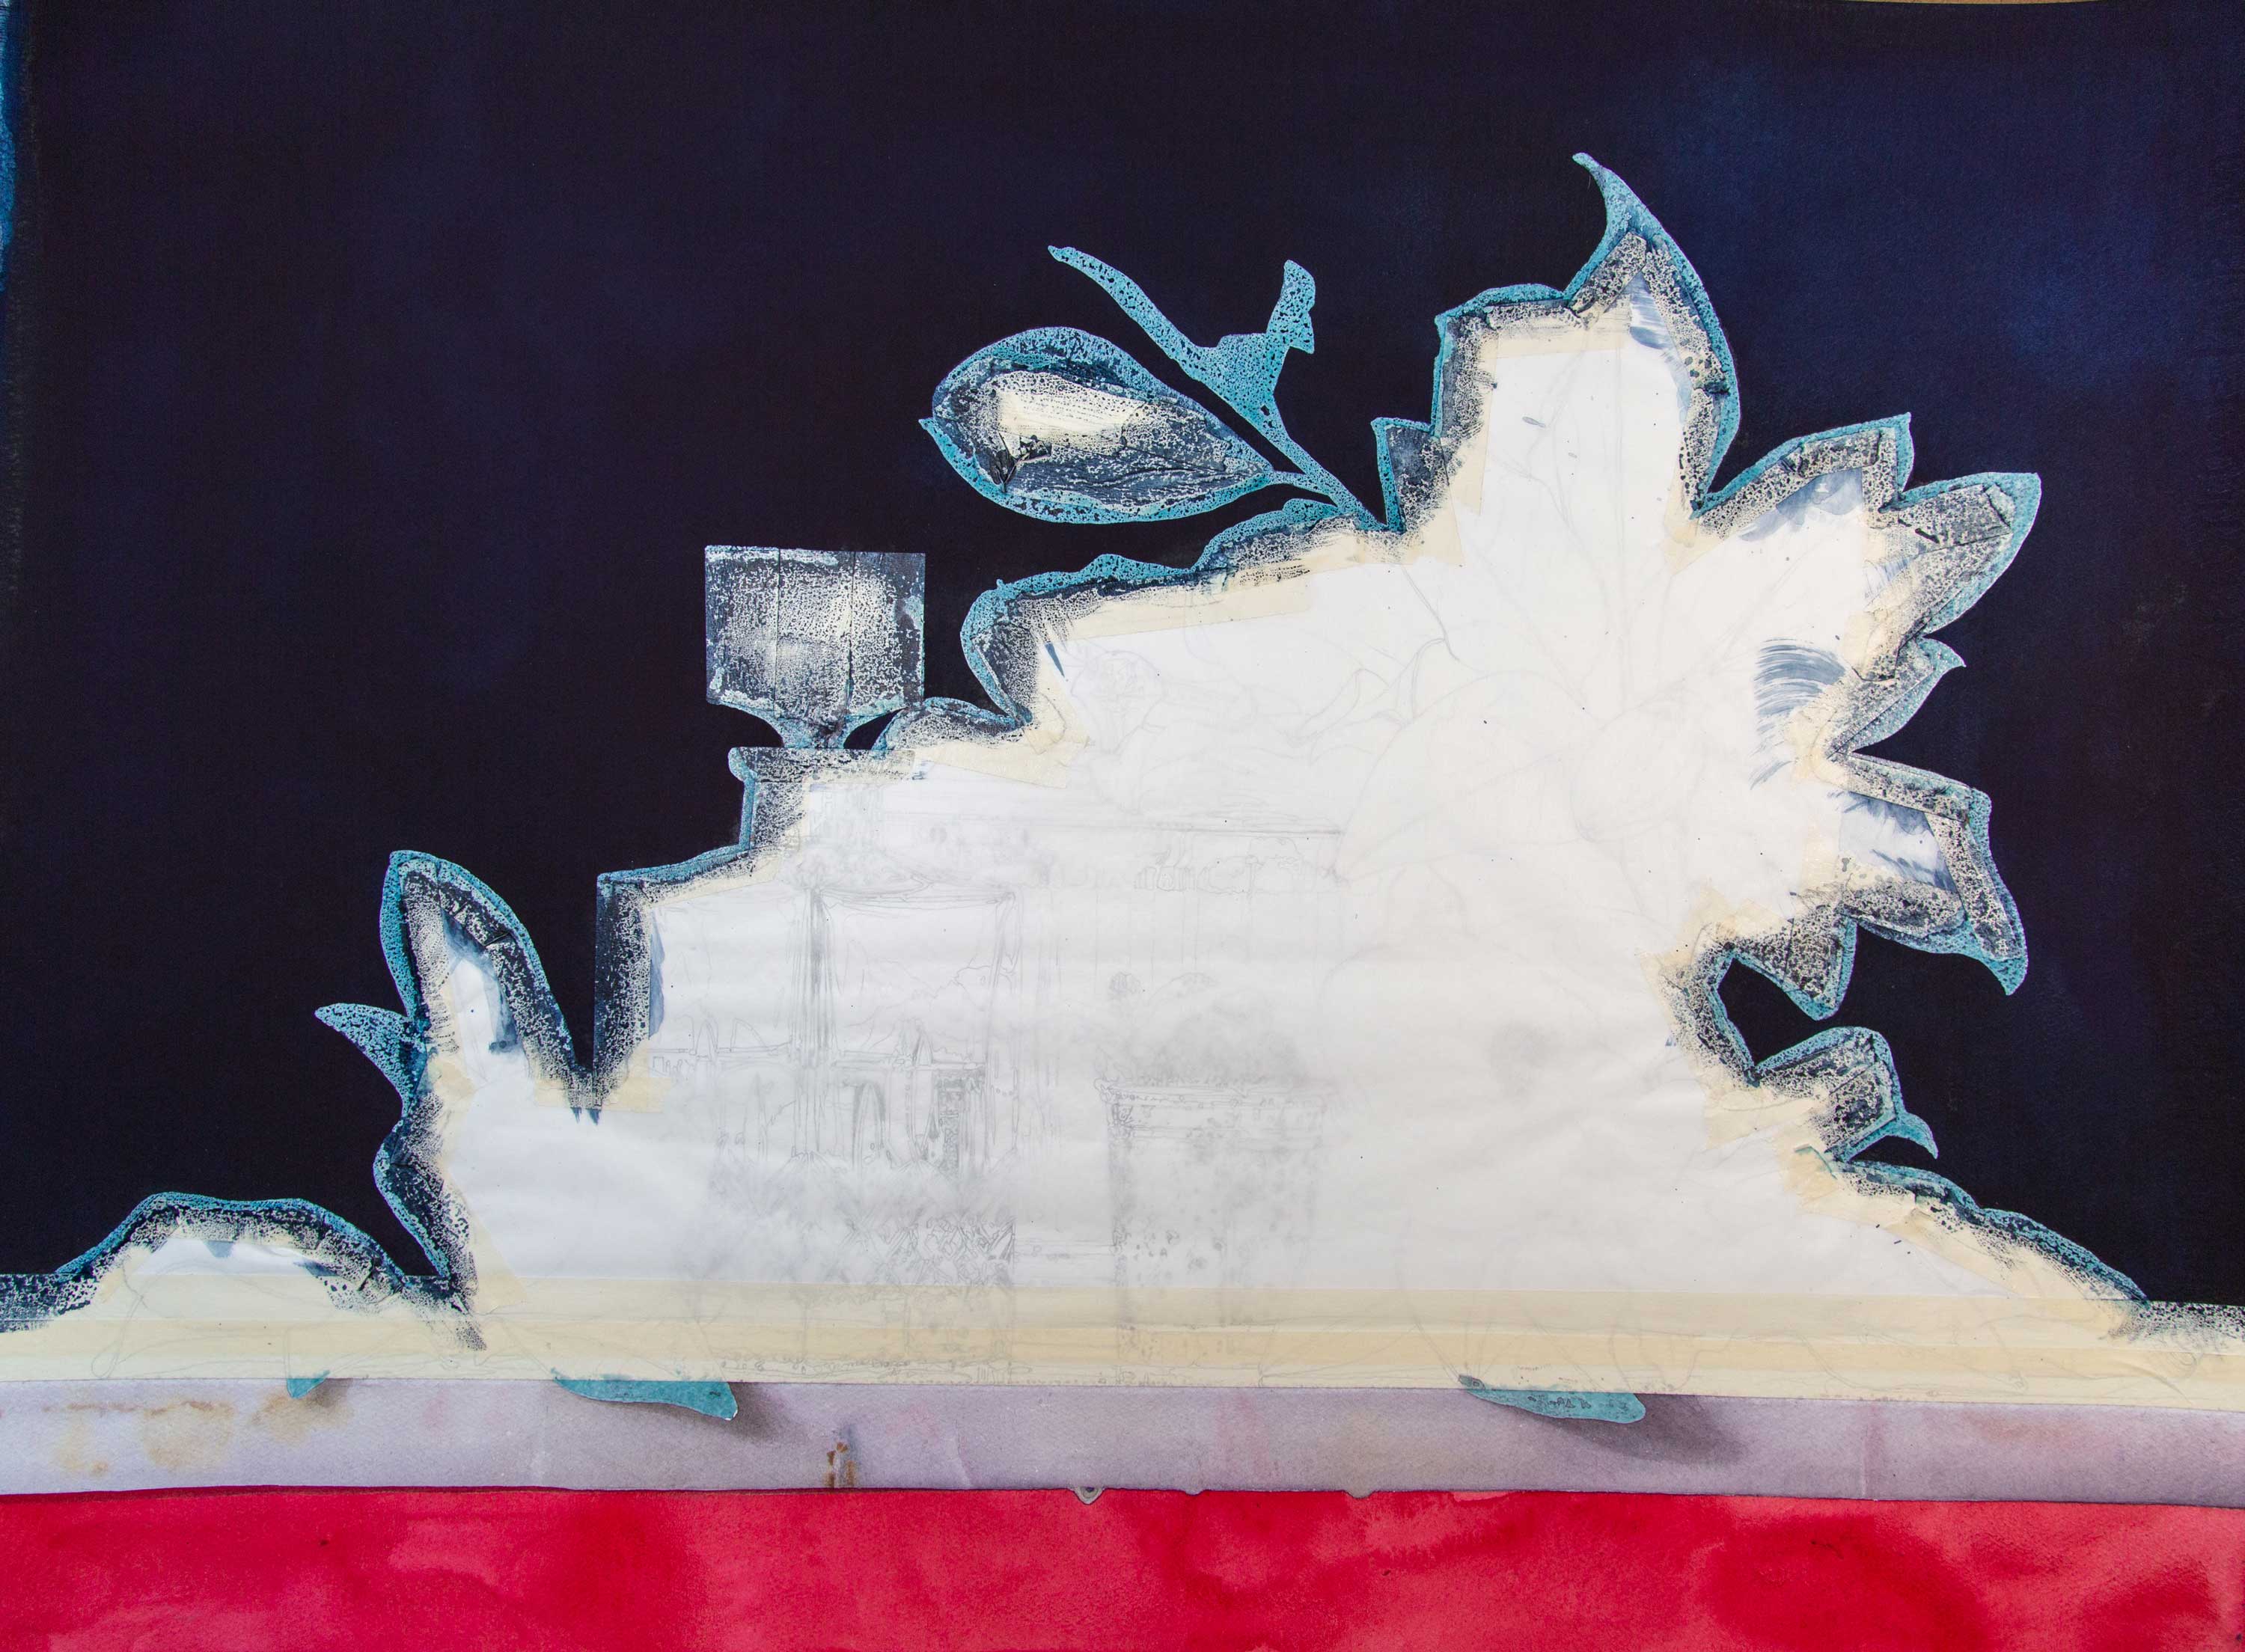
The backdrop got an underpainting of Prussian blue, then 4 to 5 layers of a custom black mix (Mineral Violet, Prussian blue, and permanent alizarin crimson). After each layer completely dried, I rewet the paper with a large Hake brush and added more of the dark paint, wet into wet, while allowing a little of the blue underpainting to show through in the upper right corner for contrast.
The wooden table beneath the marble top was in deep shadow and mostly black, but it needed to be a different black than the background. A warm underpainting of permanent alizarin crimson helped achieved this.
Tackle the Difficult Things First
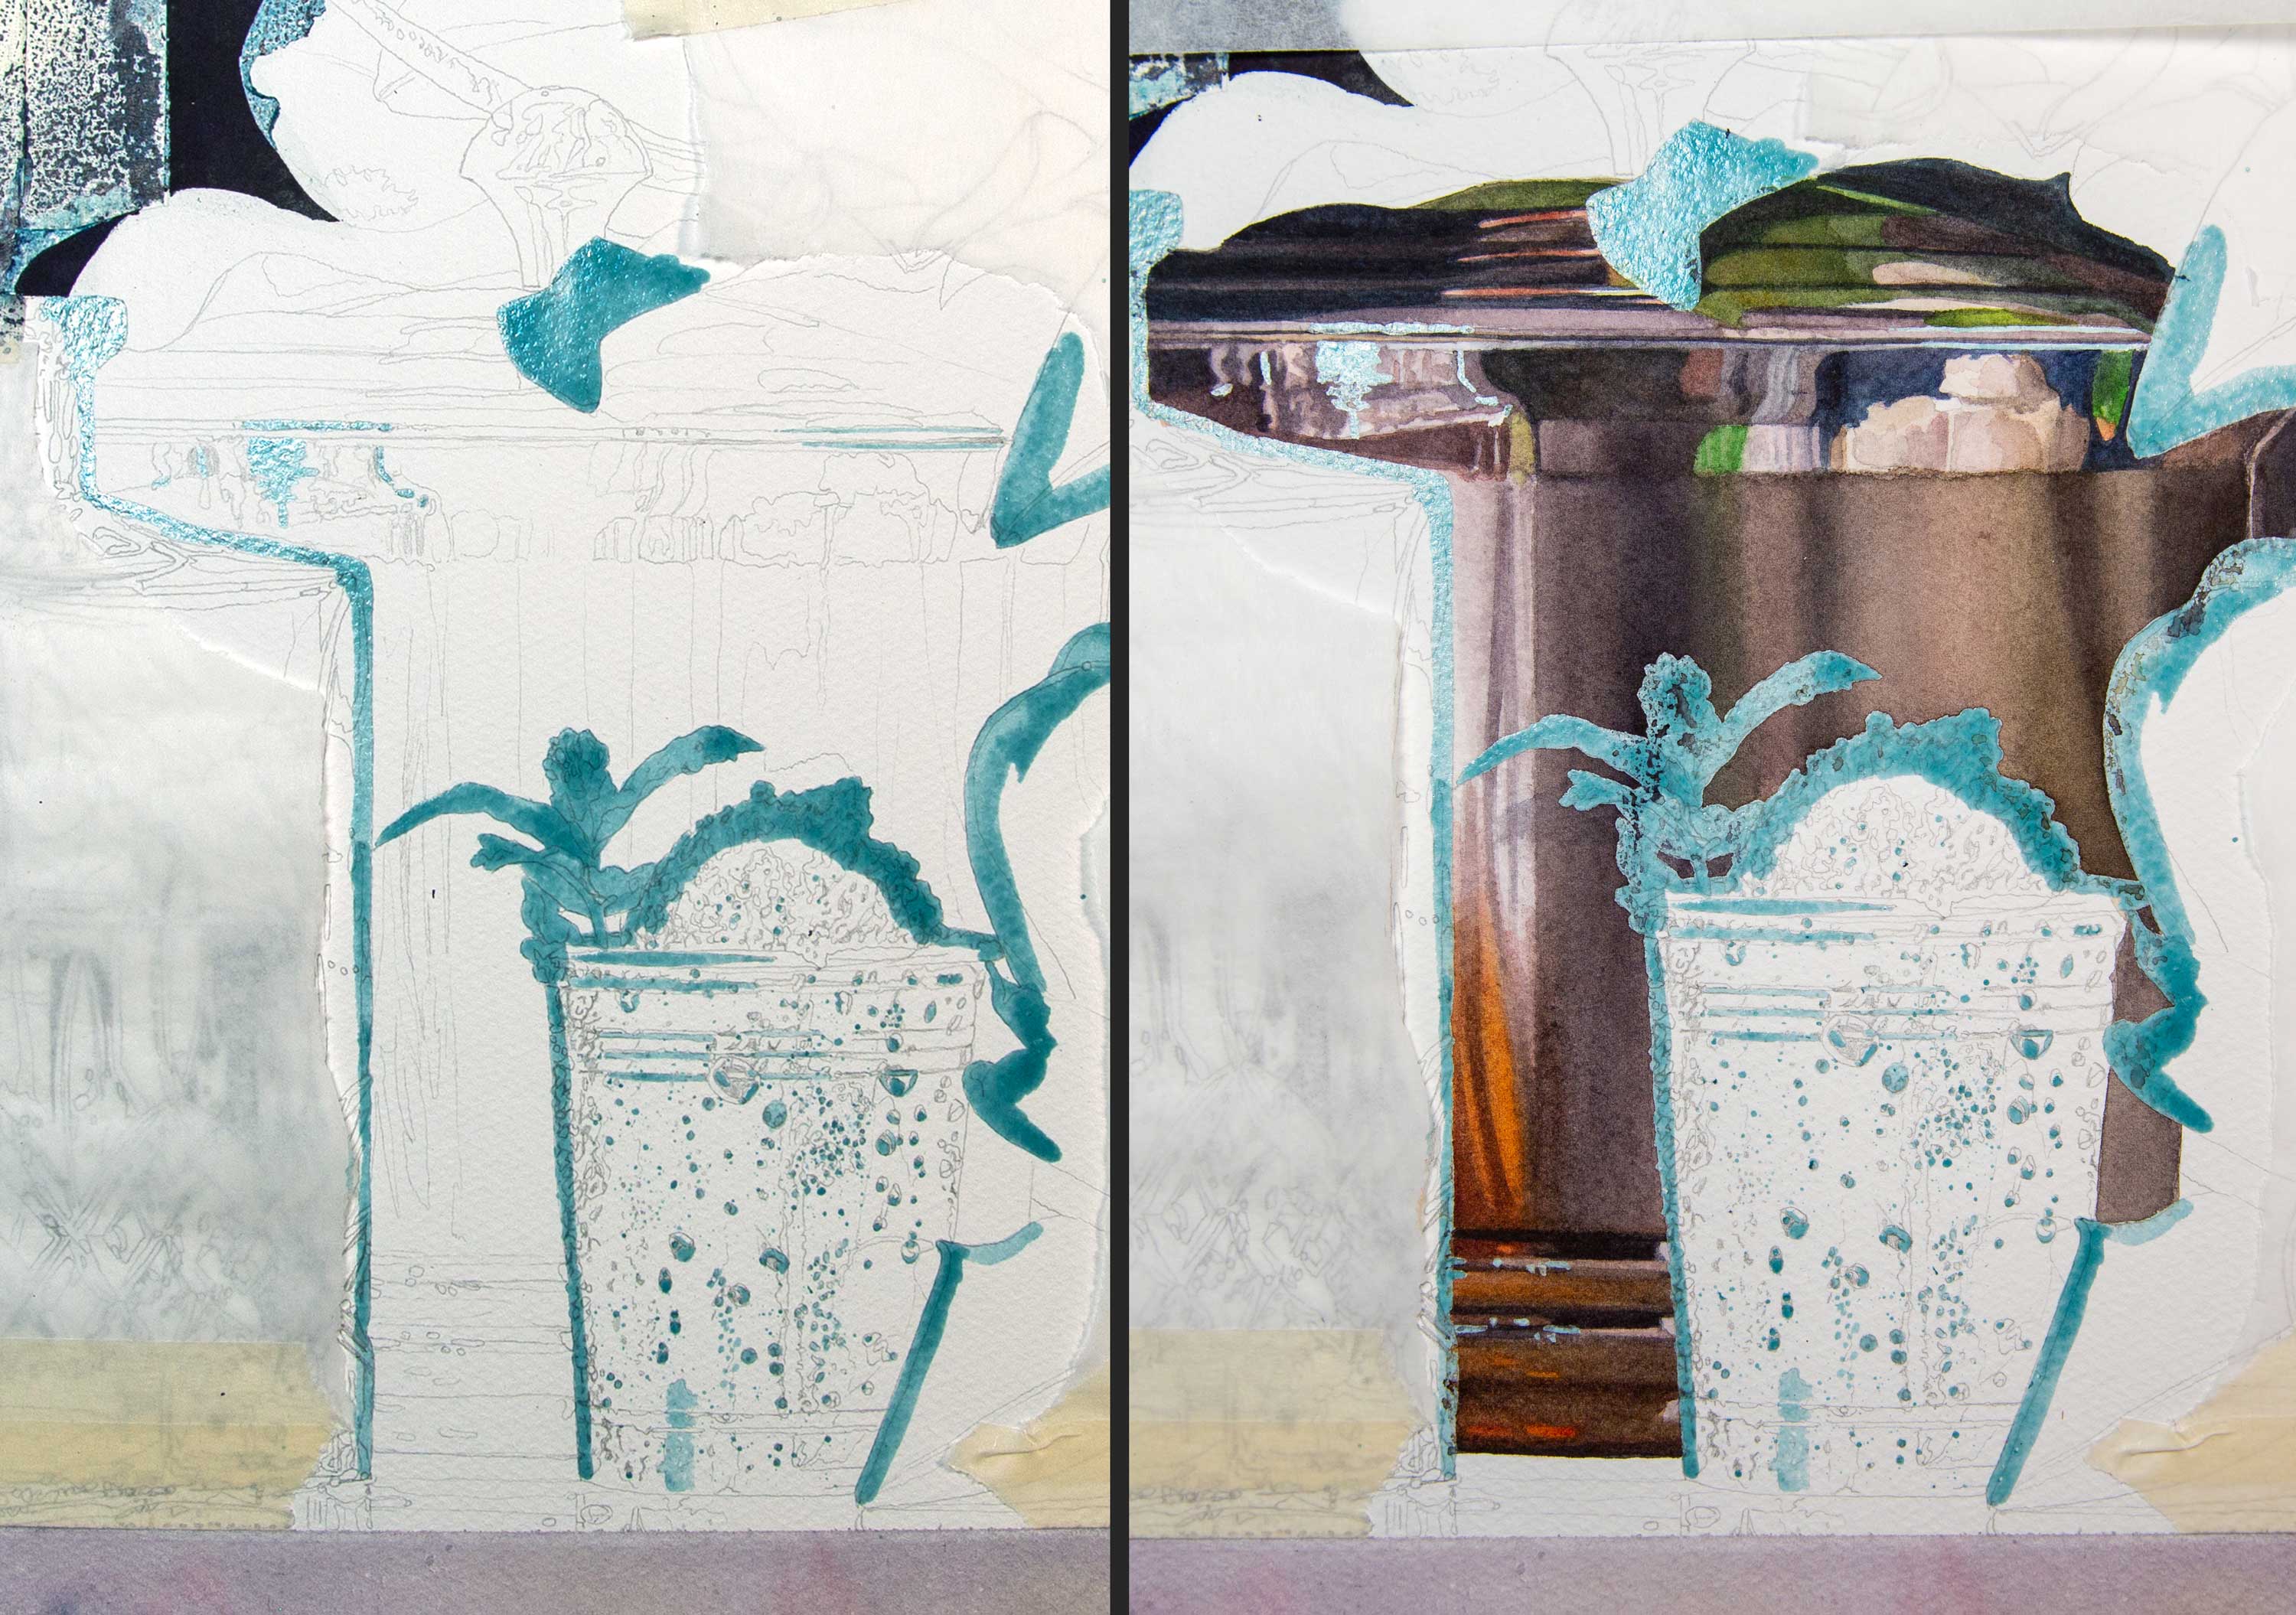
As a loose rule, I try to tackle the most difficult elements first, so if I mess up, I won’t have too much time invested. In this case it was the frosty julep cup, something I had never painted before. I cut an opening in the tracing paper where I would work. The rest of the painting remained covered to protect those areas from splatters and spills. The condensation on the cup, mint leaves, and ice mound were all preserved with masking fluid.
Related Article > Contemporary Realism: A Moment with Tony Curanaj
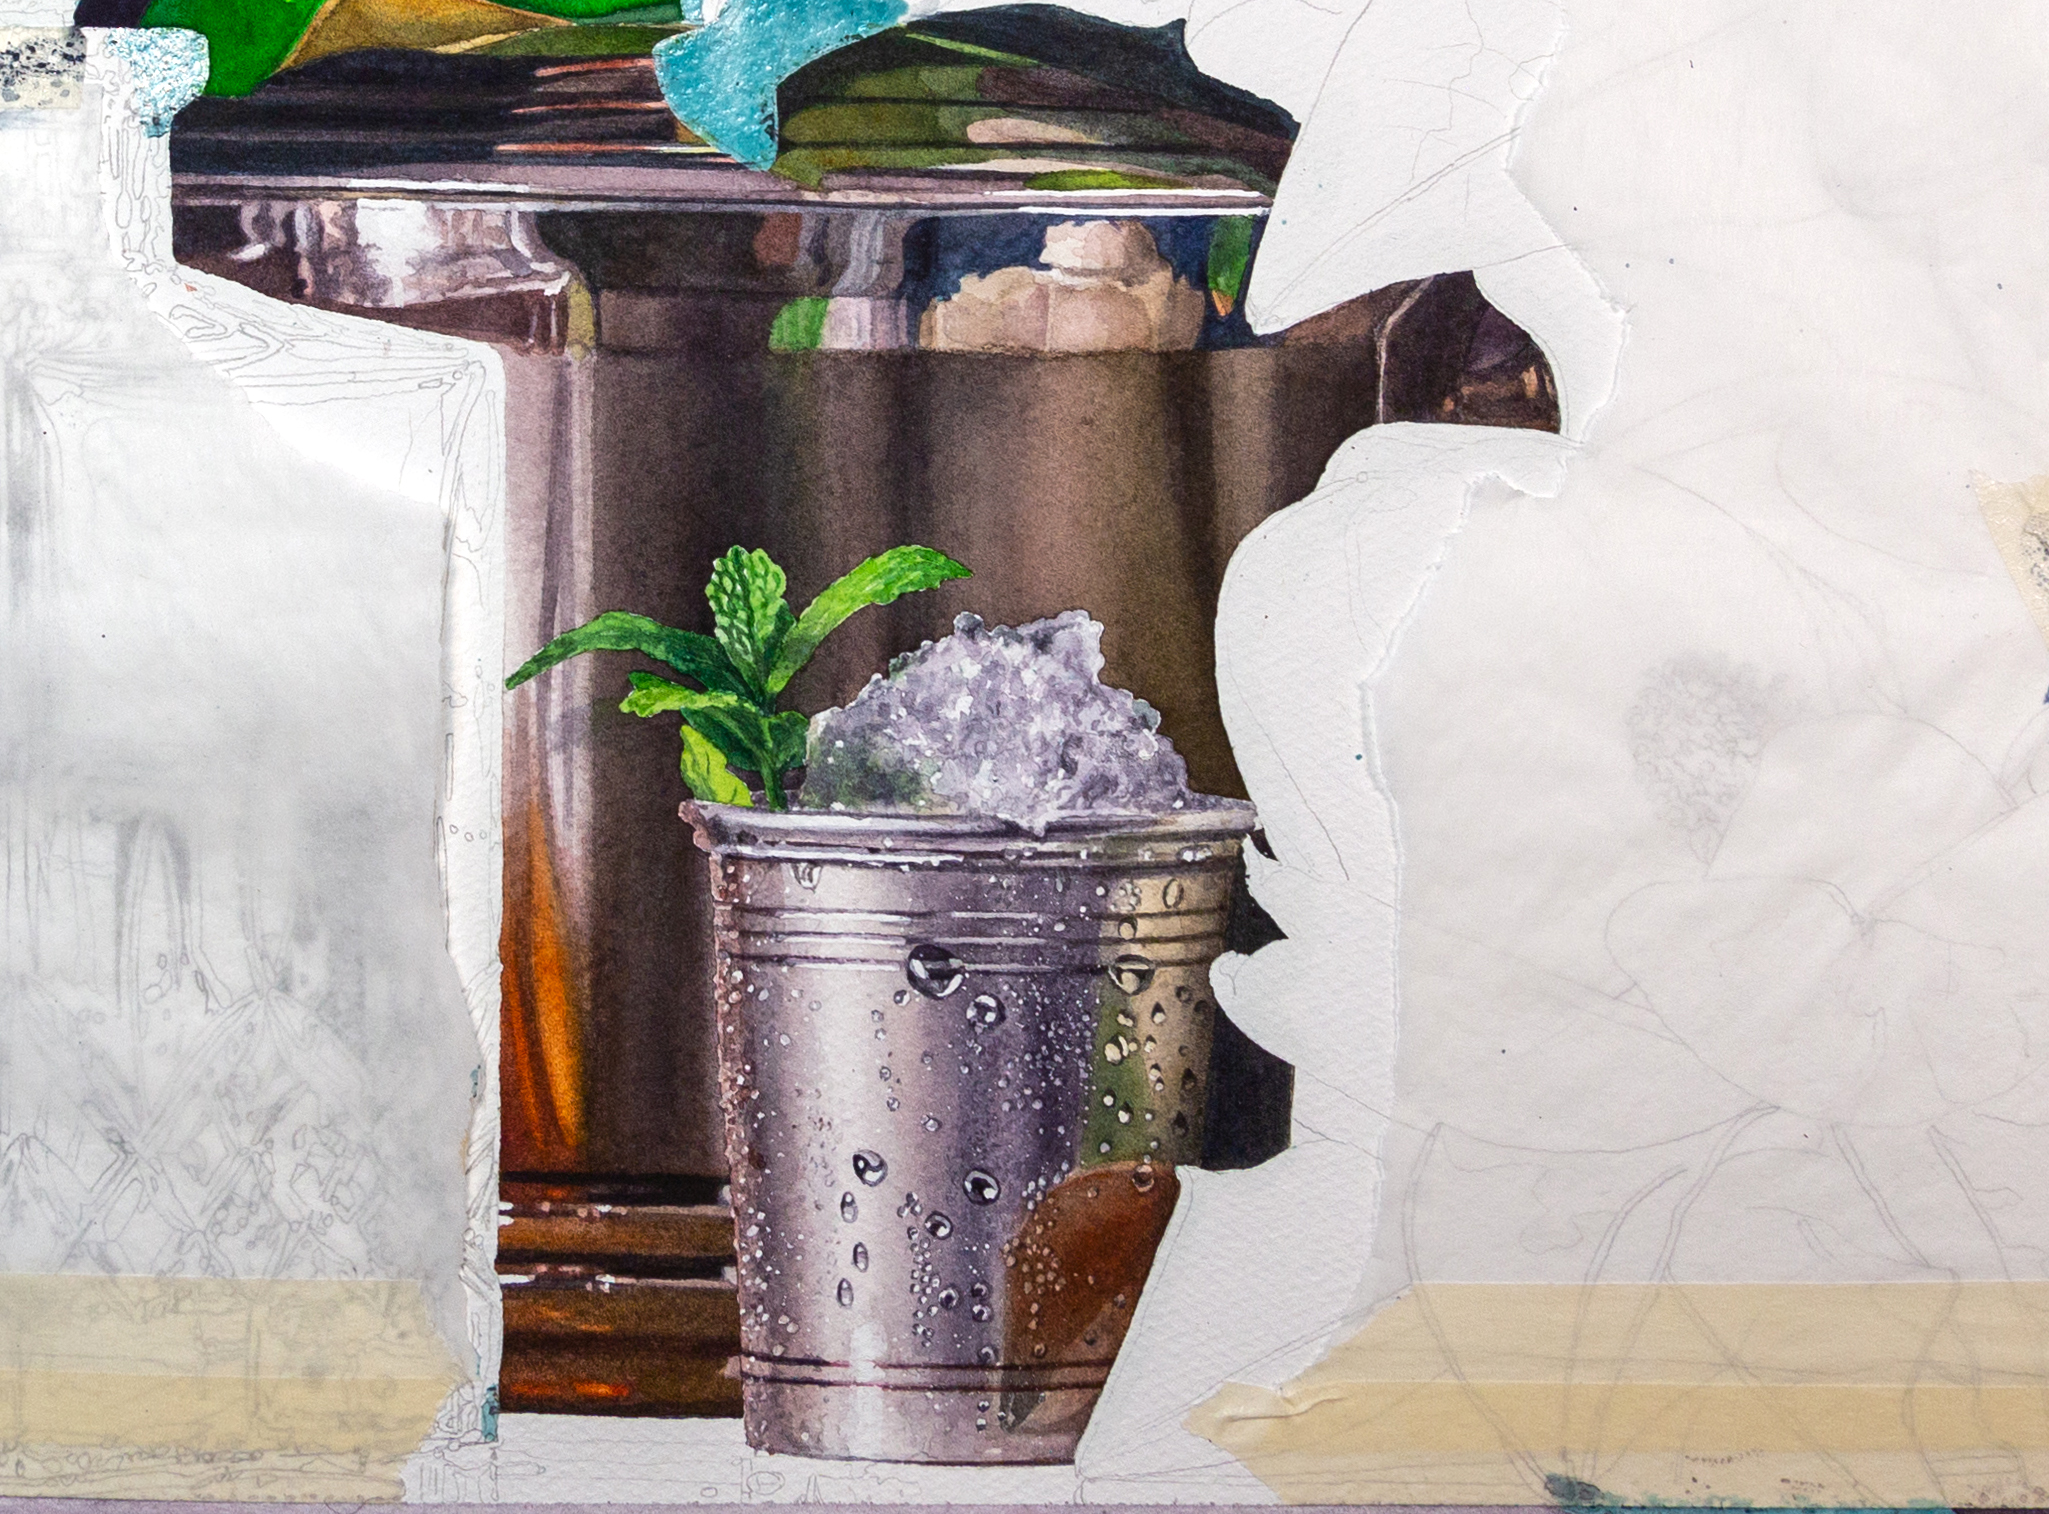
The frosted silver was painted wet into wet, through multiple layers until the values were correct. The colors were from the “slop” in the middle of my pallet, various warm and cool greys. Next, the masking was removed and each water droplet was painted wet on dry paper, so the edges are crisp and well defined.
Next I turned to the magnolia leaves and flowers, working back to front.
Painting Leaves with Watercolor
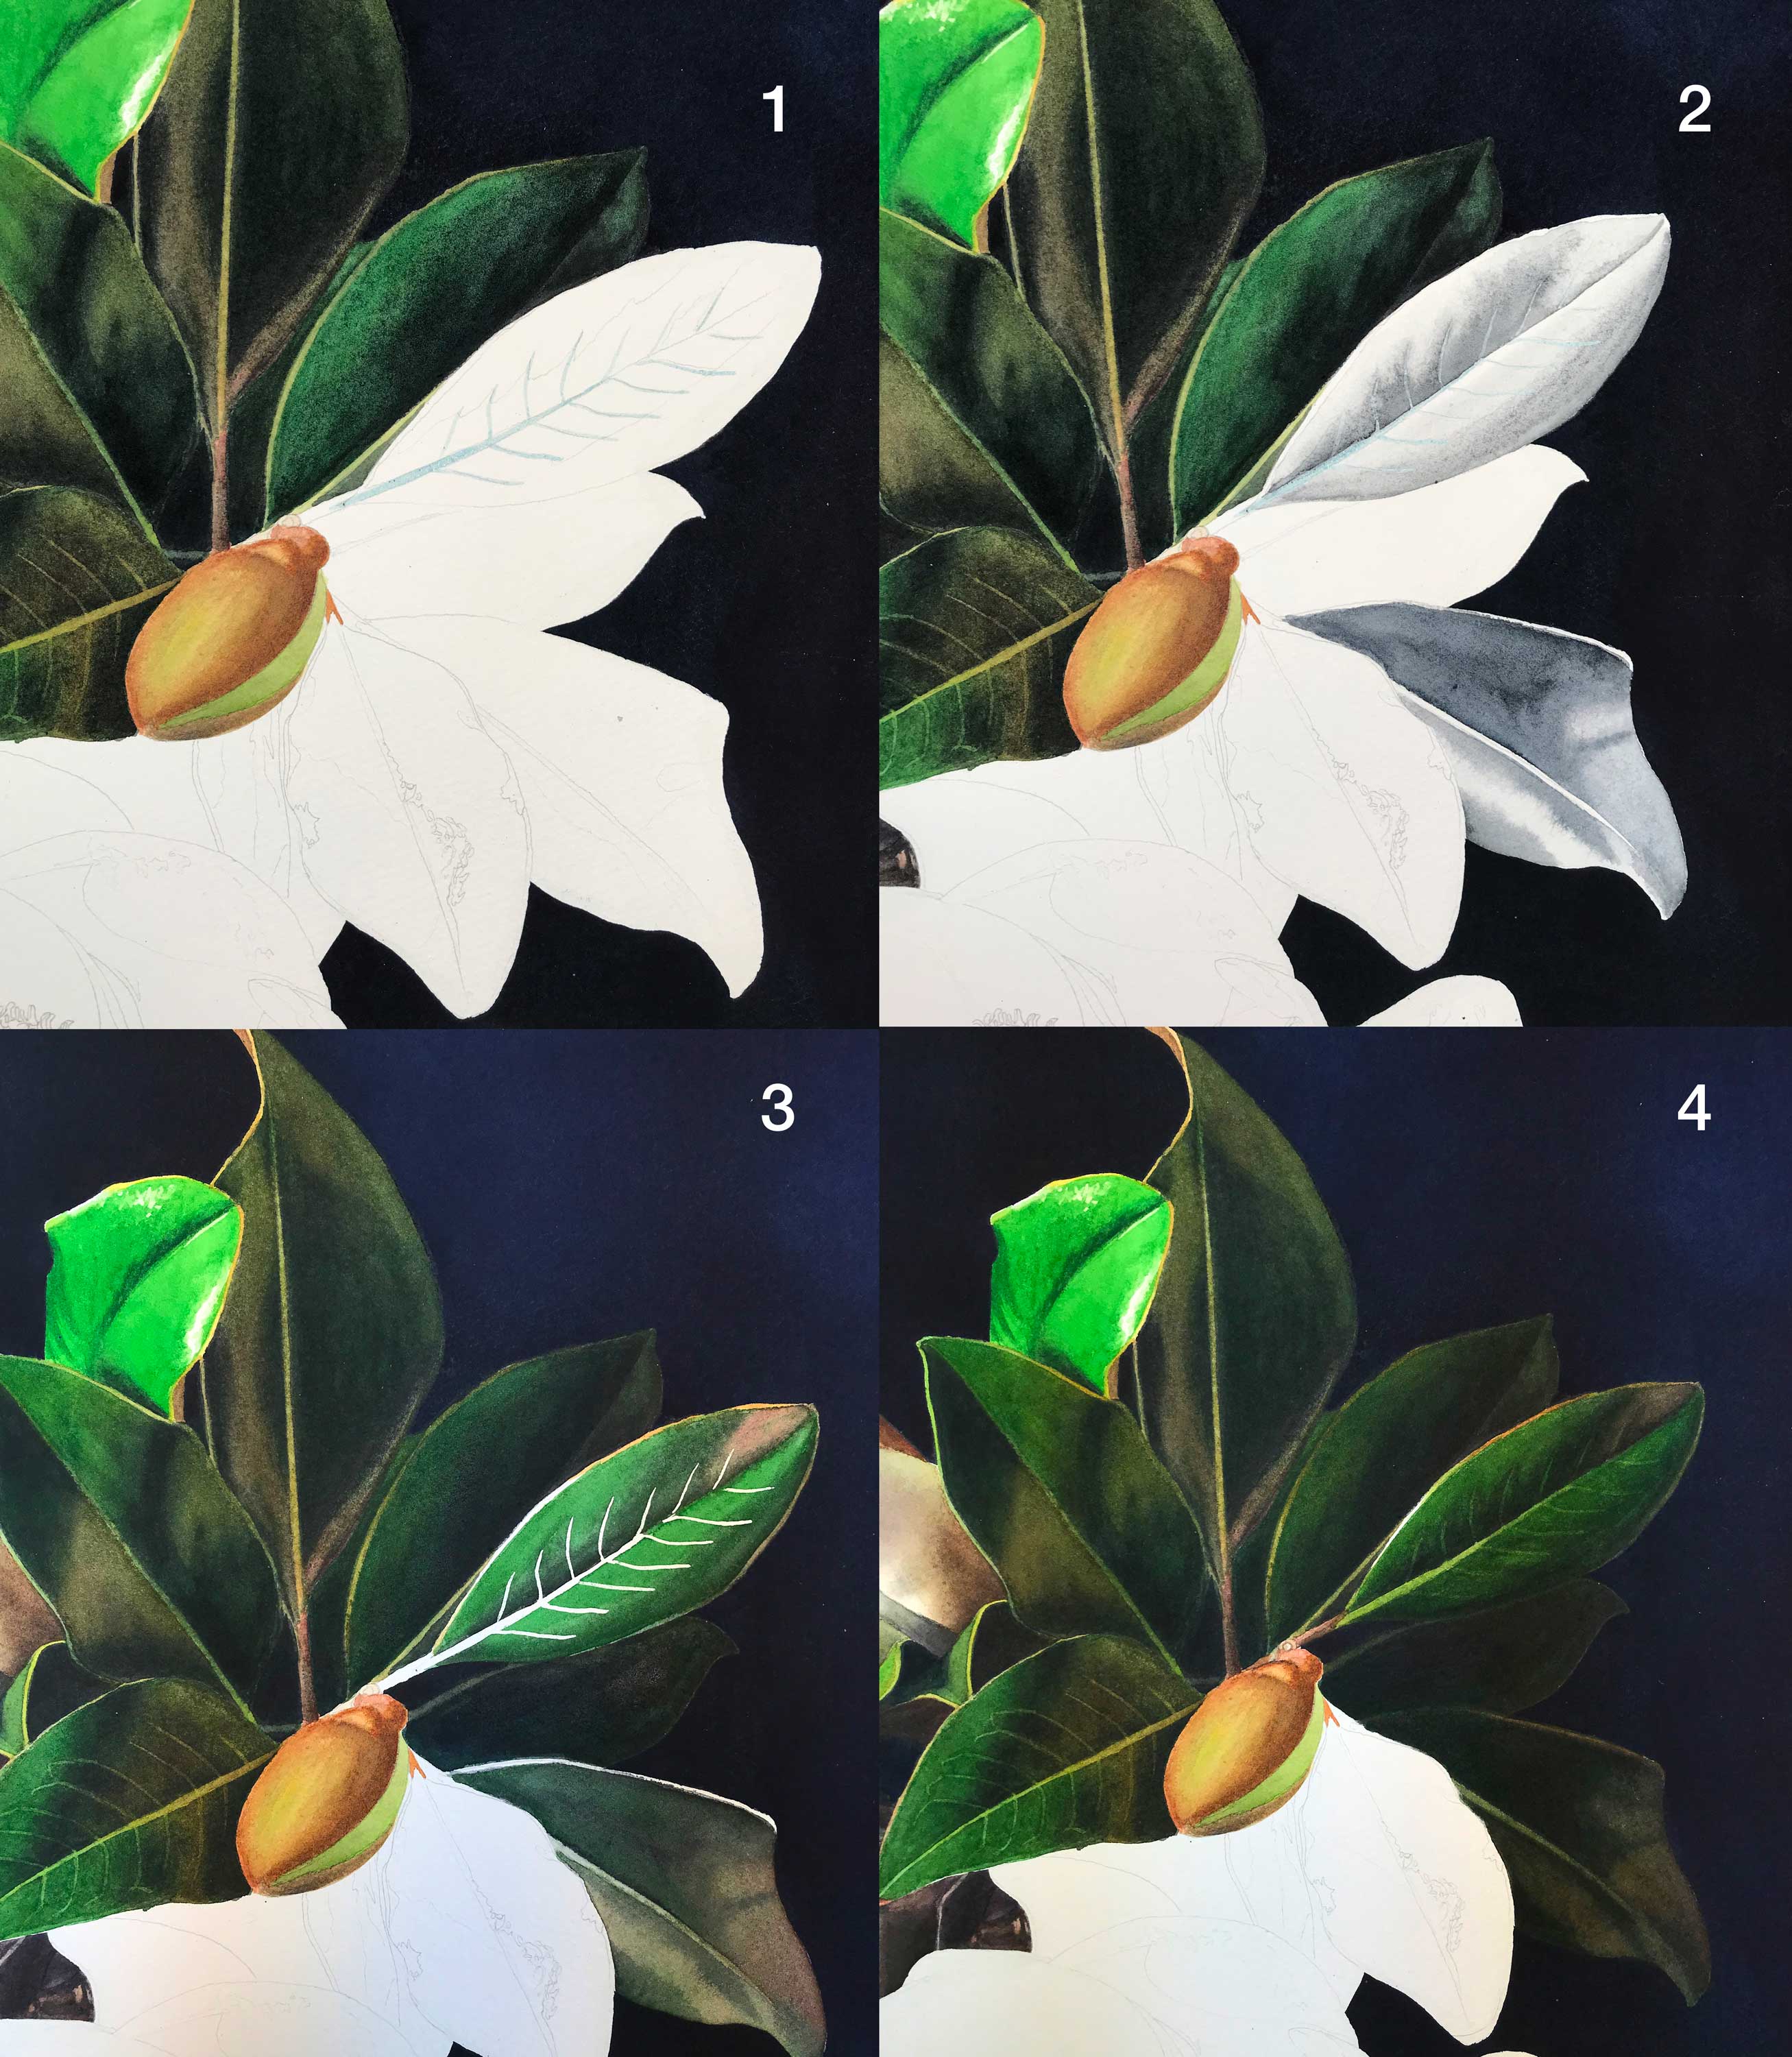
The first step for each leaf was carefully masking the veins (1), then an underpainting of Payne’s gray to establish form and value (2). Layers of green and light red were continually applied. Once this was completely dry, the mask was removed (3). These leaves are in shadow and need to be much darker, so further layers are added to push them back (4).
How I Approach Painting Crystal with Watercolor
Finally, the pièce de résistance: the crystal decanter. Crystal is challenging to paint for a number of reasons. Like any glass object, it’s translucent so you see what is behind, and also reflective of the things around it. But crystal also refracts the light like a prism, creating interesting colors and patterns.
Before painting, it’s important to study and understand what you are actually seeing, not what you think it should be. I’ve painted crystal many times and didn’t think this would be much different, but I failed to notice the julep cup, with all its water droplets, was reflected in the glass. This added another layer of complexity, and had I fully appreciated this at the start, I probably would not have done this last.
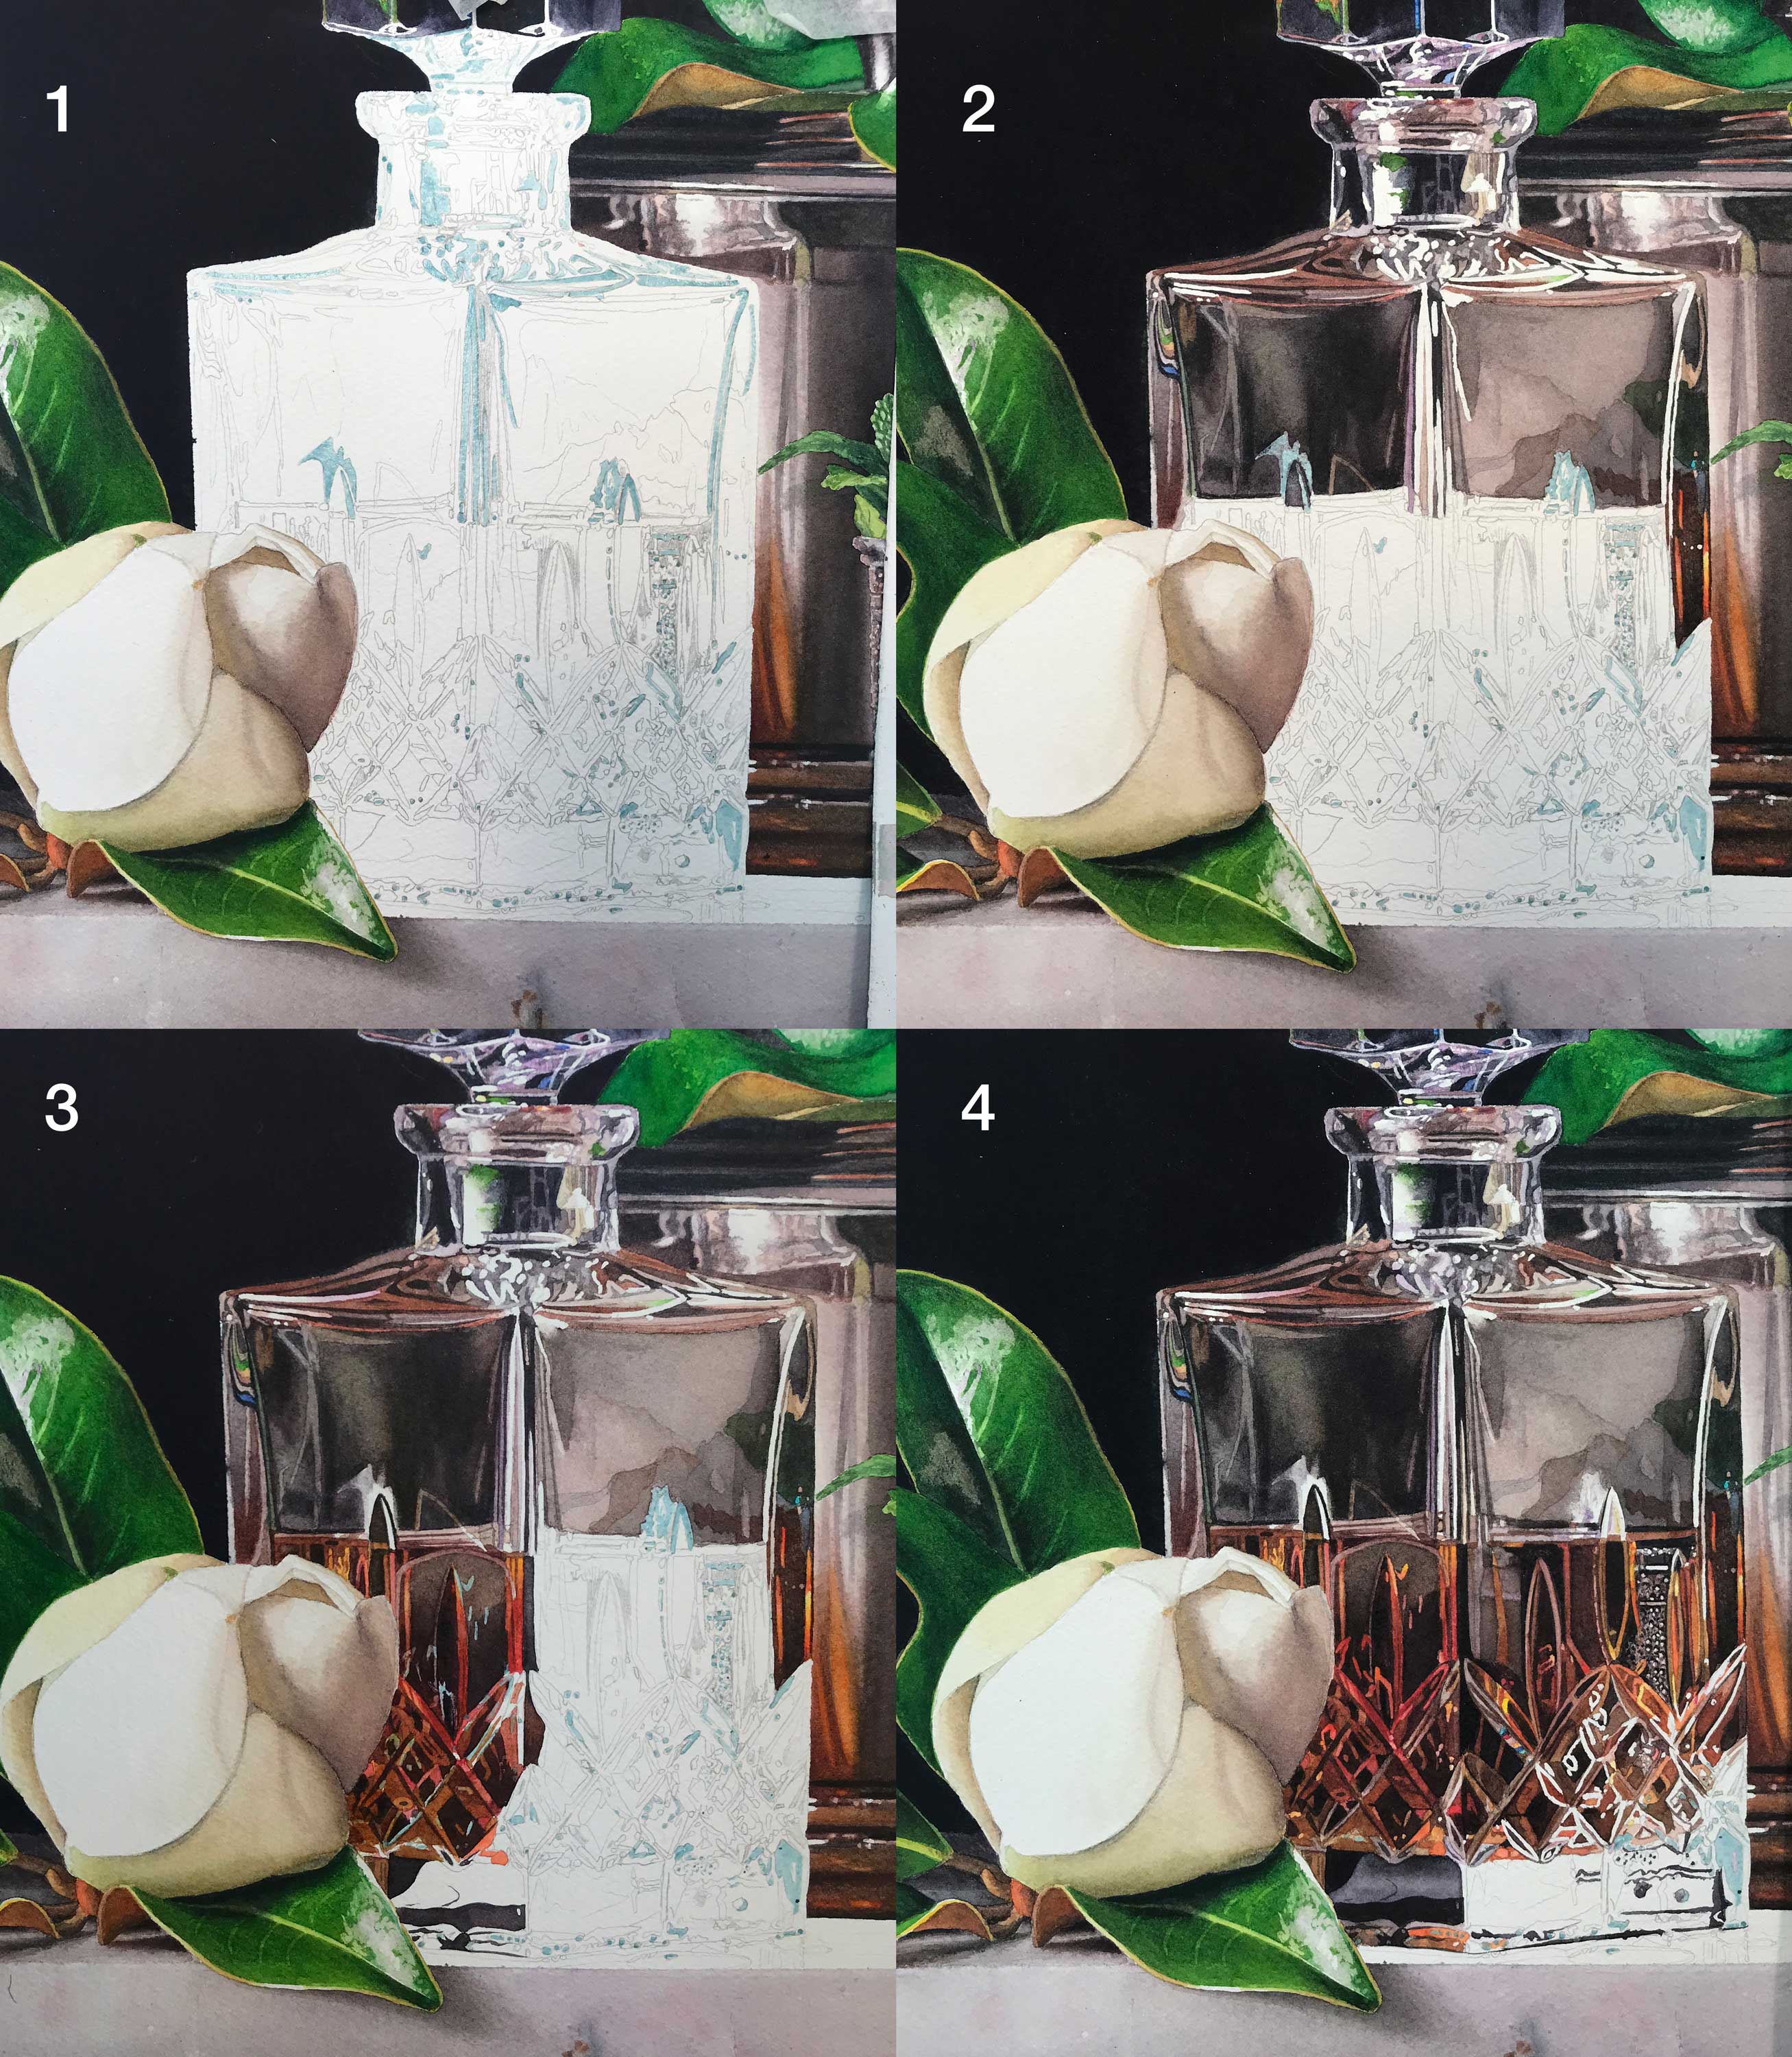
I make light notations with a hard pencil to help me organize the shapes and understand the surface. Again, I save the whites with masking fluid, and shade the darkest areas with pencil. I find it helpful to have the extreme ends of the value scale understood, and then work in between (1). I paint from the top down, working wet into wet for the smooth areas of glass that require subtle transitions (2), and wet on dry for the hard edges (3,4).
Final Tweaks
I like to let the painting sit for a few days, and come back to it with fresh eyes. I continually make tweaks, usually to darken values, and find little things I missed along the way.
Material List
Paper:
300 lb. Fabriano Artistico Extra White Cold Press
Brushes:
2”or 3” Hake Brush;
Escoda small, medium, and large rounds.
An old, stiff synthetic brush for blending and lifting.
Artists’ quality watercolors, most pigments for this painting were by Daniel Smith:
Cadmium Yellow Medium
Light Red (Winsor & Newton)
Mineral Violet (Holbein)
Permanent Alizarin Crimson
Prussian Blue
Hookers Green
Quinacridone Burnt Orange
Quinacridone Burnt Scarlet
Burnt Sienna
Raw Umber
Burnt Umber
Payne’s Gray
Other Materials:
Masking tape and fluid
Lightweight tracing paper
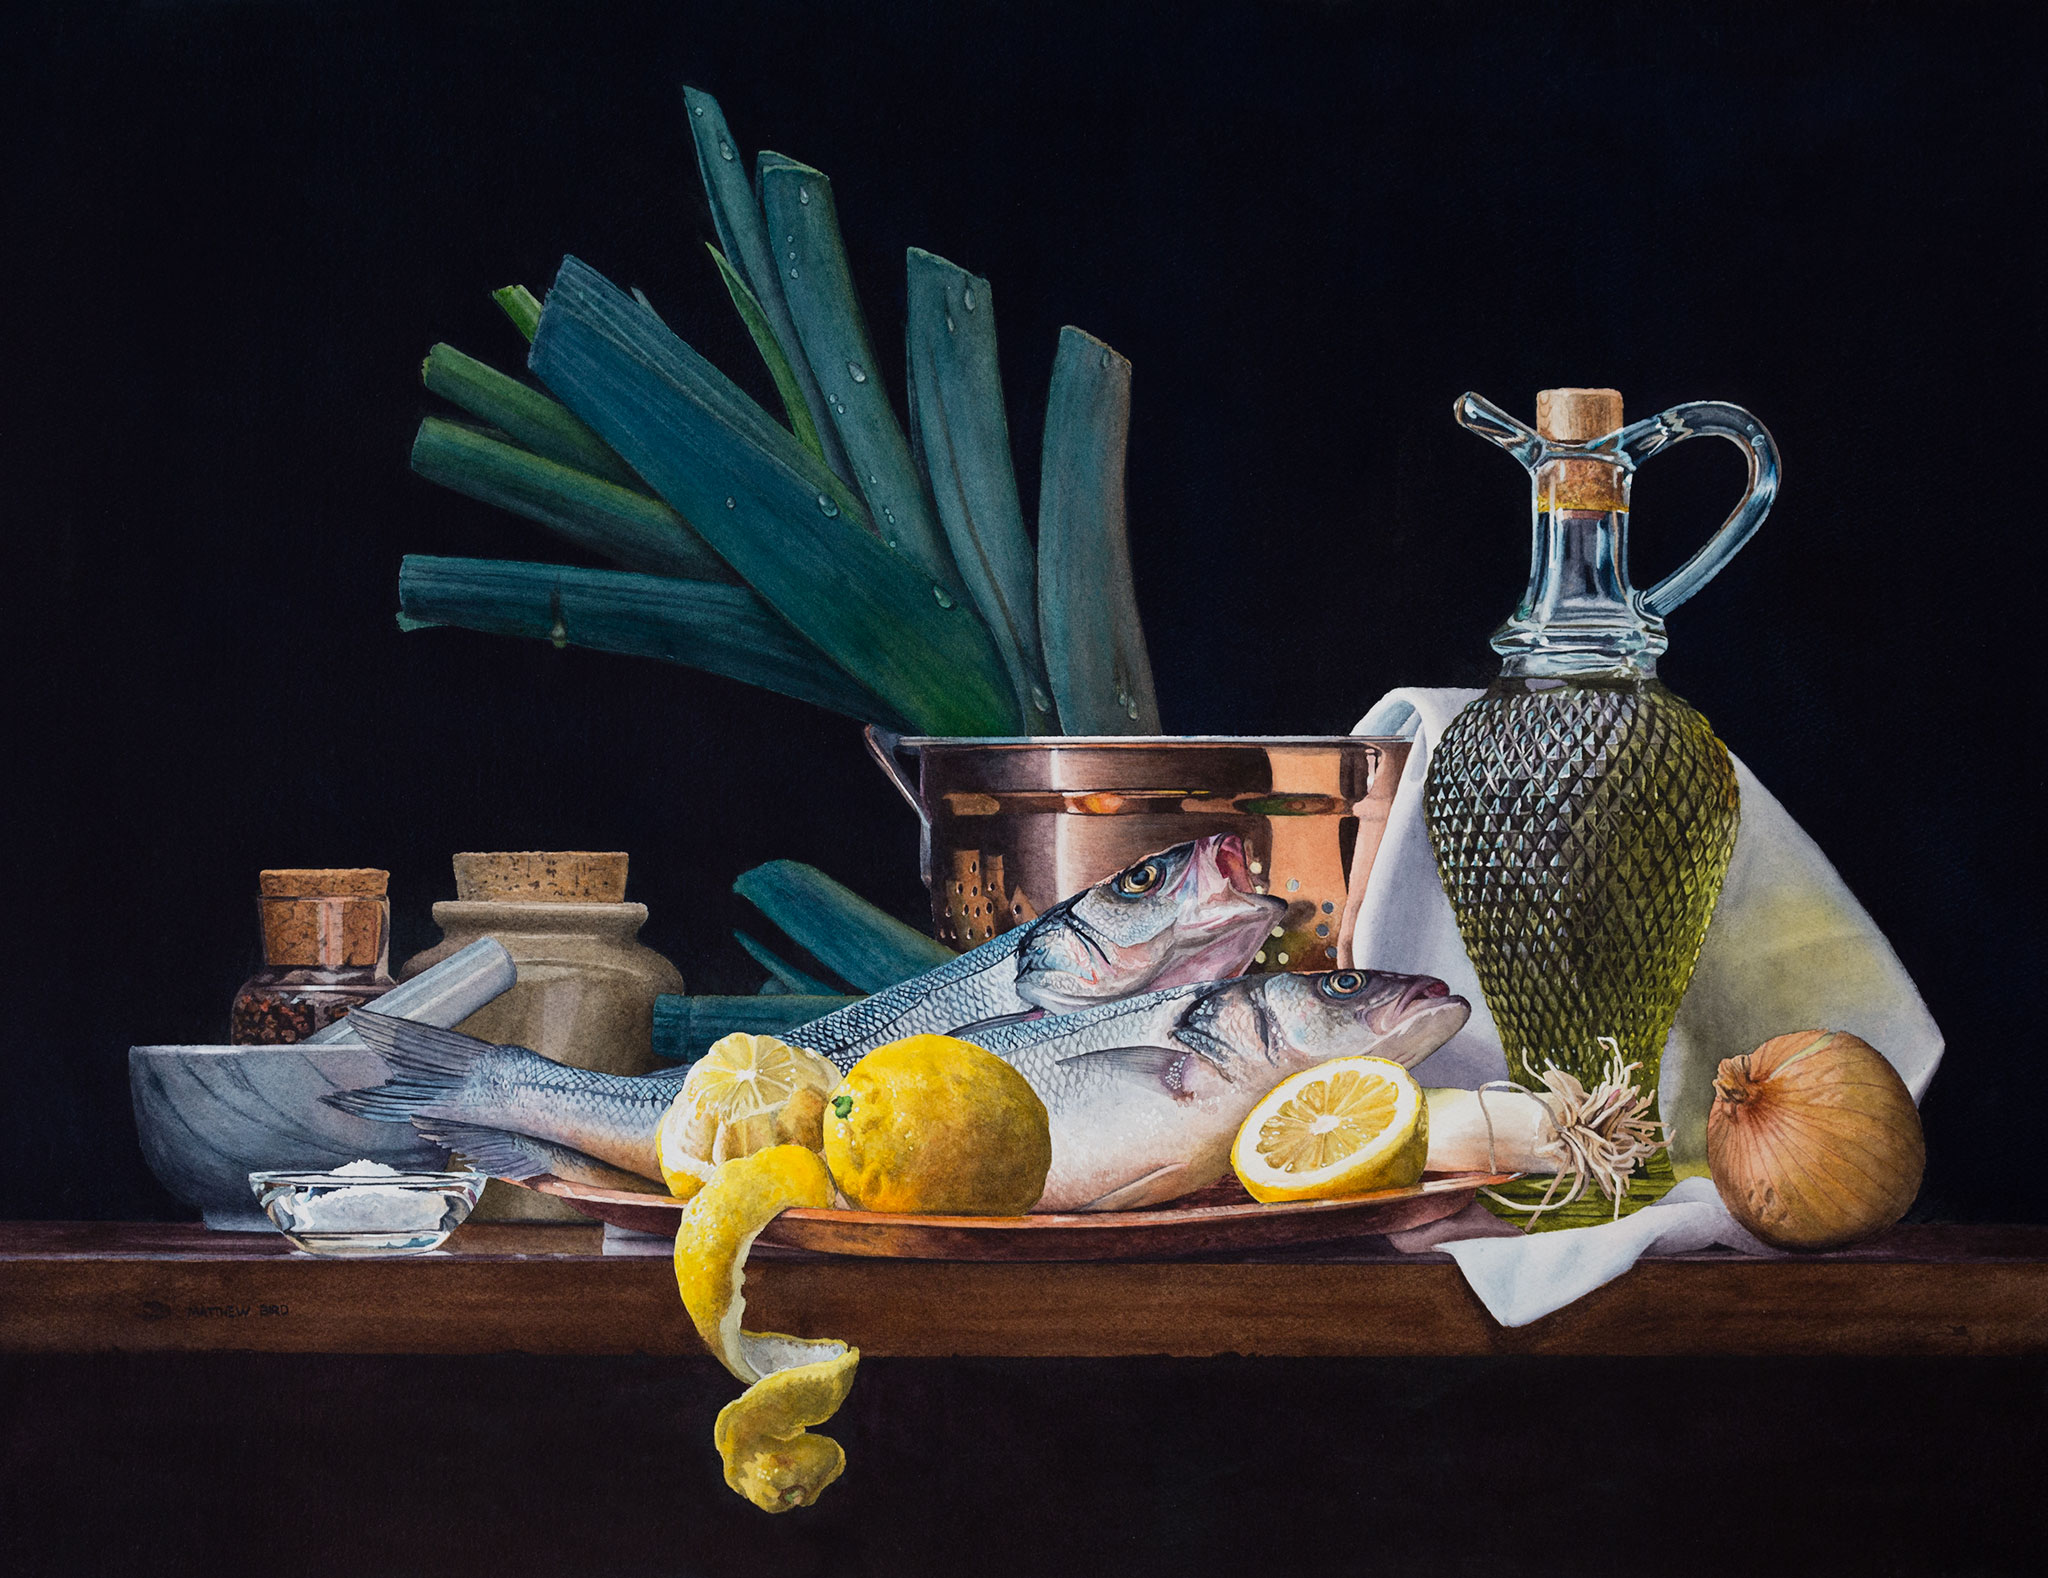
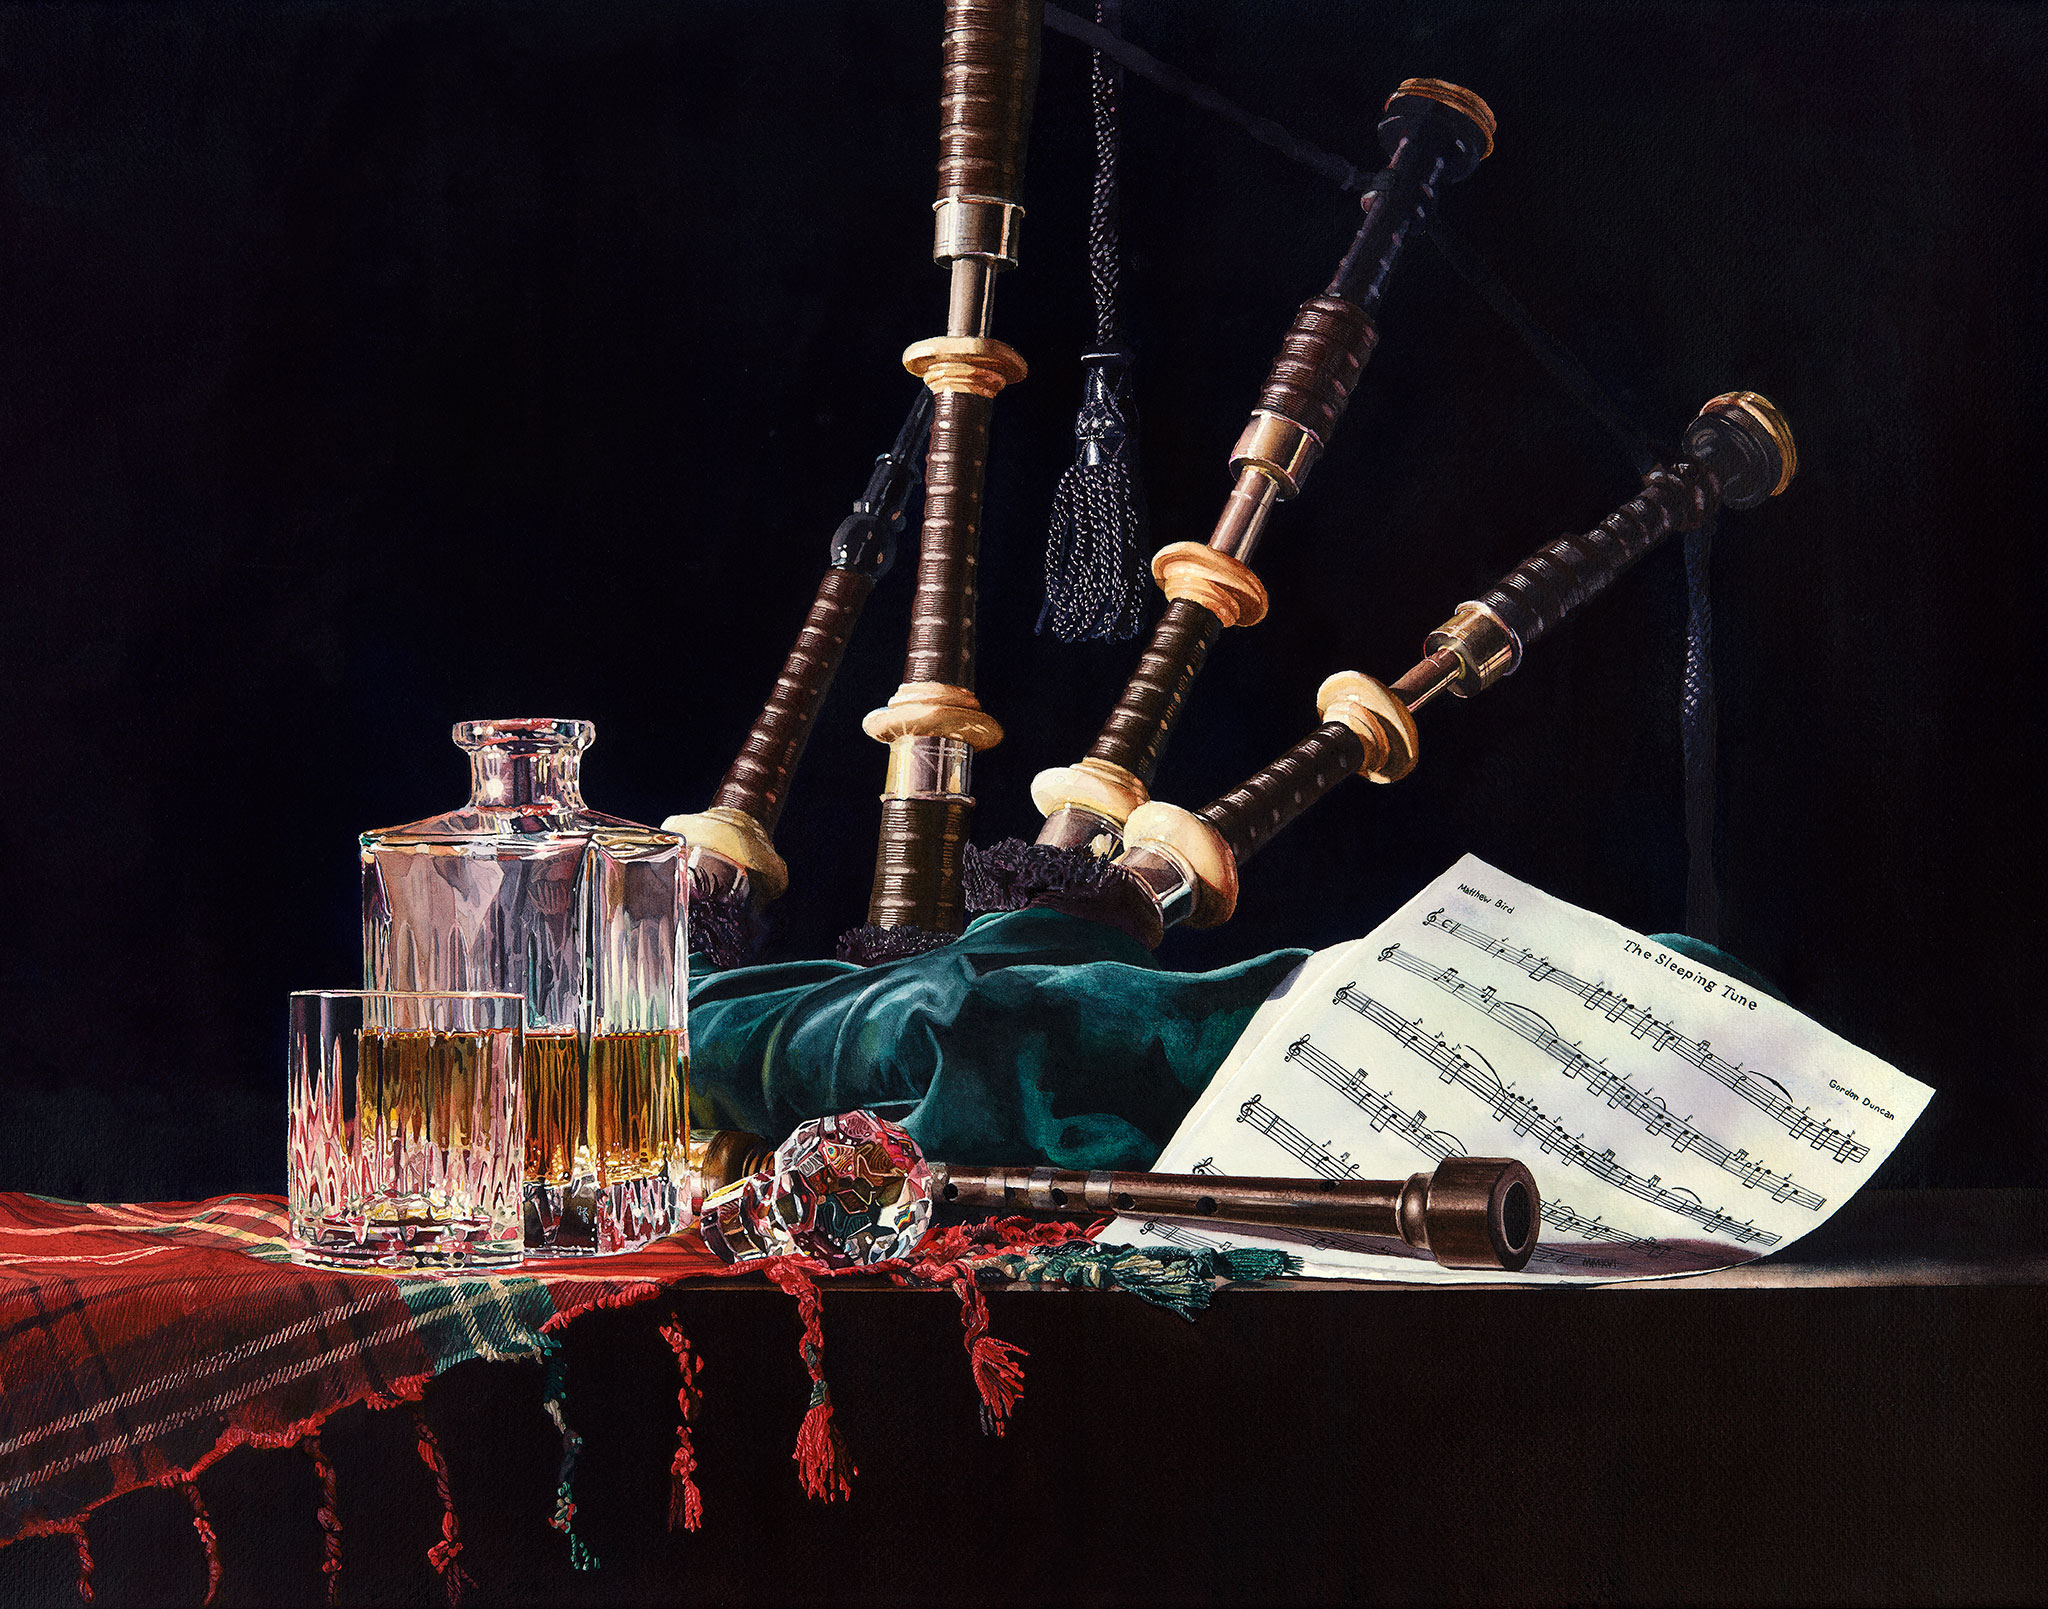
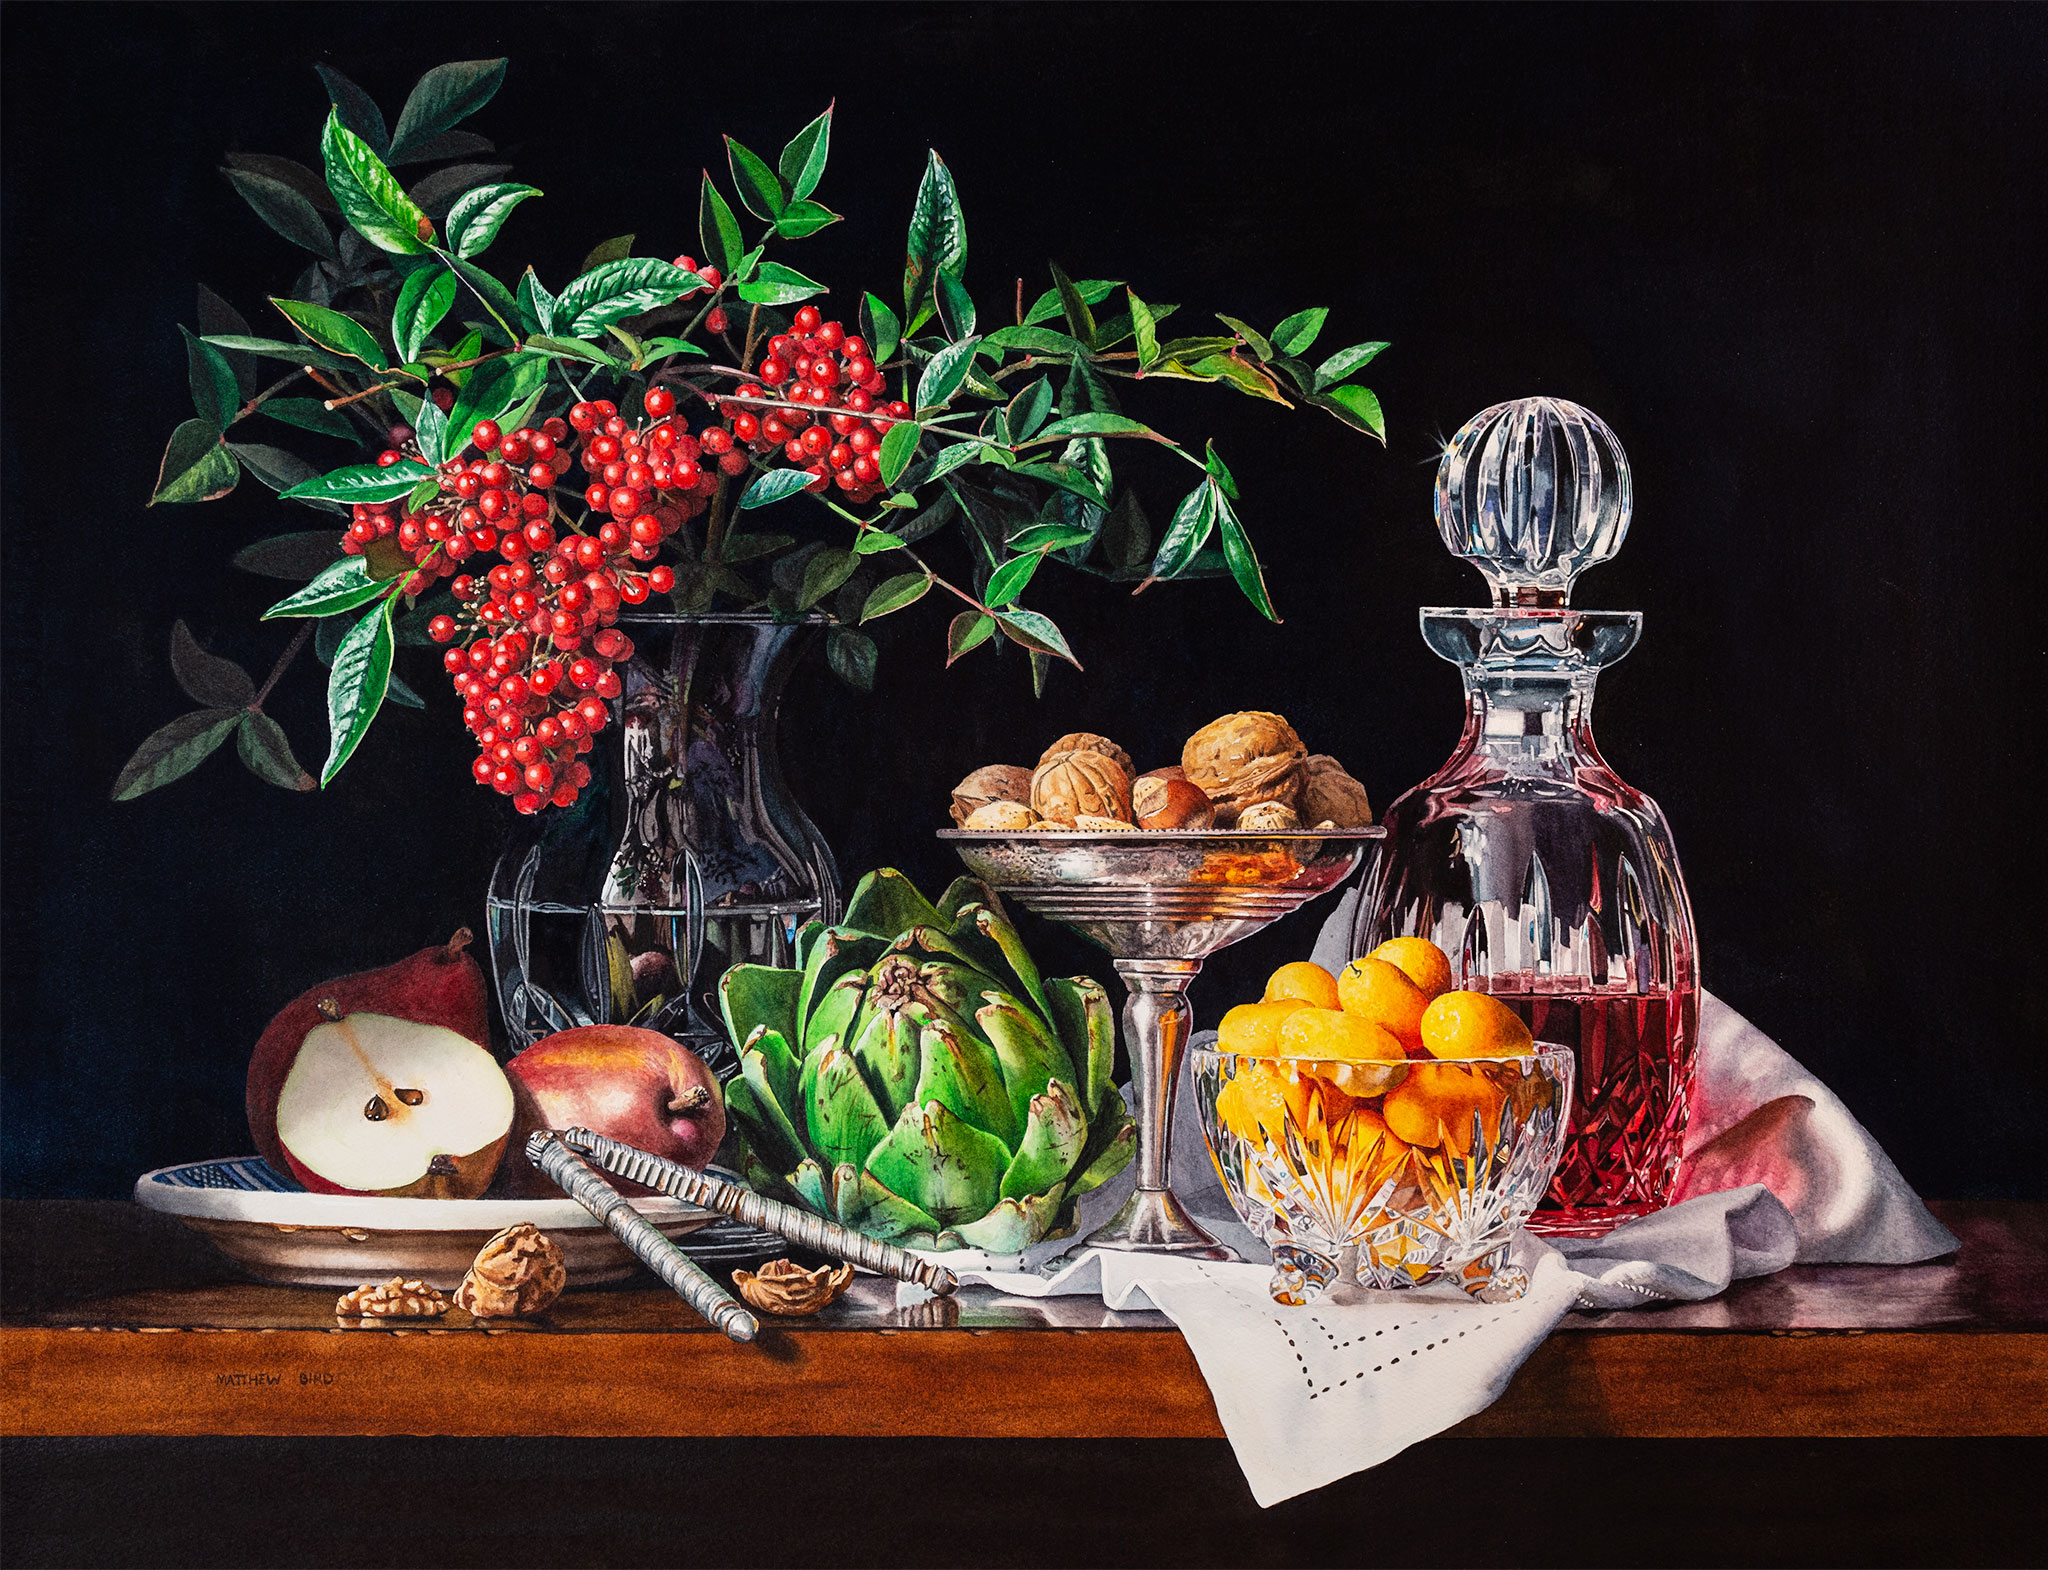
Additional Realist Watercolor Still Life Paintings by Matthew Bird:
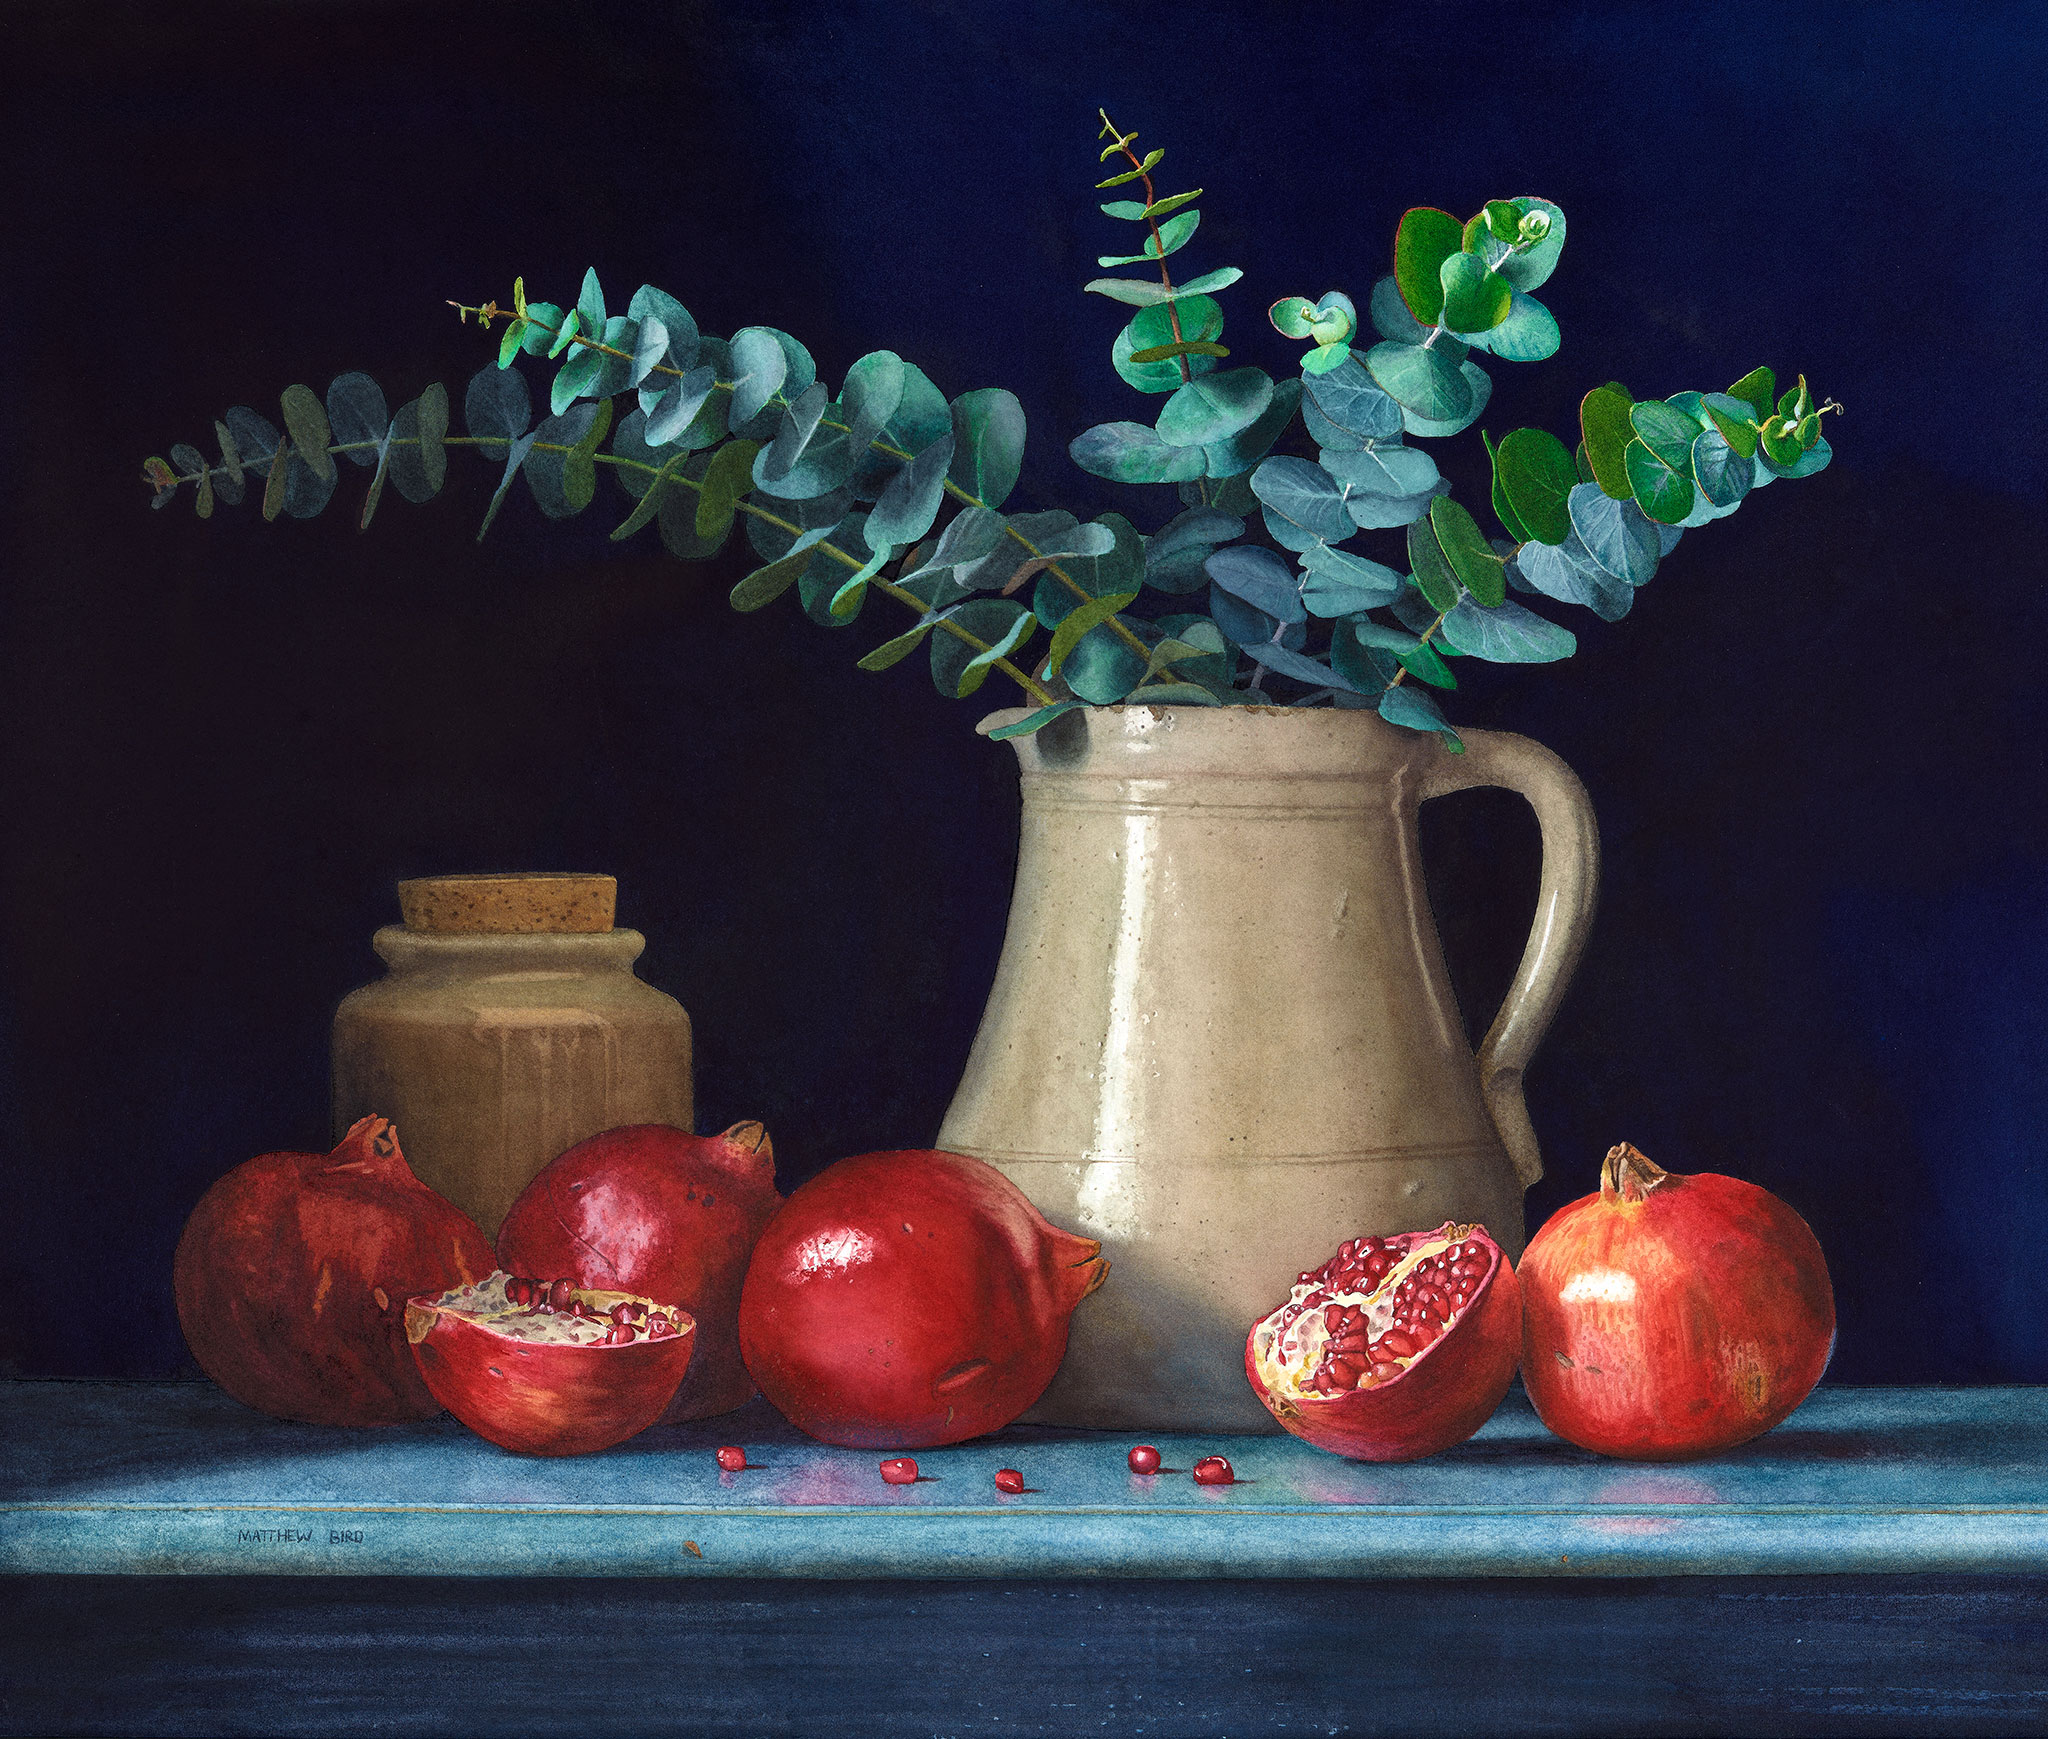
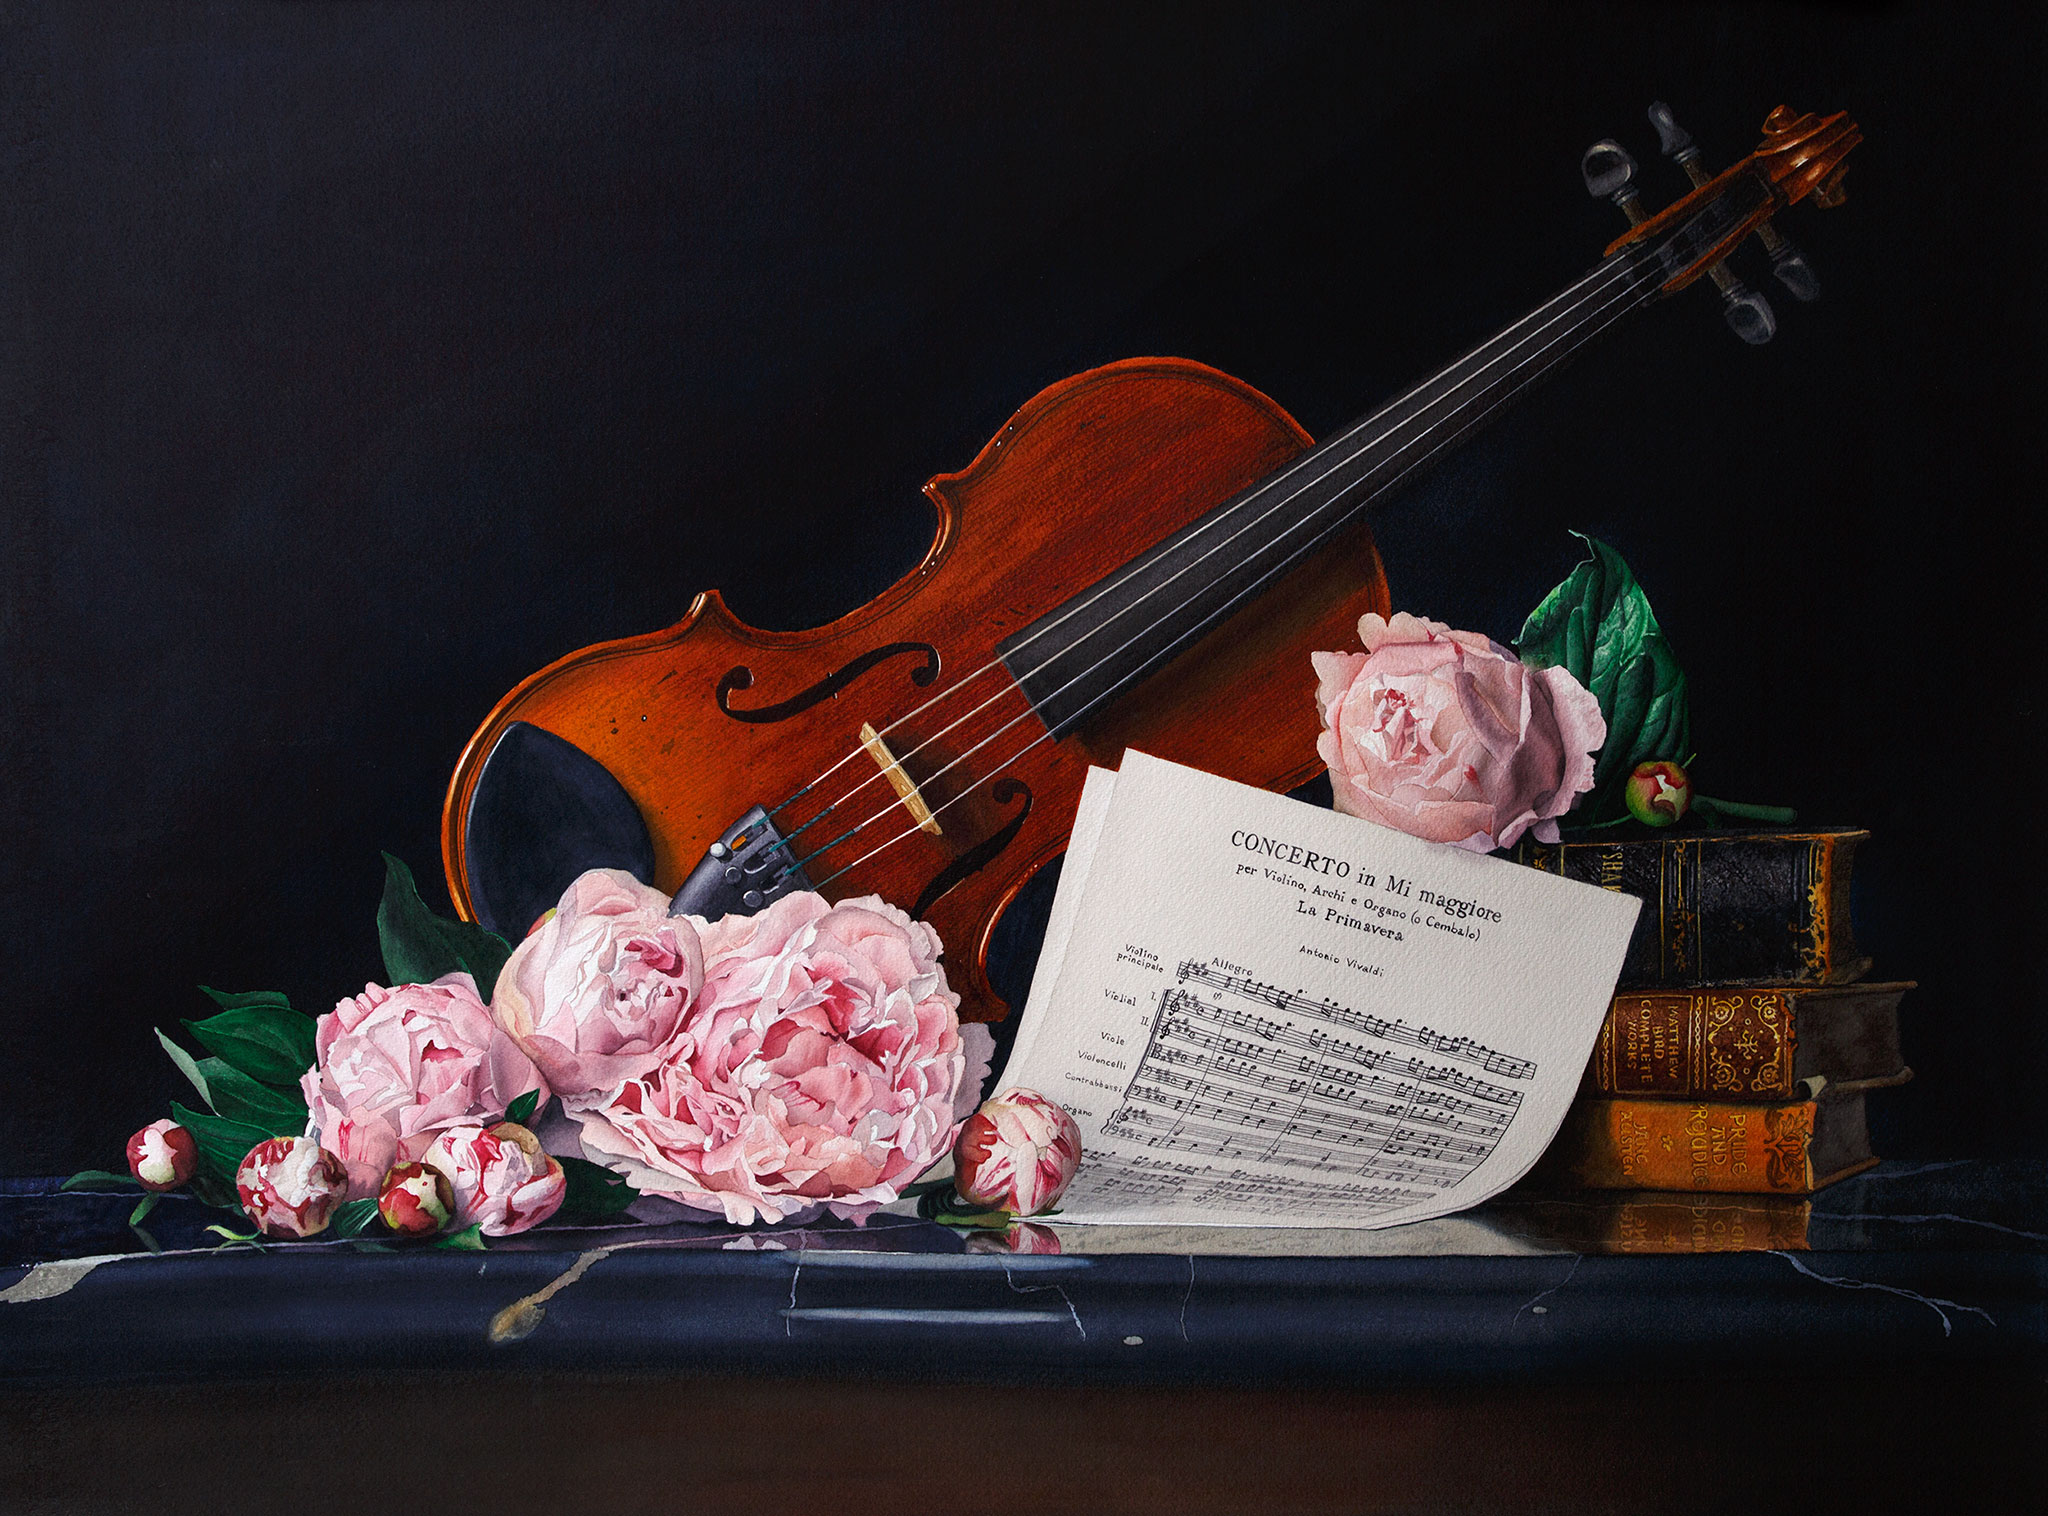
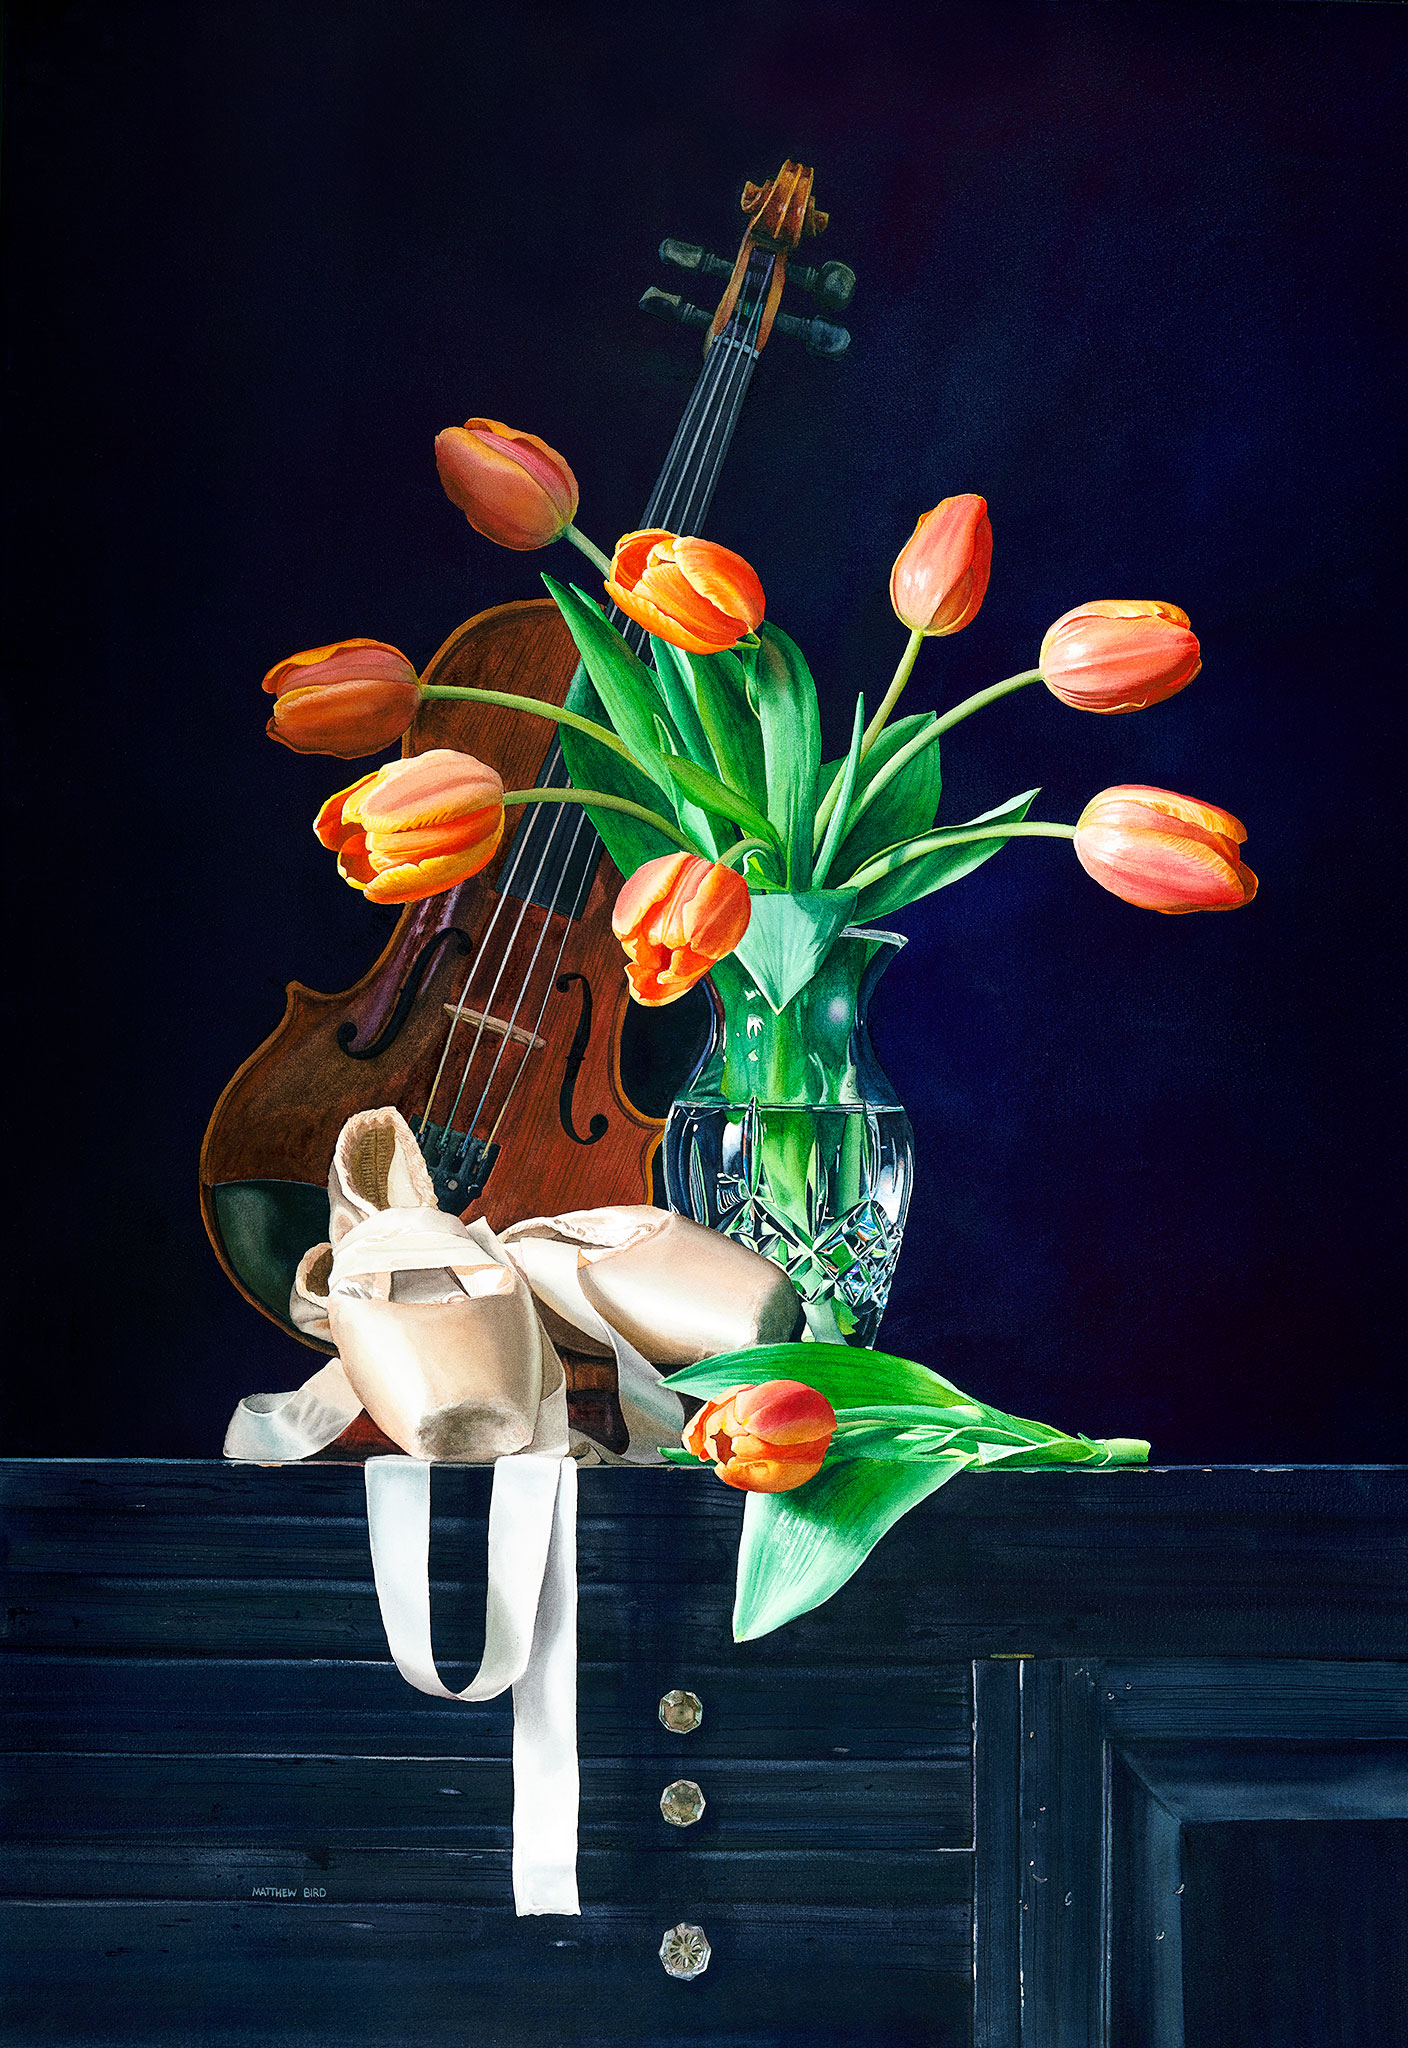
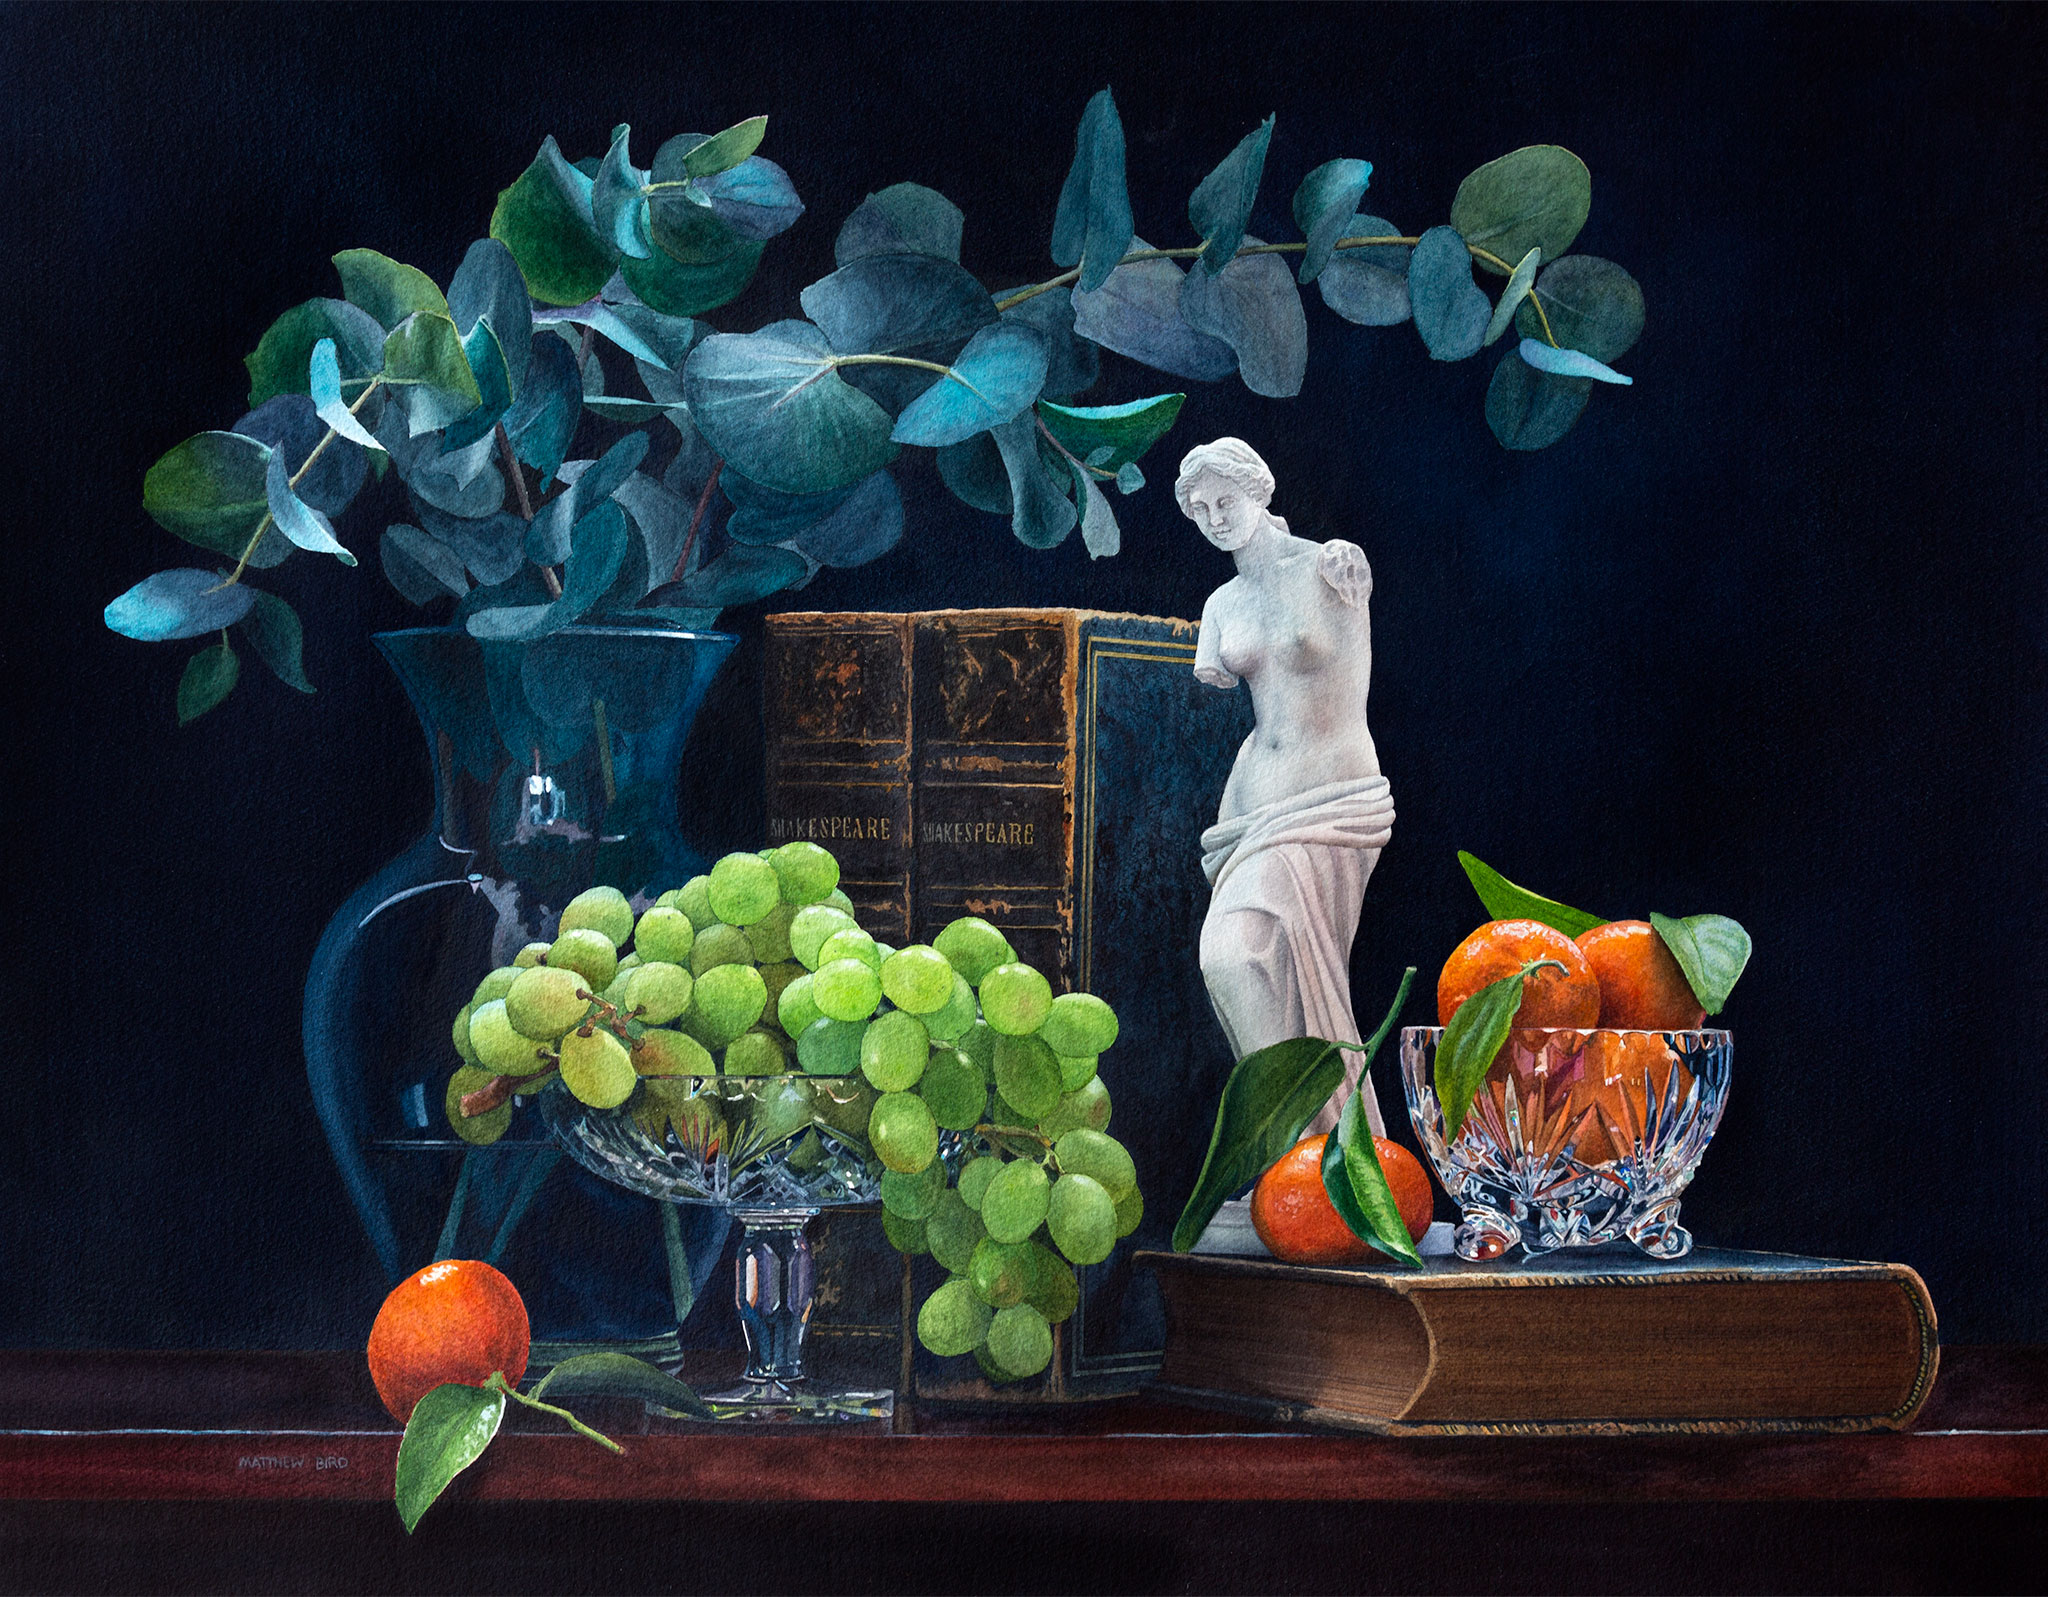
About the Artist
Matthew Bird is a Signature Member of numerous organizations, including the National Watercolor Society, and his award-winning watercolor paintings have been exhibited in juried shows across the United States, as well as in Canada, China, Greece, Hong Kong, and Italy. His work is in a permanent museum collection as well as numerous private collections.
Website | Instagram | Facebook | Twitter
This still life article was originally published in 2019


Excellent tutorial Matthew. You know for me the best tip I got out of it was to go at the most challenging part of the piece first. Not just left to right…depending what your painting hand is. I’m familiar with many of the technical prep points training with Laurin…it’s similar and the technical painting aspects…will take much more practice on my part lol. Thanks for sharing this Sir!
Comments are closed.