


Watercolor Realism Painting Techniques for Artists > While drafting tape looks, at first glance, to be a lot like masking tape, there are some fundamental differences you should be aware of. Read on to see more from Laurin McCracken on this common watercolor painting technique.
Also, learn more from Laurin in the art video workshop “Watercolor Realism: Glass & Wood” here.
Masking Watercolor with Drafting Tape
BY LAURIN MCRACKEN, AWS, NWS
(lauringallery.com)
Watercolorists use a wide variety of products to mask out large areas when they paint. Many use a wide assortment of tapes, and many also have a lot of trouble with those tapes. I have been told by artists that they use Artist Tape, Masking Tape, Duct Tape, Painters’ Tape as well as material as diverse as double-stick shelf paper.
Almost none of these products were manufactured to be used for painting with watercolor. The result is that the products either ruin the surface of the paper or at the least disturb the fibers on the surface of the paper to the point where it does not respond well to the paint.
If you are going to mask an area that you believe is too large to practically use masking fluid, I strongly recommend the use of drafting tape. Drafting tape looks, at first glance, to be a lot like masking tape. However, there are some fundamental differences.
On Using Drafting Tape as Masking for Watercolor Realism Painting
Drafting tape is translucent, not opaque, making it a lot easier to see through when trimming around the area to be masked. The primary difference is in the glue that is used. The glue on Drafting tape is low tack and repositionable. Architects and engineers have used drafting tape for more than 100 years to attach their drawings to their drafting tables without damaging the paper.
The great thing about drafting tape is that the molecules of the glue are smaller than the molecules of water so that water, or in this case watercolor paint, will not creep under the edge of the tape.
The translucency of the tape will allow you to see lines that are drawn with as light as a 2H lead. This means that you will be able to make very accurate cuts in the tape when working around rough edged subjects such as flowers in a still life painting. It should be mentioned that it is difficult to cut through the tape that is applied to 90 pound and 140 pound paper and not cut through the paper. If you plan to use drafting tape to do any masking, it is recommended that you use 300-pound paper.
When cutting through the drafting tape, I recommend using a #11 X-Acto Blade in a #1 X-Acto handle. Be sure to replace the blade from time to time. You can not make accurate cuts with a dull blade.
When drafting tape is applied directly to the paper, it can be burnished in place with just the ball of the tip of your finger. However, if you are using the drafting tape over an area that has already been painted, you will need to burnish the tape down so that the glue is pressed between the particles of the pigment. I suggest using a wooden or plastic burnishing tool. You only need to burnish the very edge of tape not the whole area of the tape, approximately 1/16th of an inch.
Removing Tape From Watercolor Paper
You need to be very careful in removing the tape from the paper so that you do not take up any paper with the tape. If the tape has set for a few days or you see that it is not coming up easily, use a hair dryer to gently heat the tape. This will soften the glue and make it easier to lift the tape.
Where to Buy Drafting Tape for Artists
If you are having trouble finding drafting tape in your local art store, remember it is an architects’ and engineers’ tool; so, go find the T-squares and it will be near them.
The drafting tape I prefer to use is Pro Drafting Tape made by Pro Art. It is available many places including Cheap Joe’s. Alvin Drafting tape is also a good product. I do not recommend the 3-M product. It now has a plastic coating on it that makes it difficult to cut through. Whatever drafting tape you use should have a beige-colored crepe backing. The crepe backing allows it to “bend” around soft curves.
Related – How to Paint to Achieve Watercolor Realism >
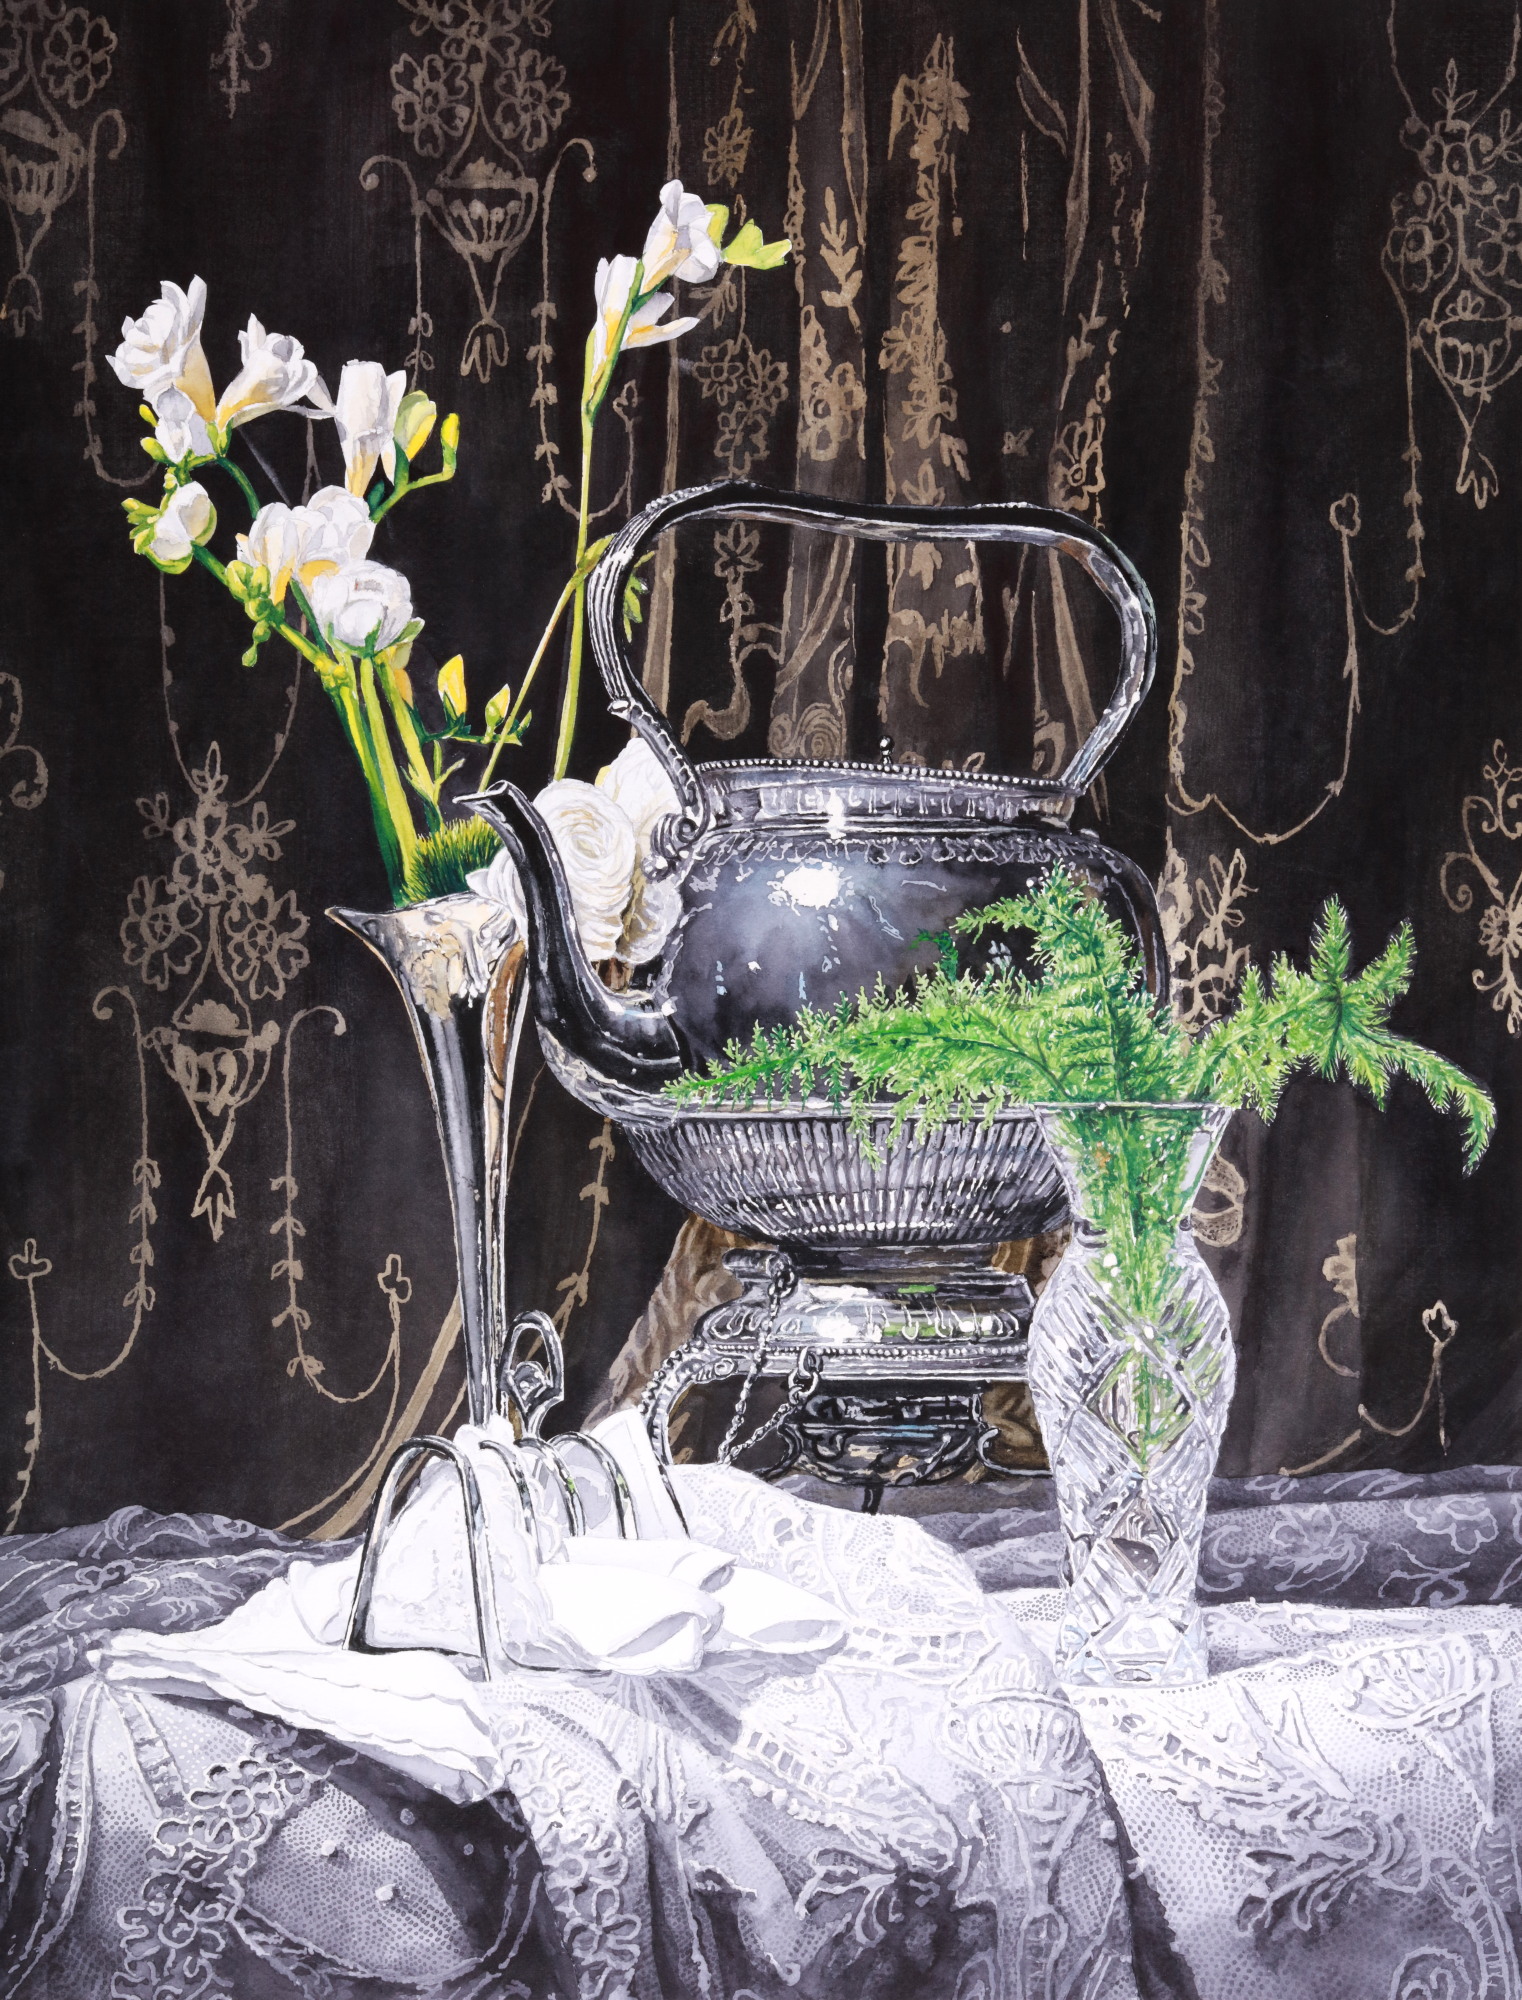
Inspired by the Dutch still-life painters of the 16th and 17th centuries, watercolor master Laurin McCracken has made it his life’s mission to capture the beauty of objects in spectacular detail. He has won all the top awards and is considered one of the best watercolor artists.
In Watercolor Realism: Glass & Wood, Laurin walks you through every step of his painting process from start to finish. Discover how he attains such a high level of realism and how he achieves his rich, deep black — a hallmark of his award-winning paintings. Expand your knowledge of tools and learn — from brushes to paper to paint — which will make the difference for your realistic paintings. You’ll explore every step Laurin takes to achieve his glass and wood painting so you can repeat the process with any subject matter while you paint along. You can apply these techniques to any realism subject … not JUST glass and wood.

Become a Realism Today Ambassador for the chance to see your work featured in our newsletter, on our social media, and on this site.
”")

