

,\" 24 x 24 in., Oil on Linen Over Panel")
In this special feature, classical realist painter Christina Grace Mastrangelo shares her step-by-step still life painting process for “Tree of Life (Under Which Sits the Mother of All the Buddhas).”
“The narrative in this piece exists between the stillness of the statue and the movement of the leaves around her,” Christina said. “The leaves start on the right, connected and lively, and as they arch across the space, they swirl and tumble. By the time they reach the left side, they begin to wilt, as an allegory on the acceptance of the passing of time – full of changes and chaos. This statue is the Mother of all Buddhas, called Prajnaparamita, who sits still and grounded in her place in the middle of everything. She is an effigy for all mothers – as the trunk, the invisible connection between roots and reaching for the stars.”
Step-by-Step Still Life Painting Process
By Christina Grace Mastrangelo
Step 1
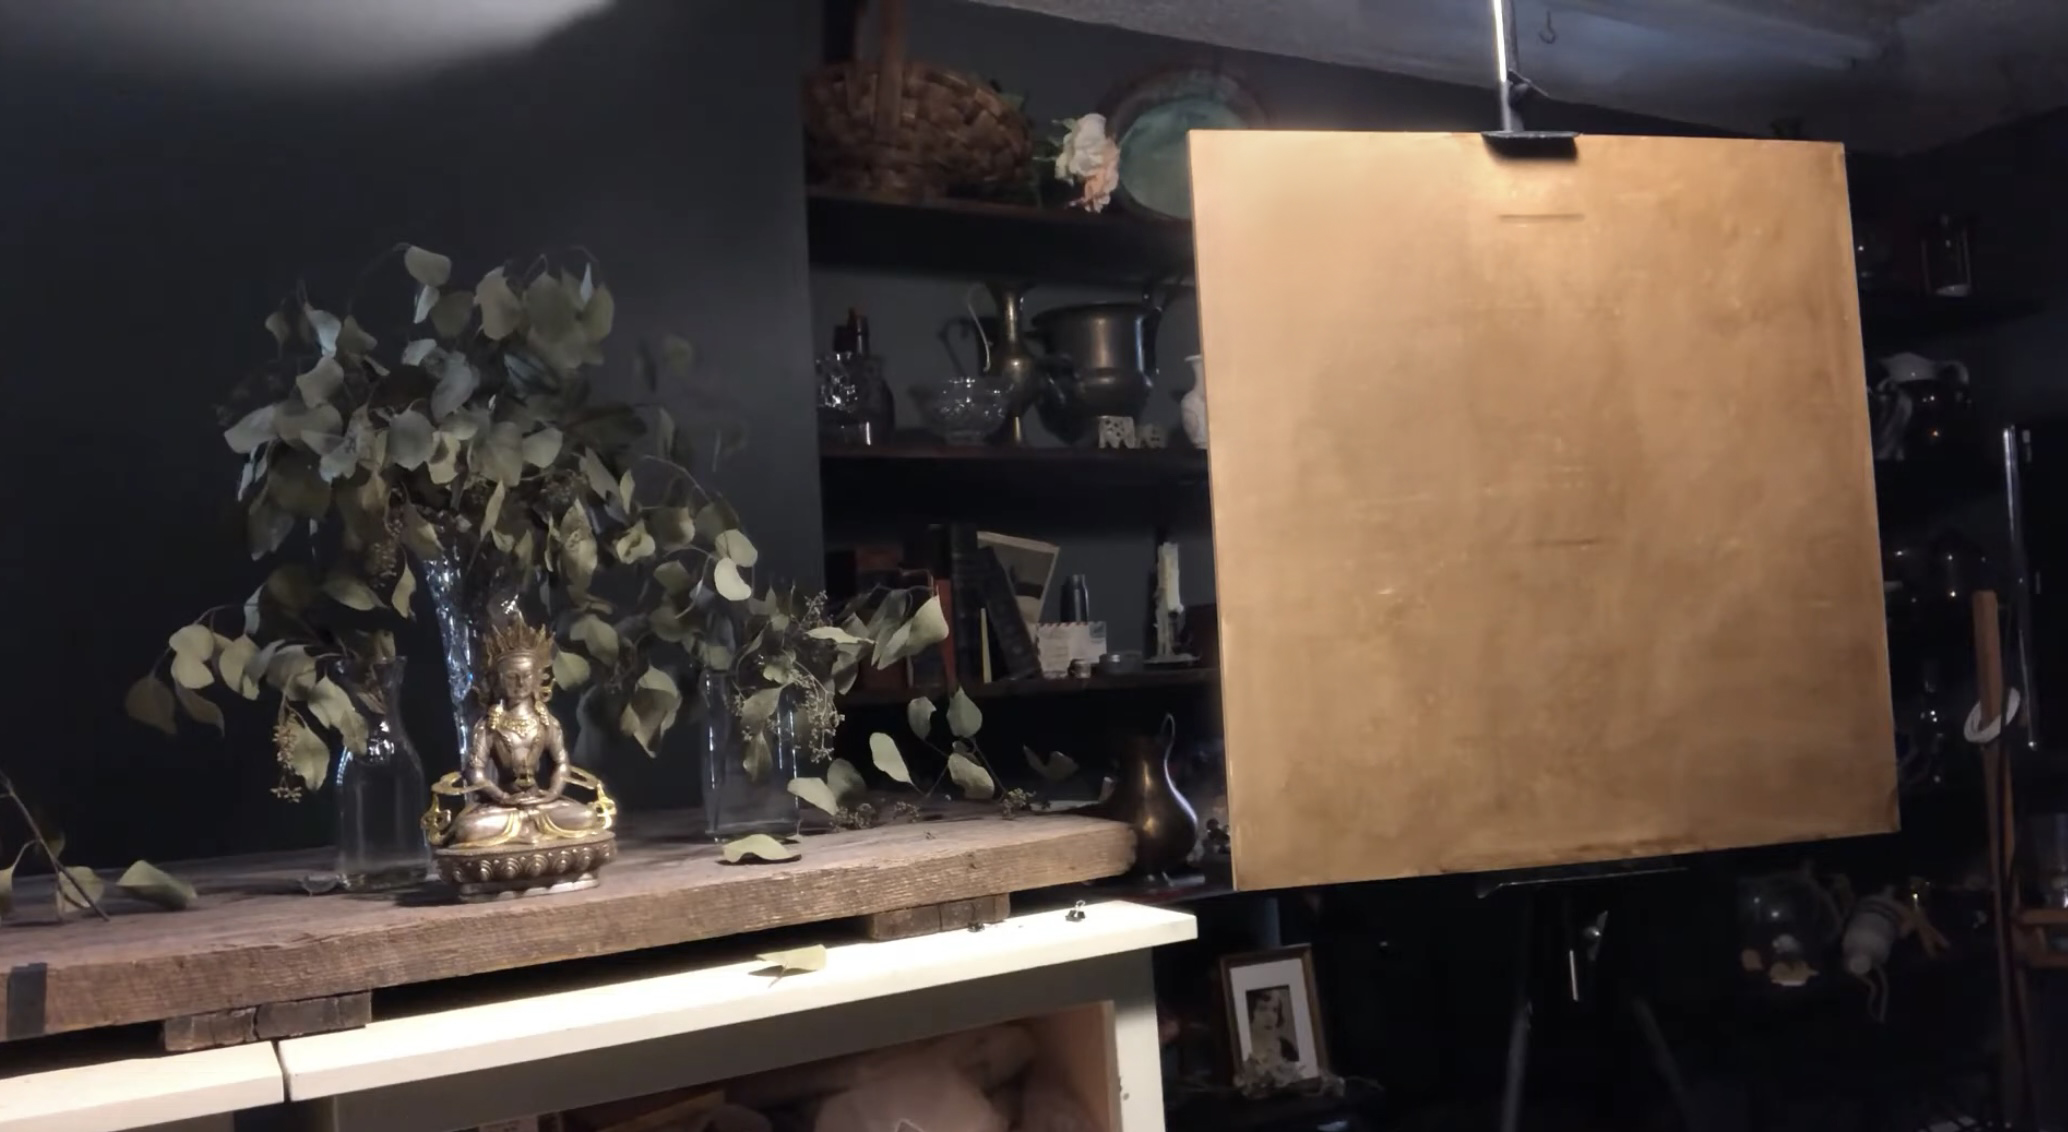
Step 1: The Placement Stage. The set-up and panel are side-by-side for sight-size measuring. The panel’s imprimatura is applied using raw umber and odorless mineral spirits to tone the panel to a middle-value. The first few lines I place are the horizontal alignments of major elements in the scene. These are all painted with just raw umber – I use a dry-brush technique, allowing the paint to go down light/sketchy, and it’s easy to rub off mistakes with a paper towel.
Step 2

Step 2: The Construct Stage. More measurements are made and marked to establish widths and heights of major landmarks, allowing me to ground the drawing’s proportion. I use large lines and angles, and focus on the big overall shapes.
Step 3

Step 3: Developing the Figure. The focal point is the figure, and I develop it similarly using a straight-line construct. It is simplified but accurate at this stage, and done with the dry brush and raw umber to keep it sketchy.
Step 4
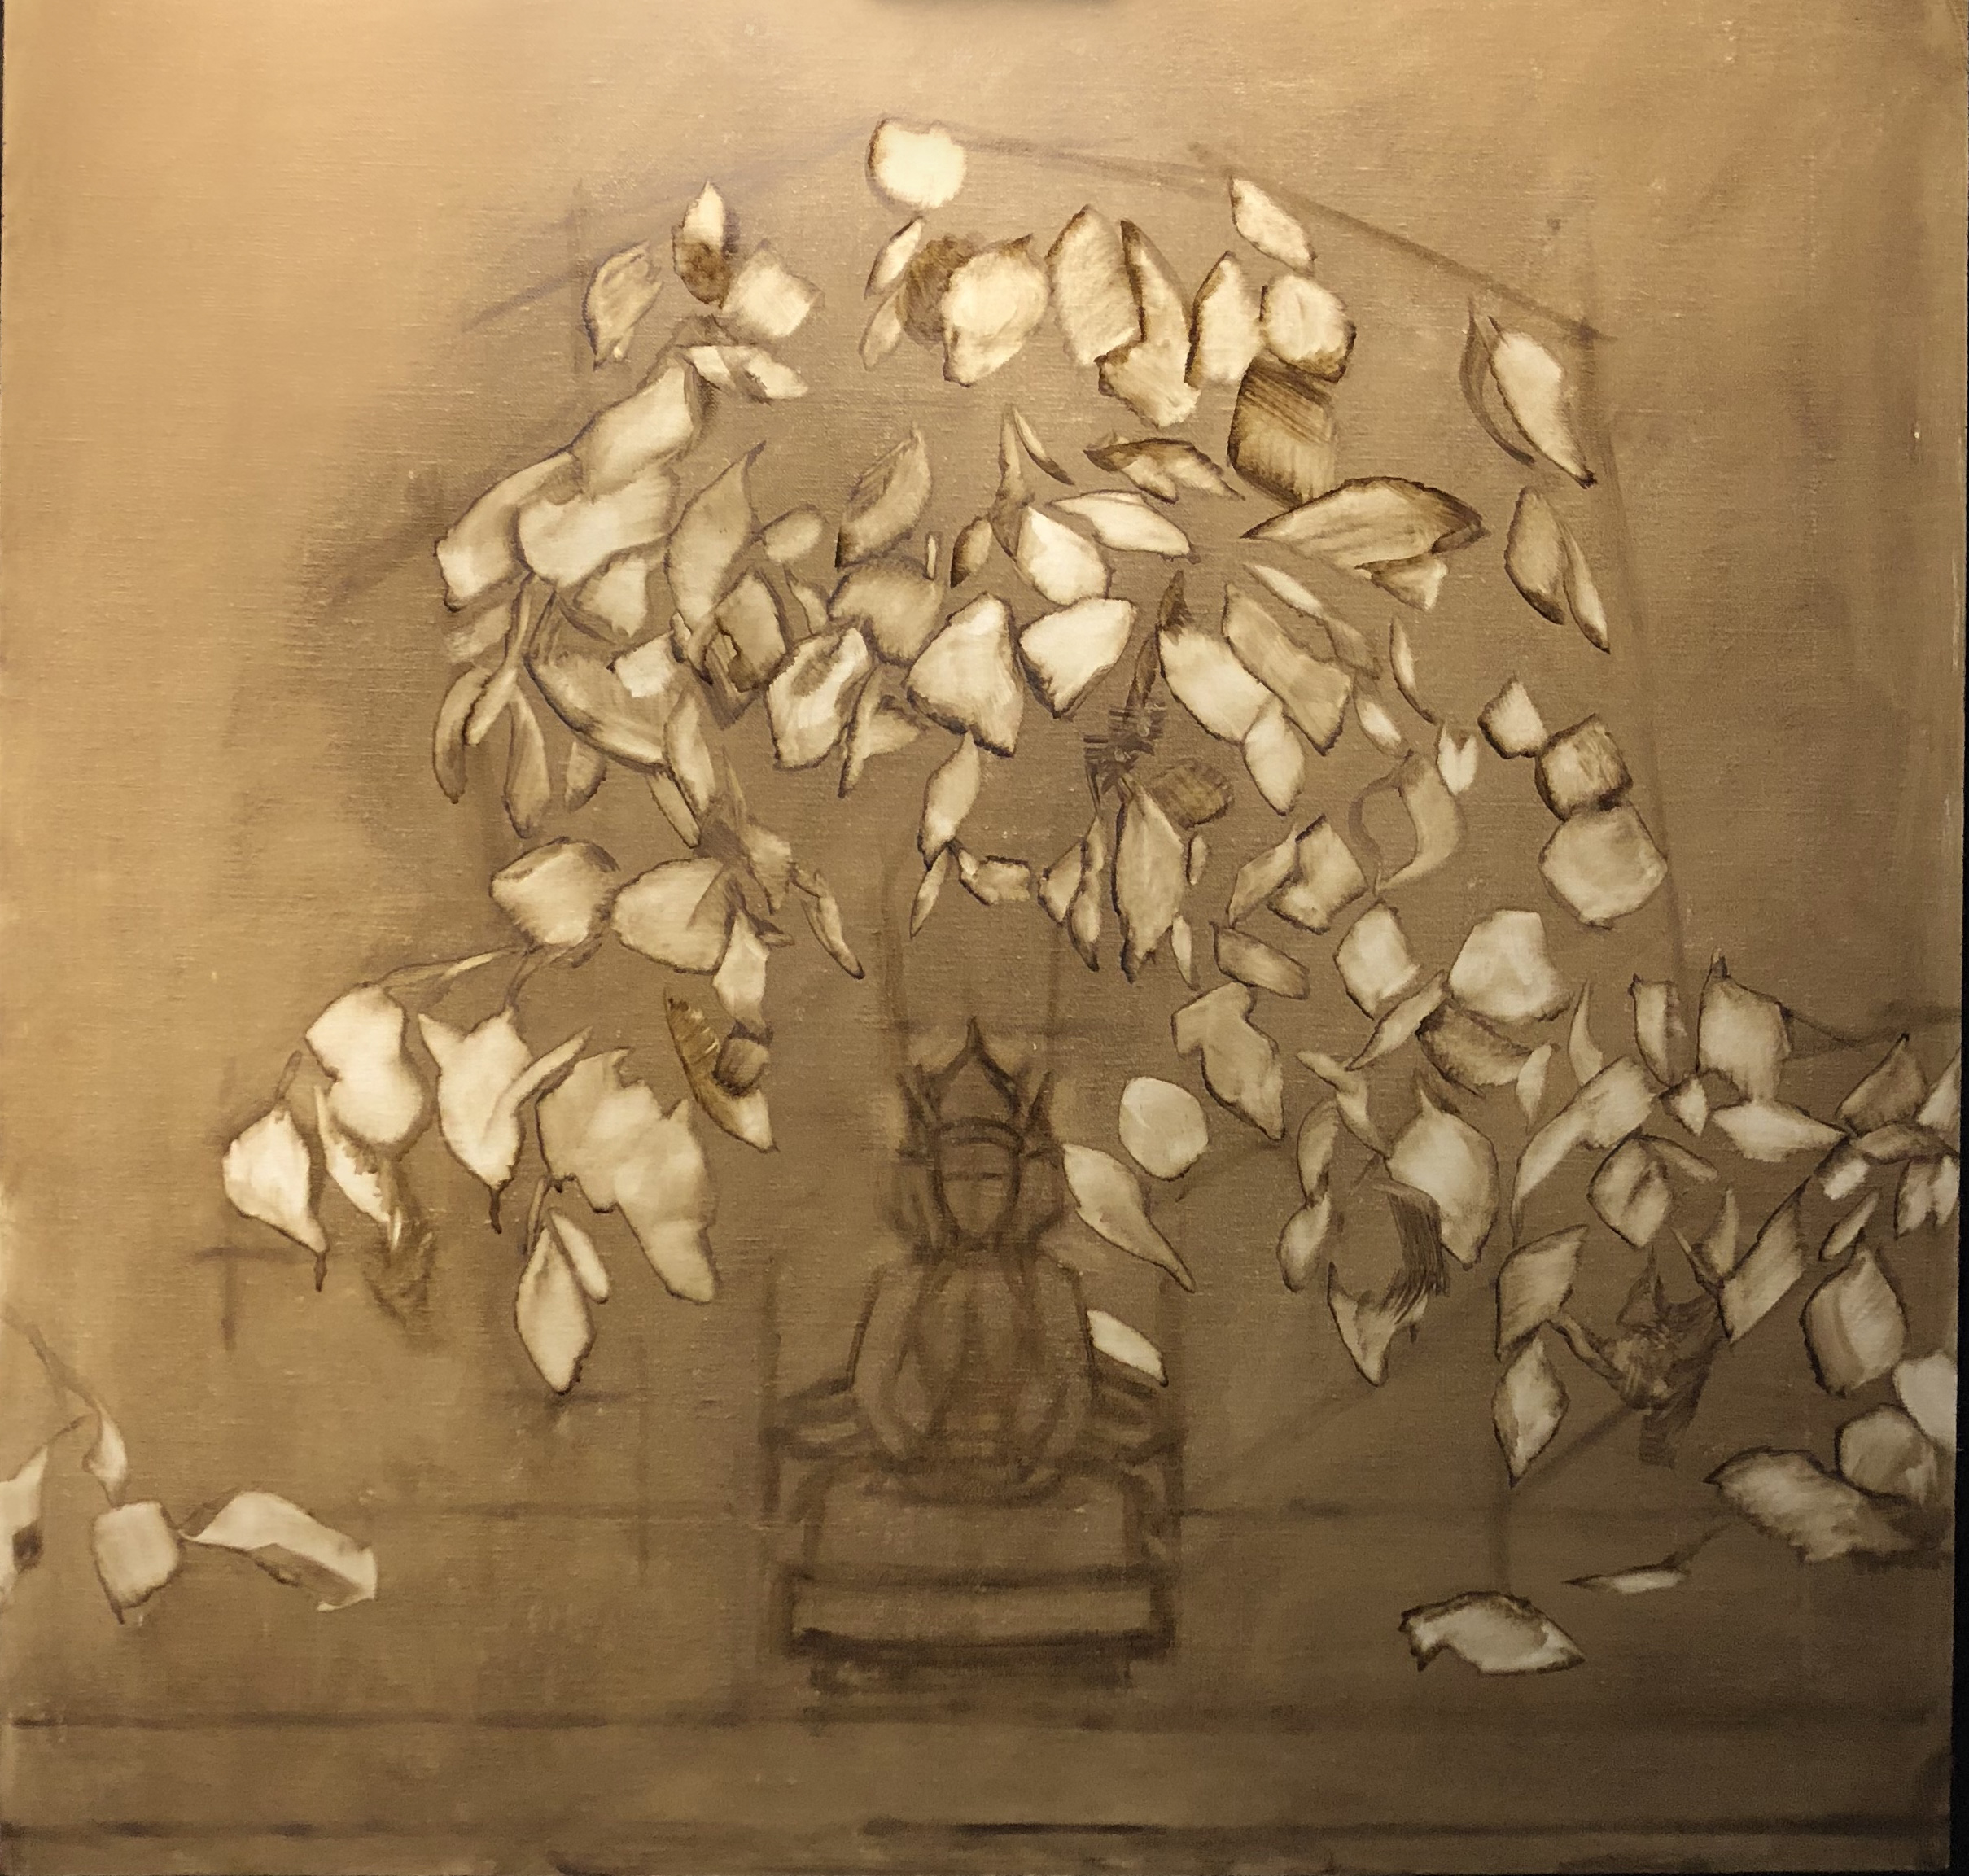
Step 4: The Wipe Out Method. There were so many leaves in this arrangement that it would have taken forever to draw the outline of each leaf, so I switched to a wipe out method. Using mineral spirits on a clean brush, I wiped out masses of the background imprimatura to reveal the light linen underneath. I’m utilizing a positive and negative shape association to be as accurate as possible.
Step 5

Step 5: Laying in the Background Color. The background takes up a lot of the canvas, so it’s wise to lay in this color early on. As it’s also my darkest dark; I go straight for it. As I paint this in I’m also editing my leaf shapes to make the painting more accurate.
Step 6

Step 6: Laying in the Leaf Colors. There is a huge variety of color in the leaves, and so I mix up about 30 variations ranging from light to dark, blue-green hued to yellow-green hues, and variation in chroma as well. Then I slowly painted each leaf, thinking about their planes and how directly or indirectly the light hits each plane. This is about color and form, not detail.
Step 7
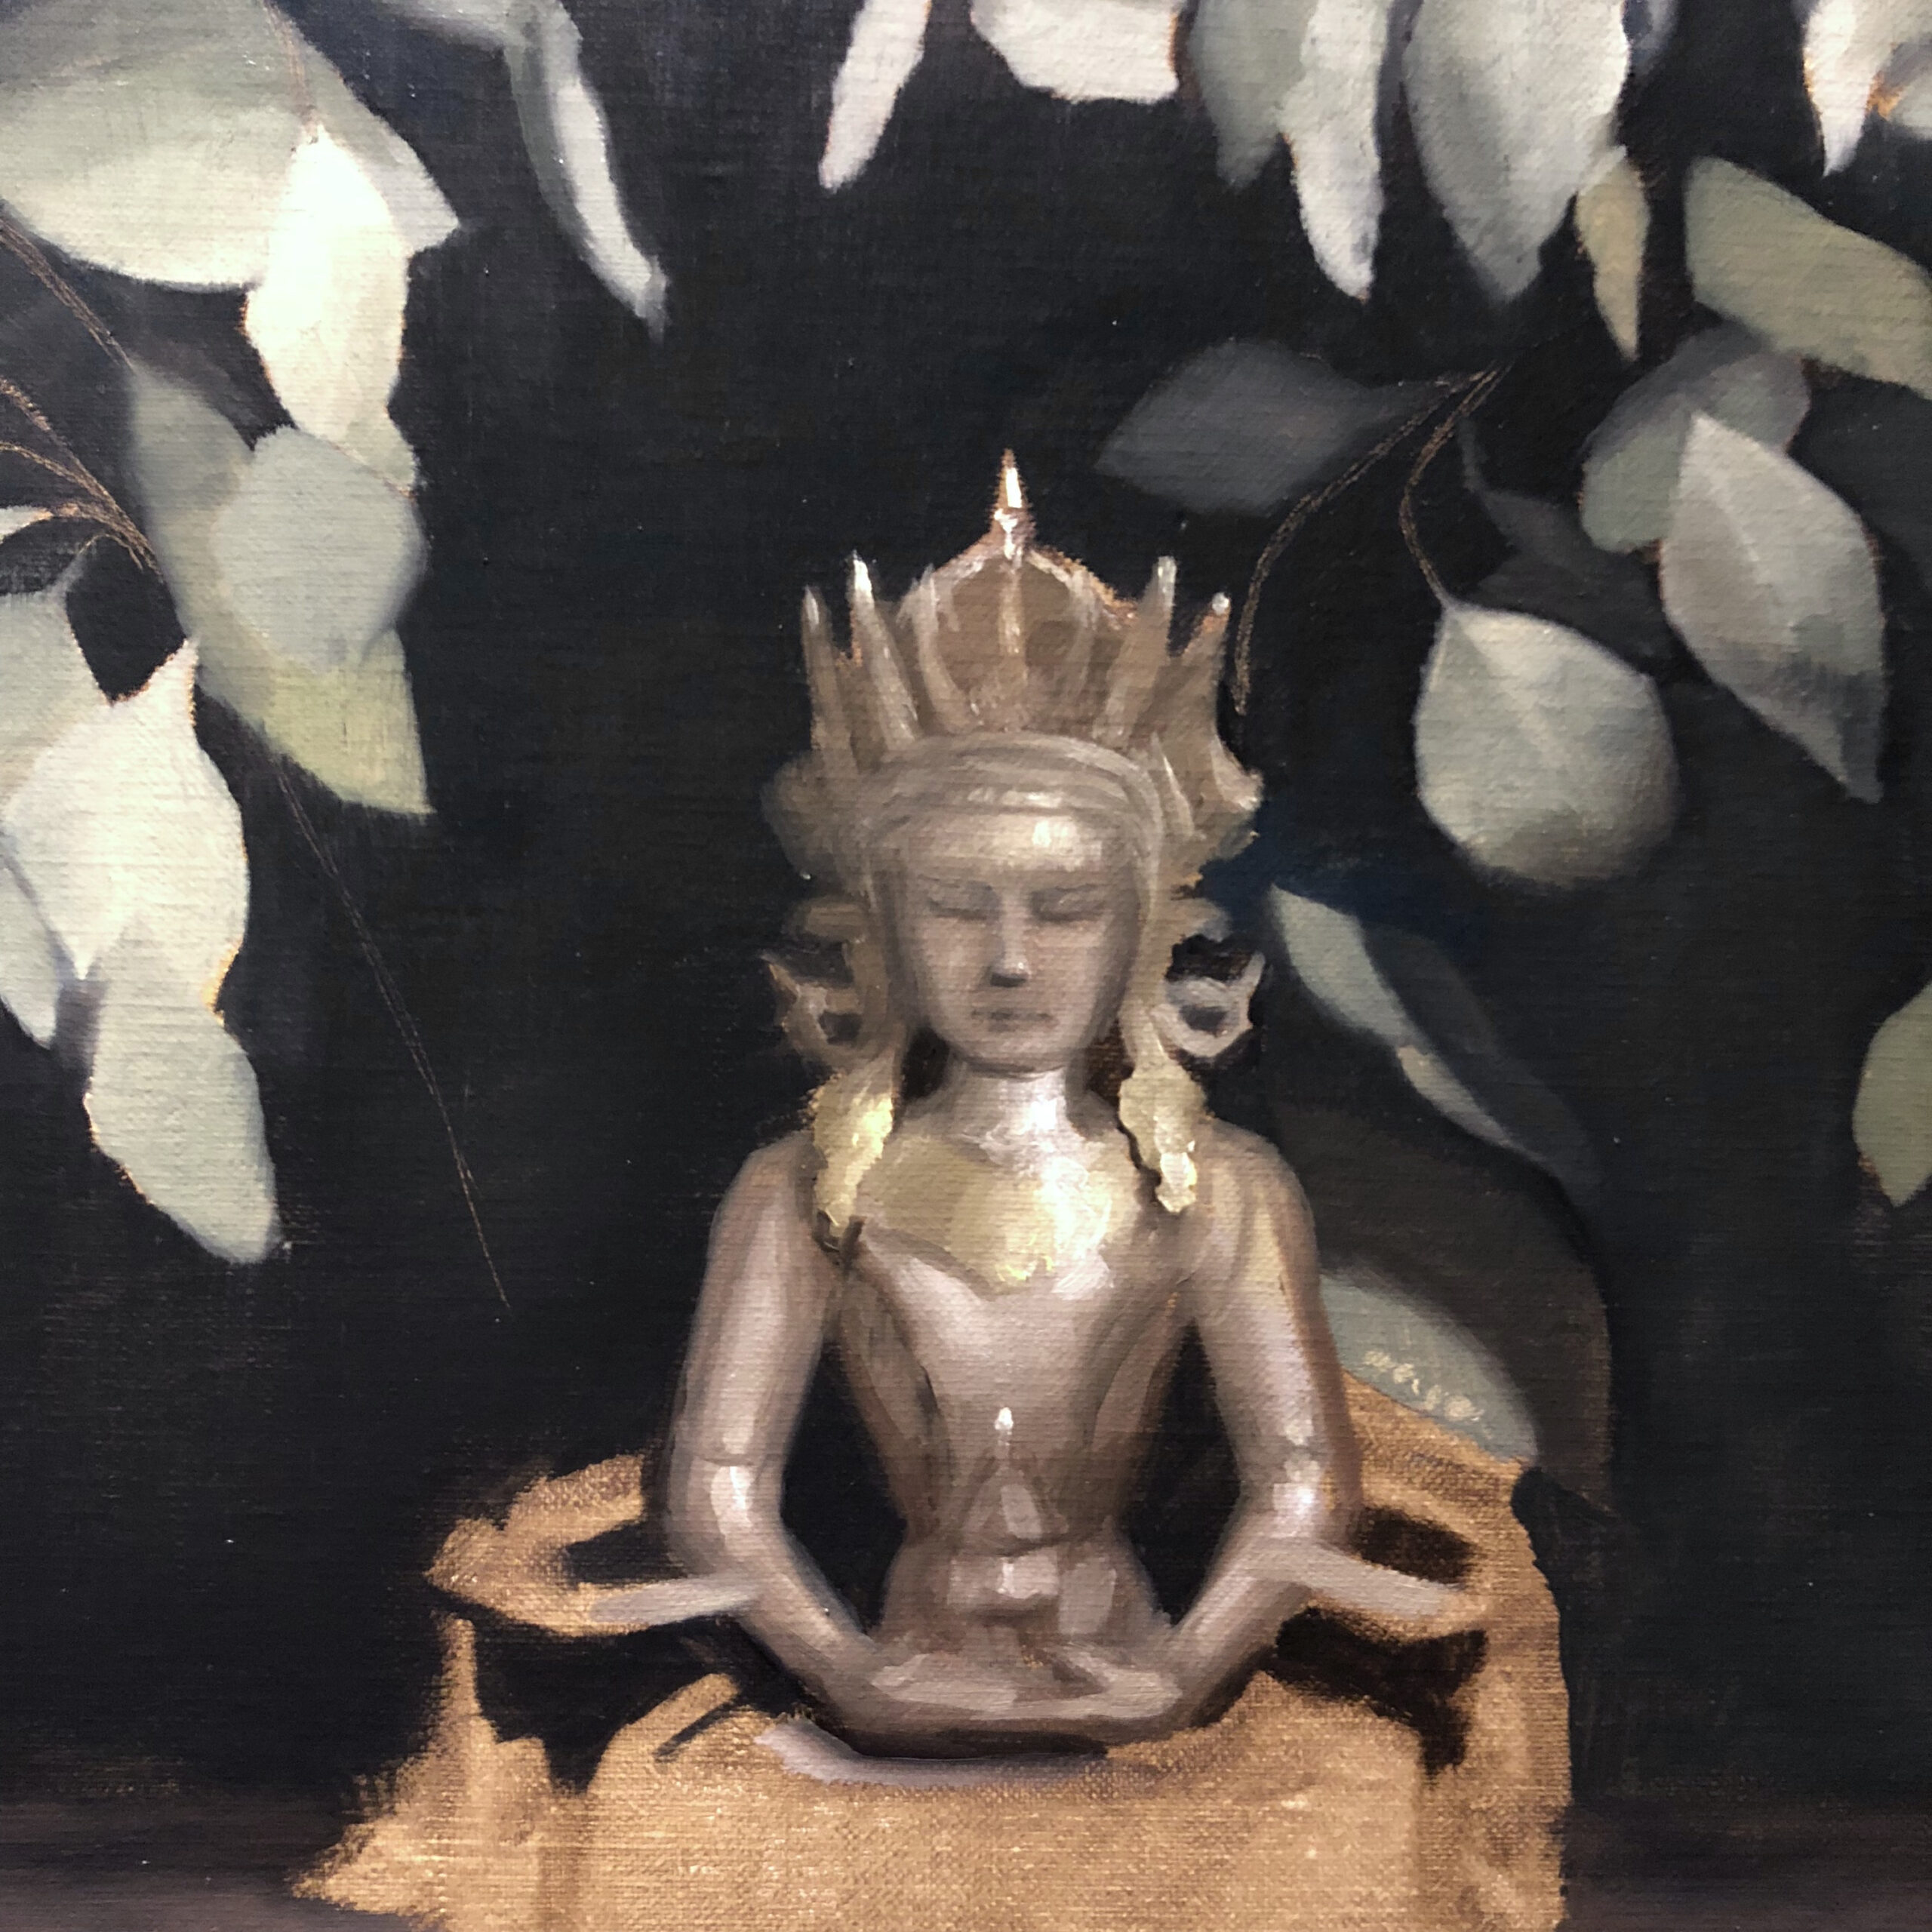
Step 7: First Pass on the Figure. This image shows a close up of the figure and how I was focusing on form. She is simplified but begins to emerge in accurate color. I squint a lot at this stage to see through the details to grasp the major volume.
Step 8

Step 8: Laying in the Entire First Pass. In a big painting it is important to lay in a first pass of all the colors before circling back to really define anything. Color is relative and illusive, and so once the whole panel is covered, I reassess my choices and make changes to color and shapes.
Step 9
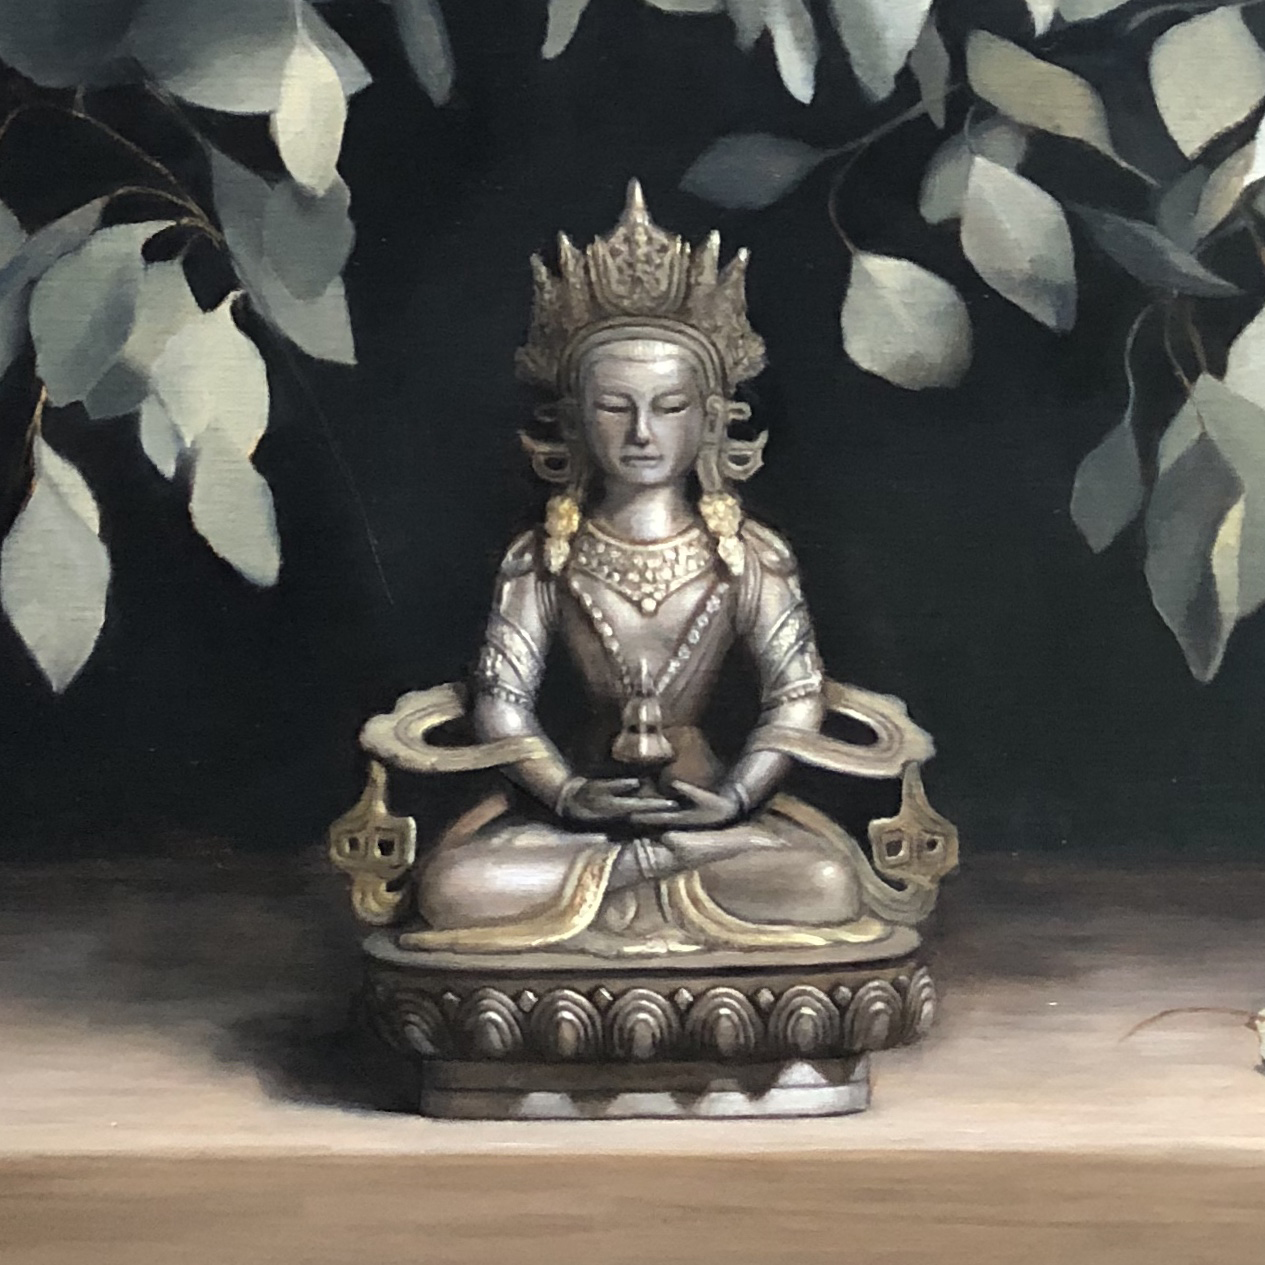
Step 9: Second Pass on the Figure. After the form is working on the figure, and the rest of the painting is well-established, I go in to finish the figure. I’m able to hone in to the details, making sure that anything I add doesn’t take away from the big form achieved on the previous layer. Edges are sharpened and softened for visual effect.
Step 10
Step 10: Second Pass on Everything. The leaves are all repainted, adding in finessed edges and more colors. I leaned more blue-green in hue overall to create a calming effect to the composition, and focused on using variations of values and edges to create a more sophisticated depth effect. Some of the stems were thinly repainted, while others are the original imprimatura left, coming through for some warmth. At this stage I make many decisions apart from the set-up so that the painting itself does what I want it to. Finally, the last thing I do is repaint the background, and it’s done.
Connect with Christina Grace Mastrangelo at www.christinamastrangelo.com.
Related Article: Inspiring Artist: Christina Grace Mastrangelo

”")
