Take a journey with Lorena Kloosterboer, who takes you through her creative process, from the inception to the completion of a still life painting.
Creative Time
by Lorena Kloosterboer
Realist artists look at art—a lot. We scrutinize it in galleries and museums, in books and magazines. These days we see most of it online. Every day we scroll through Facebook and Instagram to look at artwork, pausing to like, love, or wow it when an image strikes us, occasionally leaving a comment.
A 2001 study conducted by Lisa and Jeffrey Smith researching museum visits showed that visitors don’t spend much time looking at art. Surprisingly, the average amount of time spent looking at an artwork was clocked at between ten and 27.2 seconds. In subsequent studies performed in later years, these numbers didn’t much change.
Interestingly, according to this same study, no correlation was found between the amount of time spent viewing art and the emotional experience. In other words, people can be deeply moved by art even if they look at it for just a moment. That’s good news for those of us who create fine realism—sometimes called slow art—and post our work on social media where images scroll past at high velocity. It literally takes seconds to look, click, comment, and scroll on.
This made me think about the concept of time and how artists use it. After all, the images we merely glance at took precious time to create. Time allocated for the idea to be formulated, the compositional phase, the preparation of the support, the gathering and posing of subject matter, and of course, the physical making of the piece. One might also be tempted to add the period—years if not decades—it took the artist to reach a particular skill level. And perhaps even the time consumed buying and testing art supplies to find those that are exactly right. And what about the time spent photographing the finished piece, posting it online, presenting it in a newsletter, or packaging it to ship to a gallery or collector?
Related Article > Contemporary Realism: A Moment with Tony Curanaj
Each artist works in his or her own rhythm. Between artists there are huge differences in painting speed, method, time organization, flow and focus, available energy, and time allocated to deskwork, social media, and marketing. And then there’s life outside of the studio as well. Yet we all share the same clock—24 hours in a day—and the same calendar.
Recently, a renowned portrait artist and friend remarked that most artists are interested in looking into each other’s kitchen in regards to methods, products, shortcuts, and inspirations. So, for this essay I thought it might be worthwhile to take you on a journey through my personal creative process, from the inception to the completion of a painting. You will probably find I’m quite organized. This is not only a personality trait but for me of vital necessity to be able to start and finish paintings without falling into a rut, giving in to procrastination, or becoming overwhelmed by deadlines and the challenges I set for myself. It took years to establish this structure; today it helps keep me going and I would feel lost without it. This isn’t a precise timeline, since time differs widely for each new project—instead it’s a basic description of the proactive steps I take to develop a painting from start to finish.
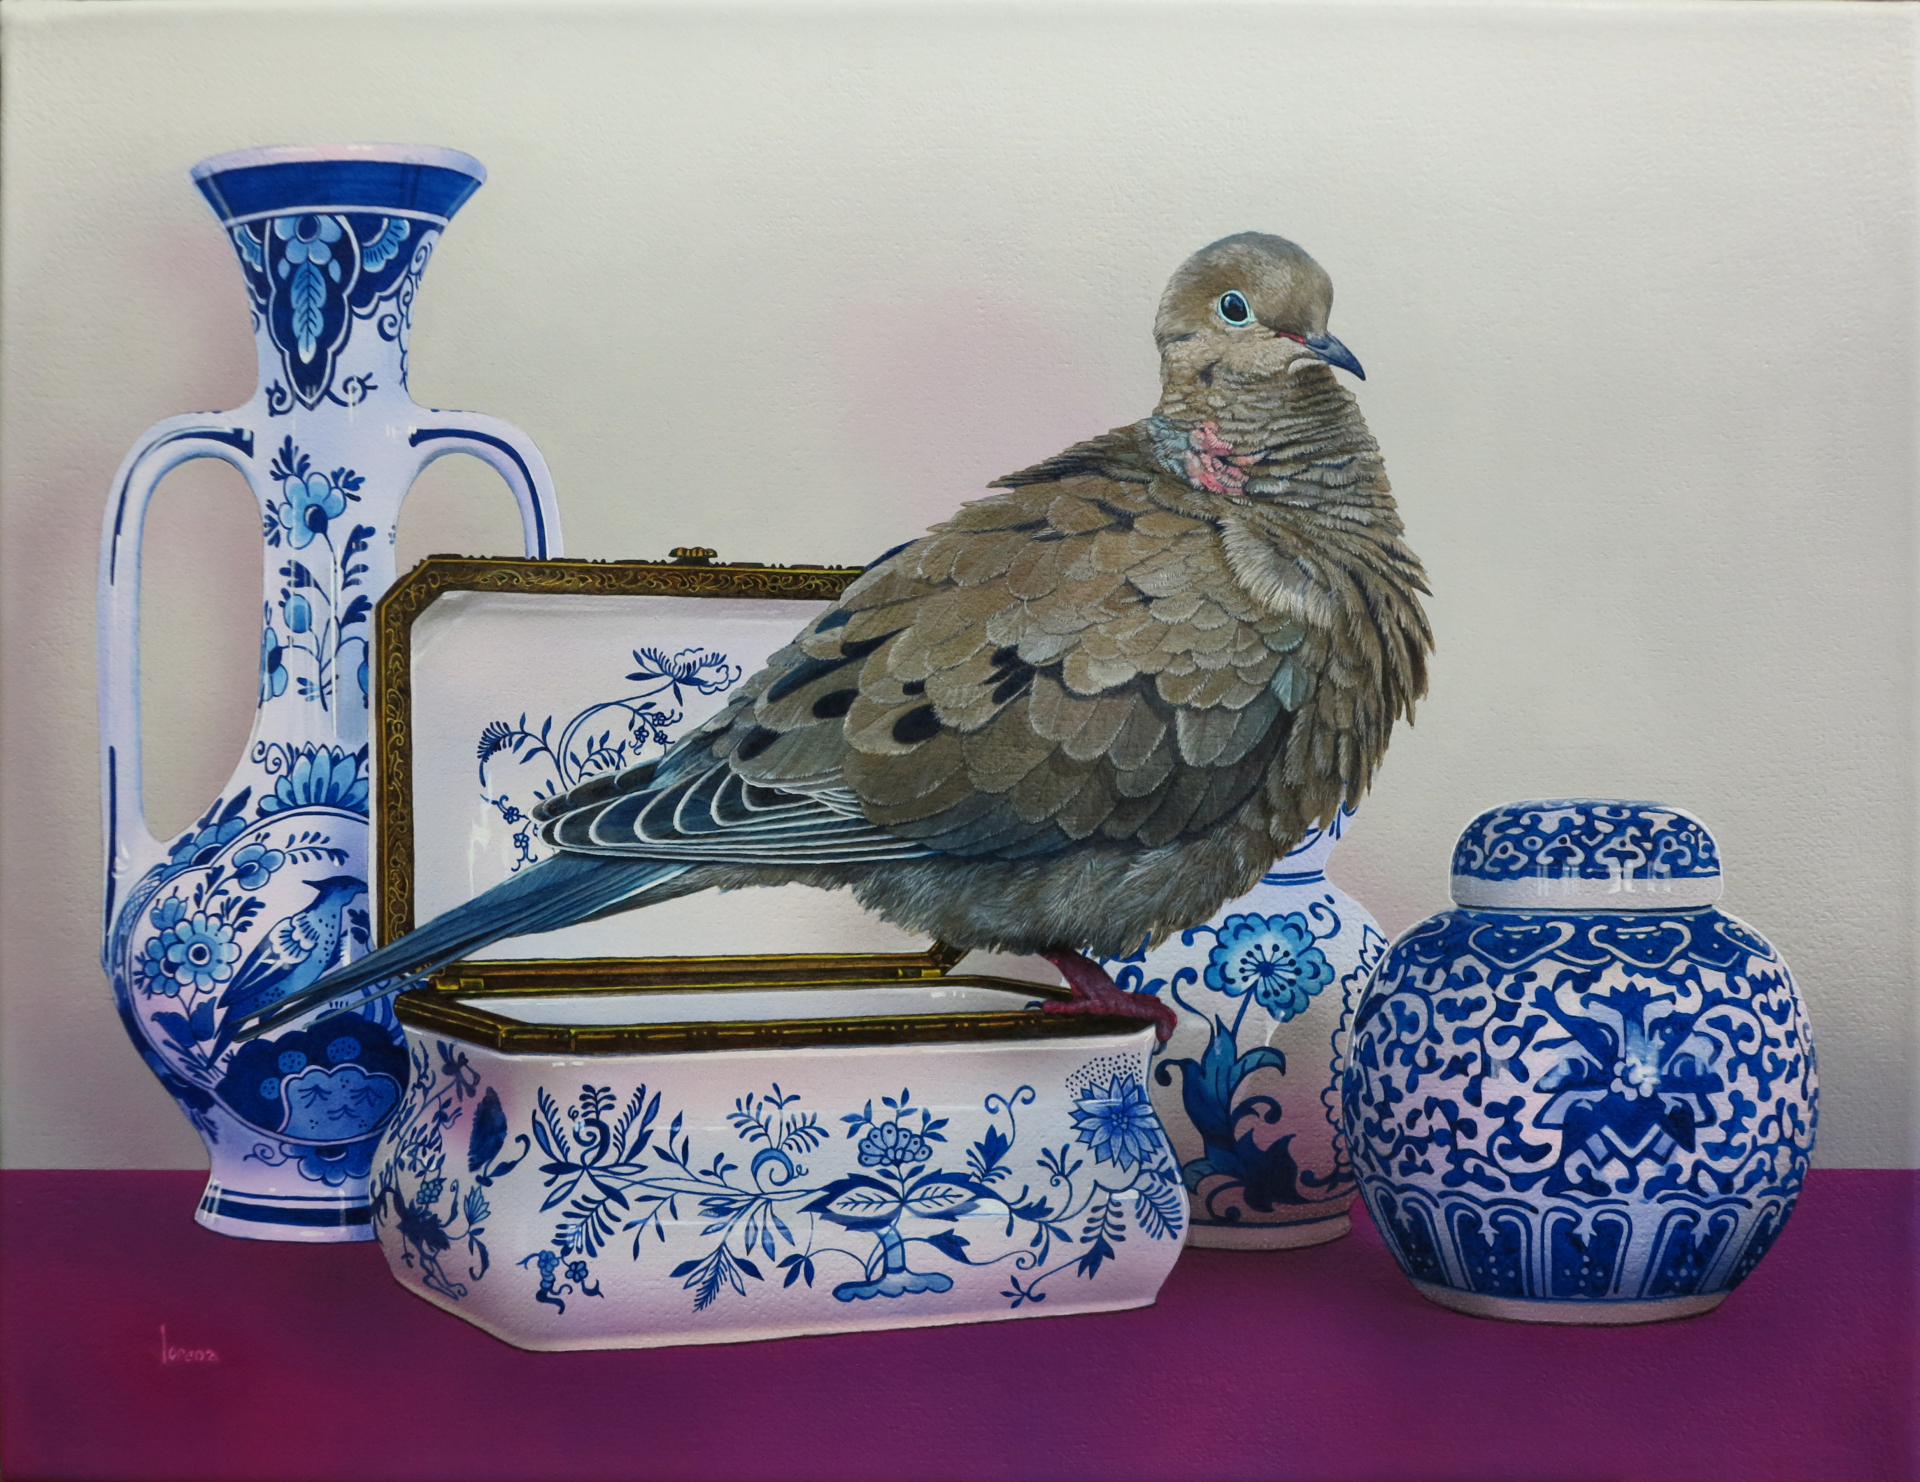
Still Life Painting: From Inception to Completion
Establishing the Narrative
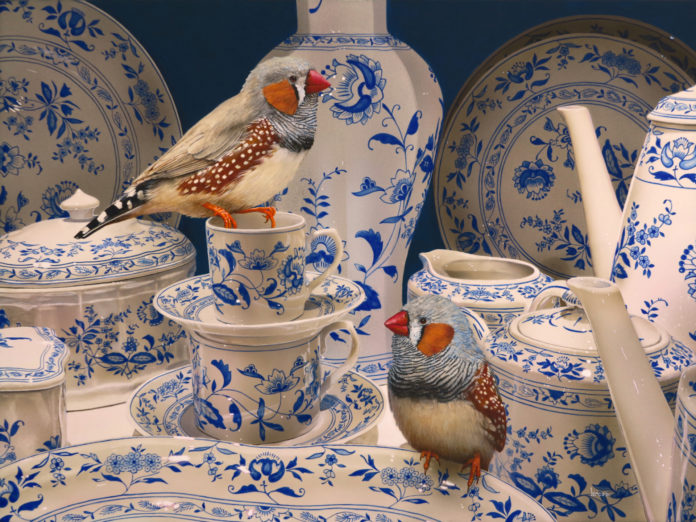
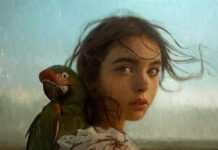
When my current painting reaches its halfway finishing mark, I start actively thinking about my next piece. Besides keeping a list of ideas, I have several painting series with specific topics that I use as a base. My series Tempus ad Requiem of still life paintings with birds will function as an example here. It combines my passion for beautiful objects with the splendor of the natural world.
Since my paintings are based on personal thoughts and values that find a voice through symbolic content, I spend a lot of time reading and thinking about substance and meaning. Once I decide on an underlying narrative, I select subject matter to visualize my thoughts. Ideally, the suitable bird is found amongst my ever-growing compendium of photographs. The perfect still life artifact is chosen from my personal collection of ceramic and glass objects. Otherwise, I will borrow or buy it. A quick line sketch will help me decide whether they work together within one space.
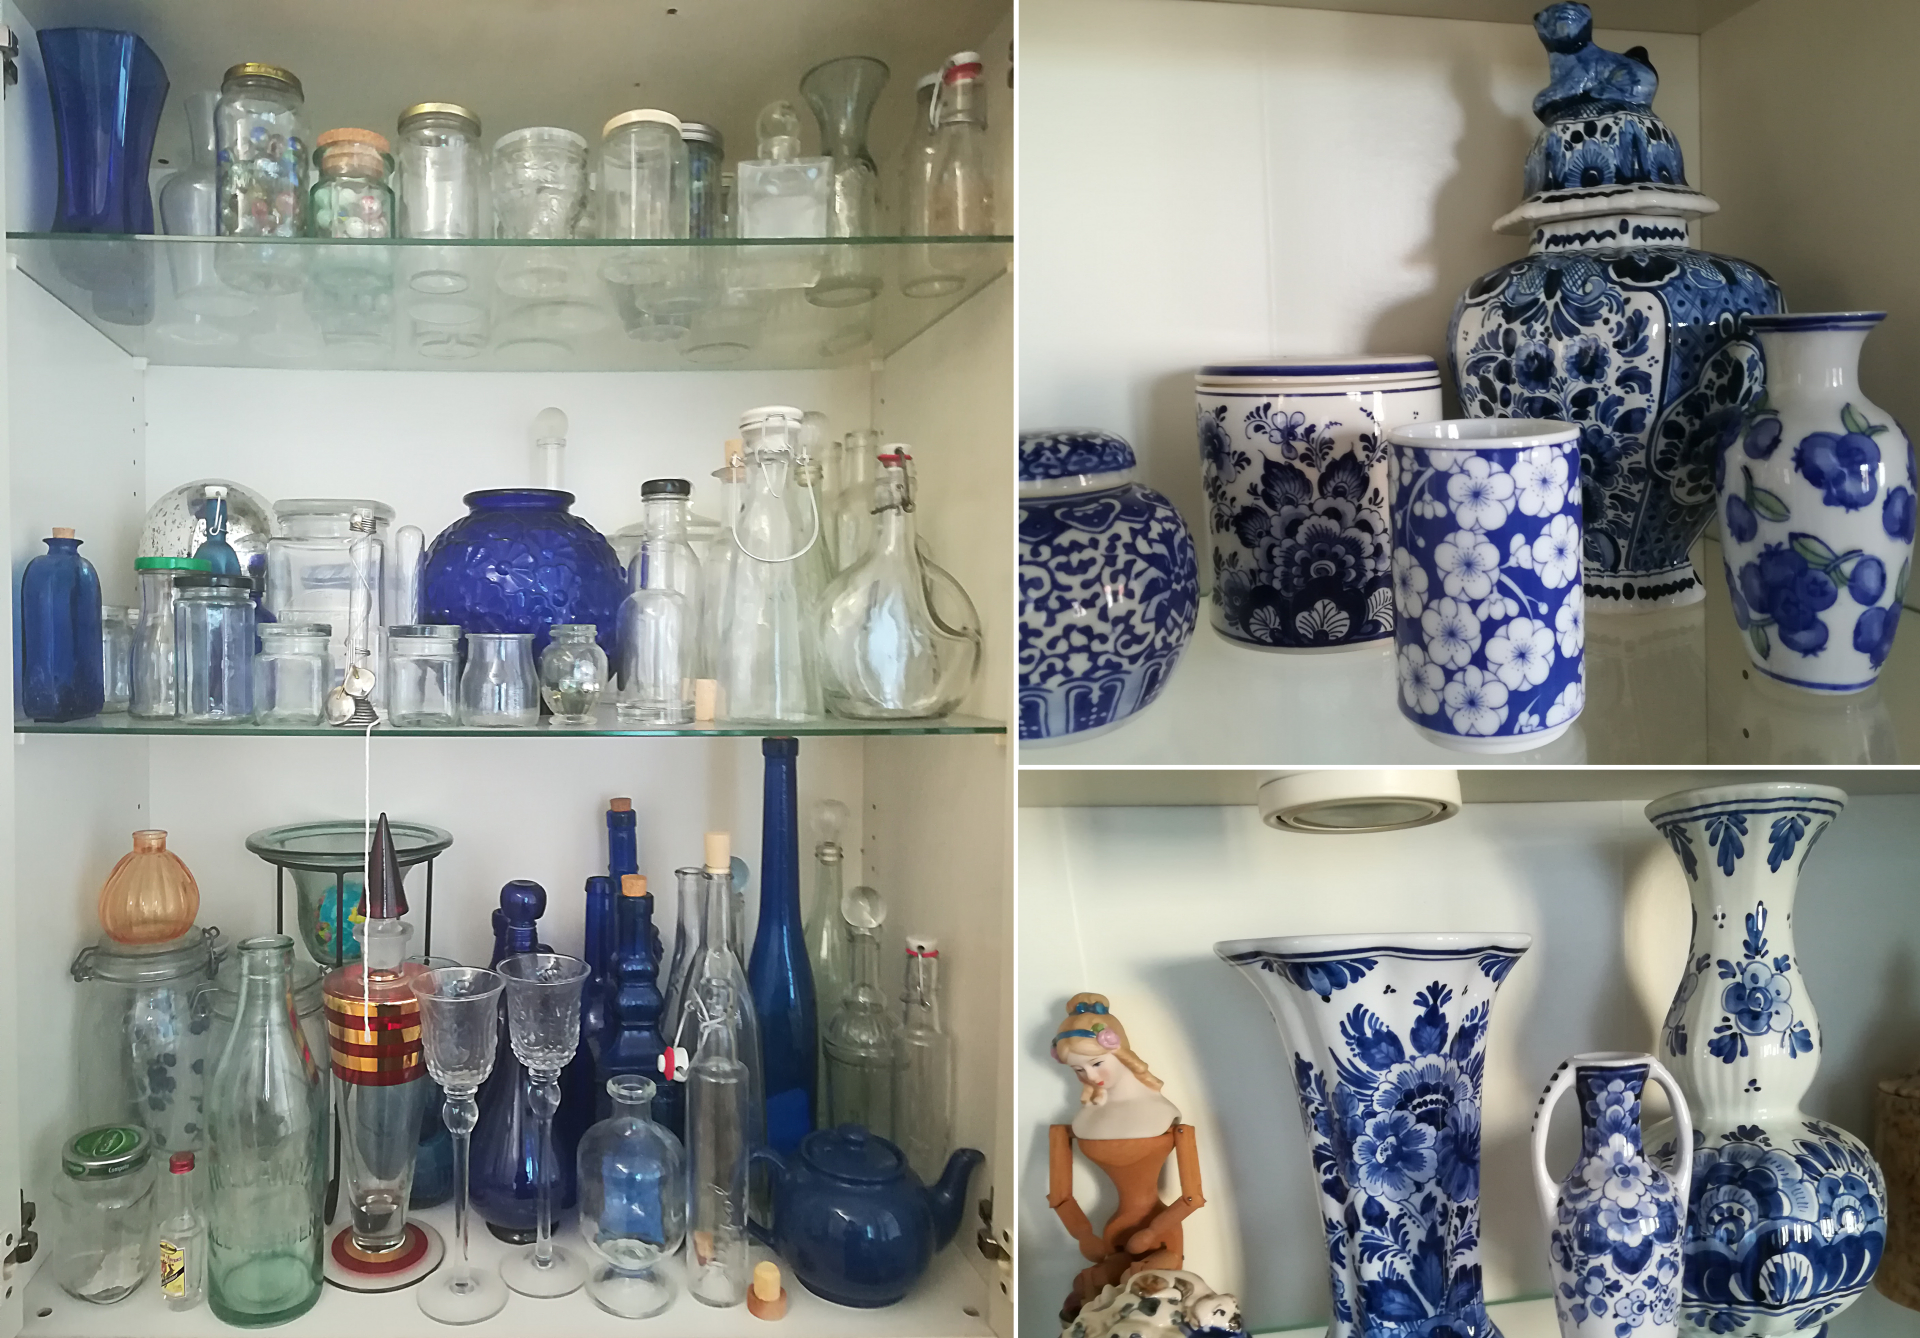
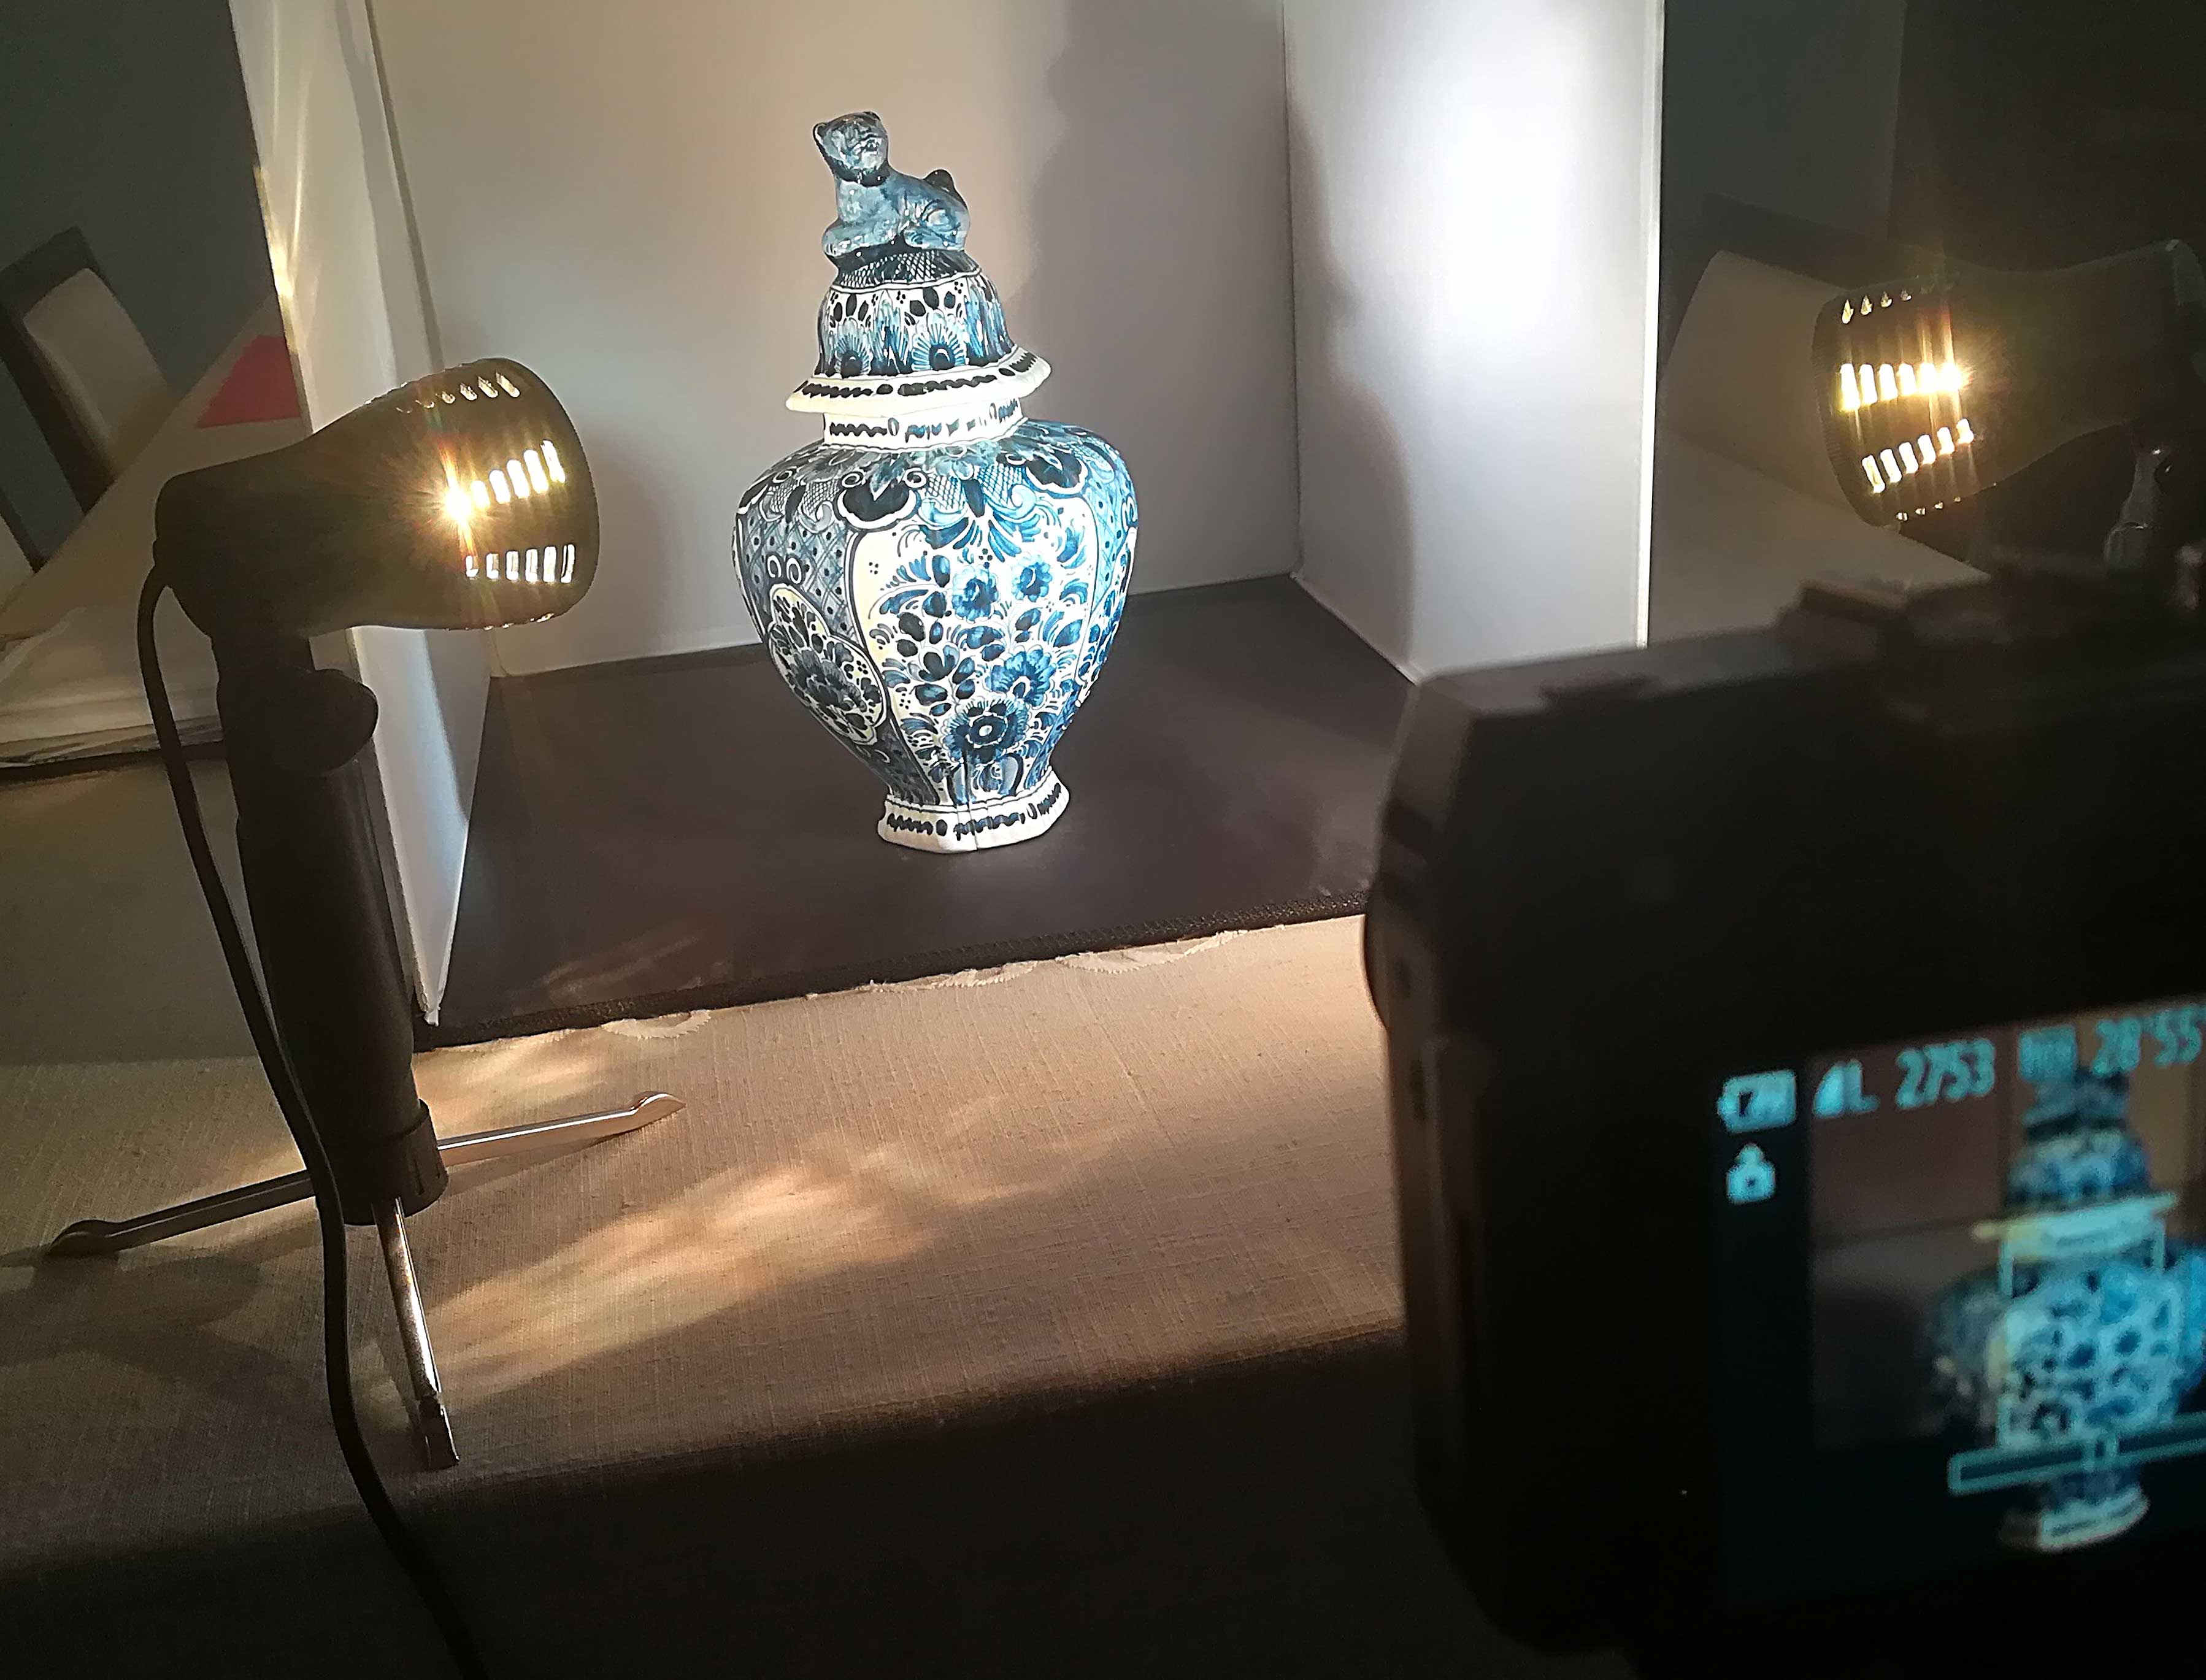
Shaping the Composition for a Still Life Painting
Next, I photograph the object. For that, I set up a neutral base and background and place the ceramic there. With my digital camera on a tripod in front of it, I hold a lamp in one hand so I can easily change the angle of the light direction, and a shutter release in the other hand that allows me to click away.
Once downloaded, I scrutinize the photographs—typically between 80 and 200—discarding most of them, keeping those that have interesting reflections and shadows, clarity in patterns and textures, beautiful silhouettes. Using photo software, I correct, straighten, and crop to match the format of my support. Isolating the bird from its background, I paste it onto the object, playing around with position and size. When I love the composition, I make a print which will serve as reference.
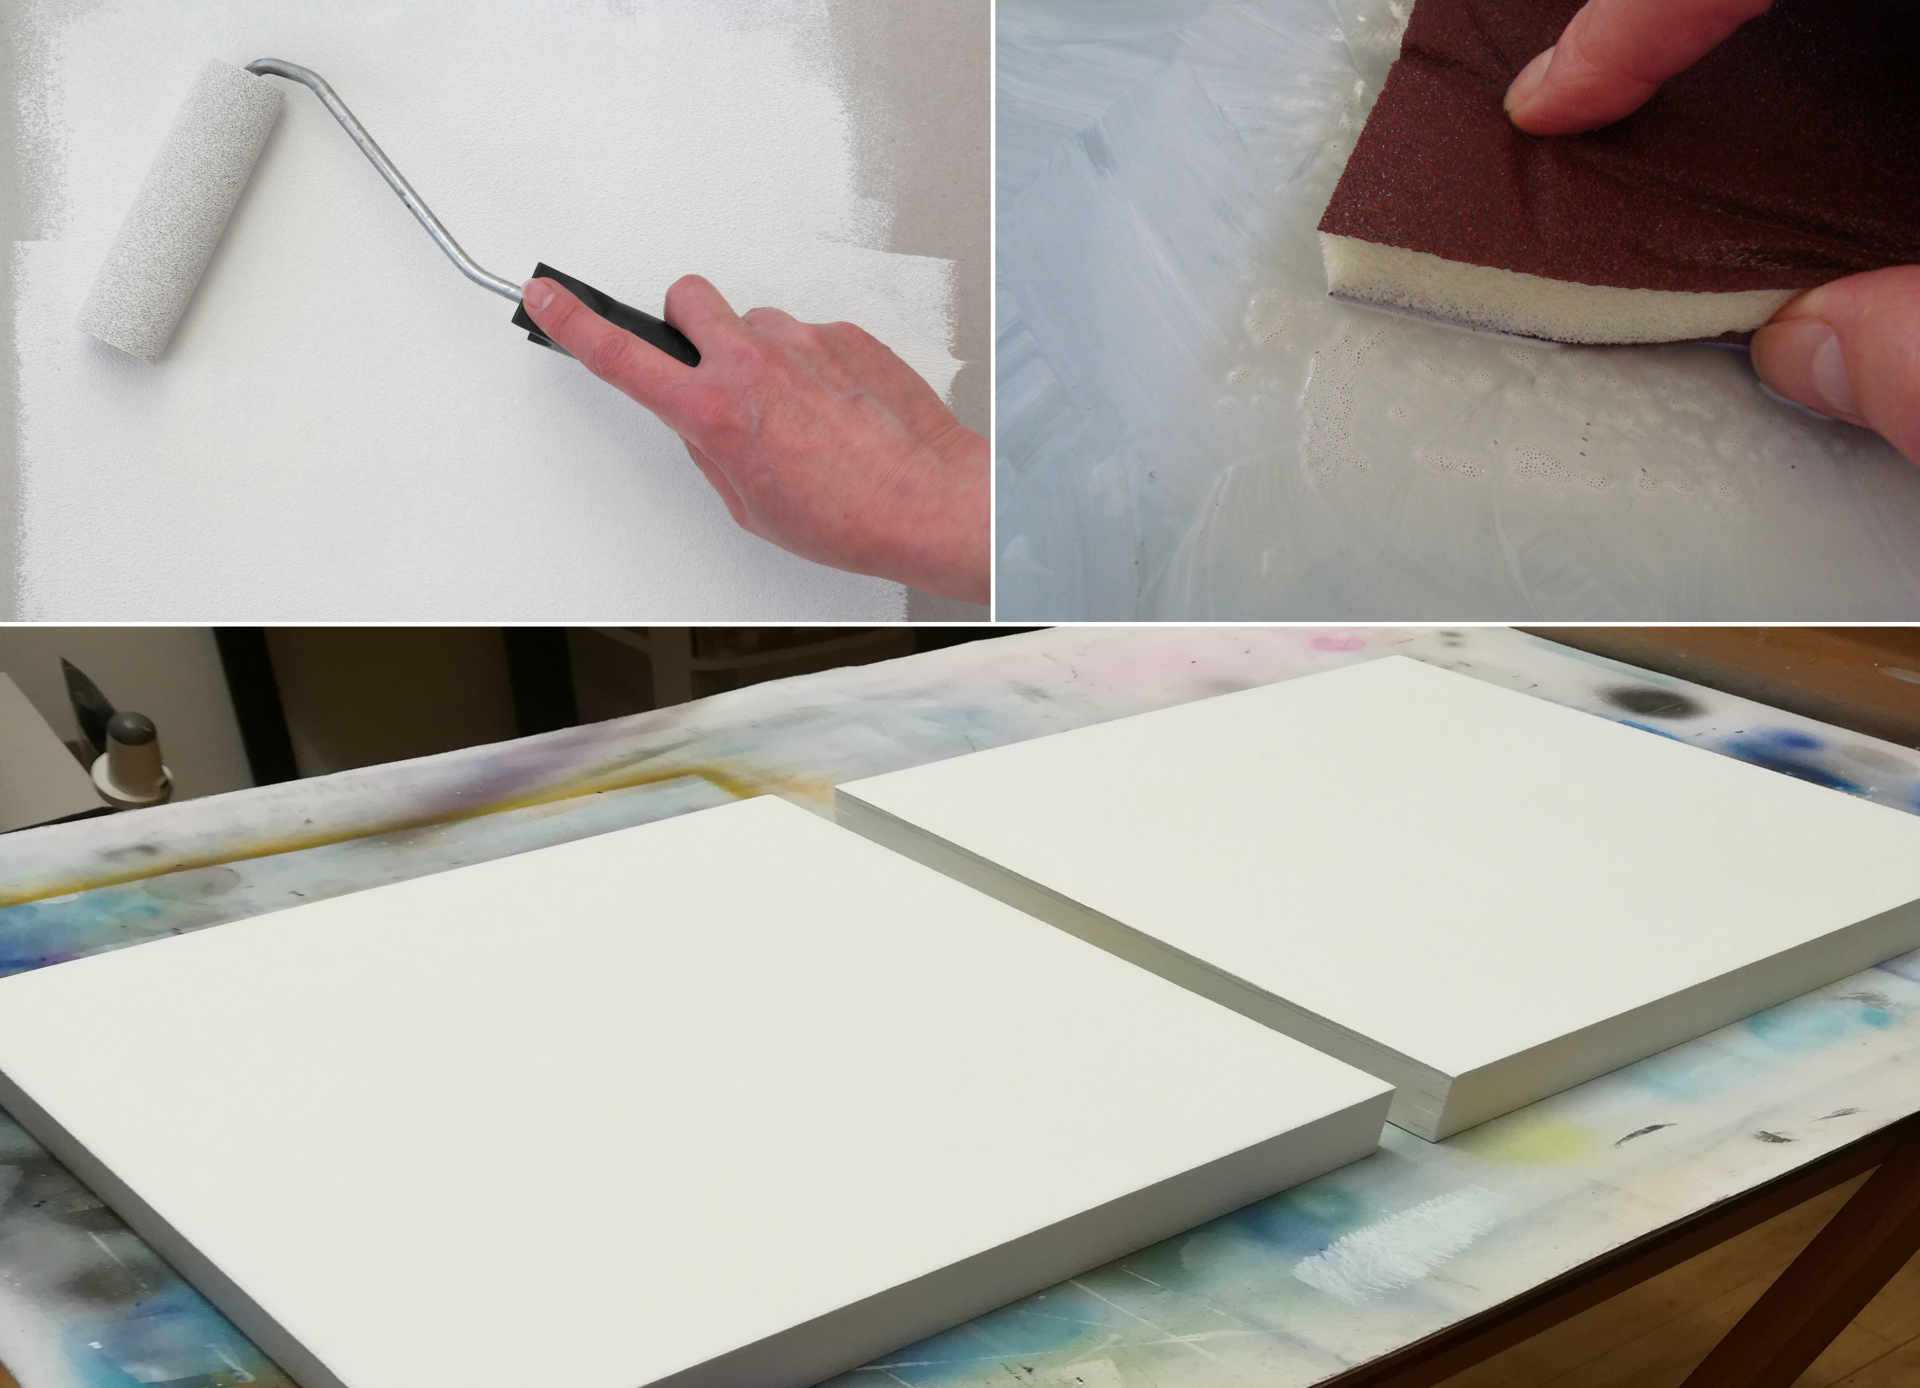
Preparing the Support
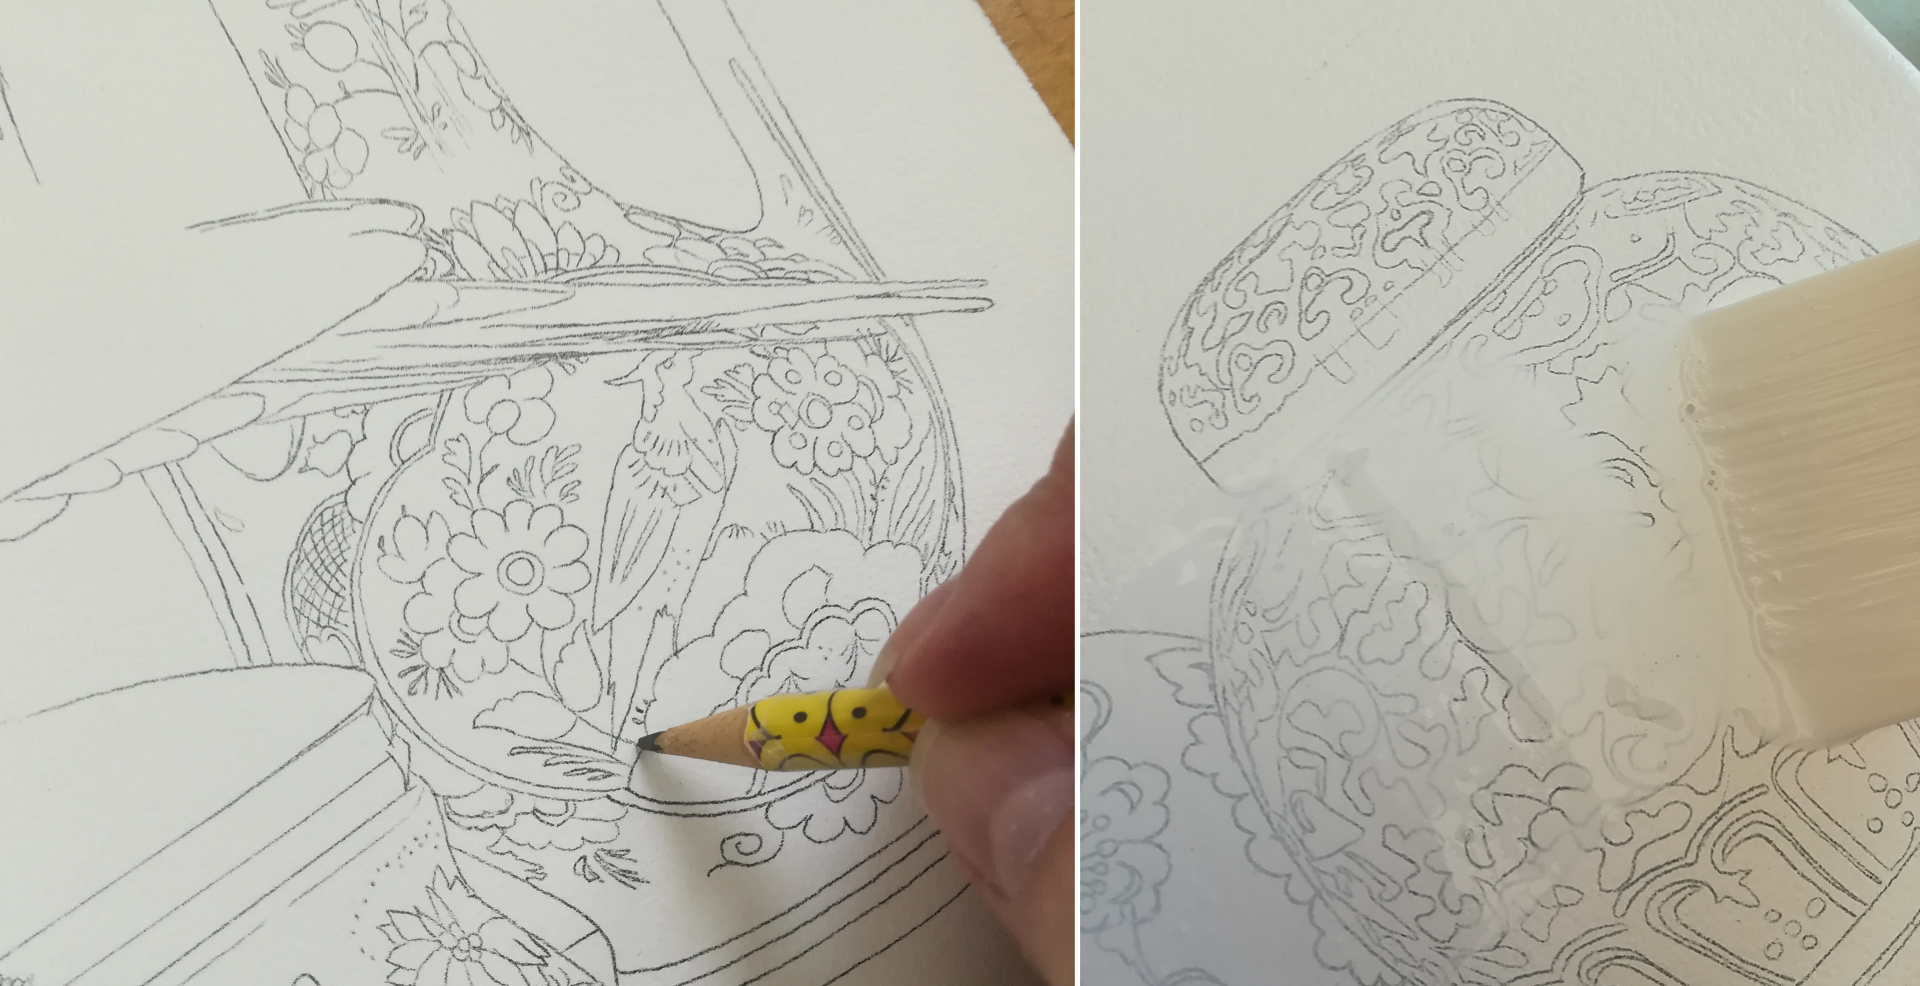
Throughout this entire planning process, I continue to work on my current painting and also start to prepare the new support, using multiple layers of acrylic gesso, sanding between layers, and ultimately wet sanding the surface for an ultra-smooth finish. When supports are cradled, I attach screw eyes and wire to avoid possible damage later on and also write the specs on the back. The support is now ready.
Recording Information
In the meantime, I write down all relevant information regarding this future painting in a directory I started in the early nineties. I have never regretted doing this extra work because I can access all this information that otherwise would have been long forgotten. Besides recording the title, size, medium, support, and place and year of making, I write a short text about its symbolic meaning.
I calculate the price using square surface, although this may be adjusted later if a painting is especially intricate. To find out more about its natural habitat, gender, and other specifics, I research the bird online, and do the same with the object, noting its provenance, age, and manufacturer and/or designer.
Line Drawing
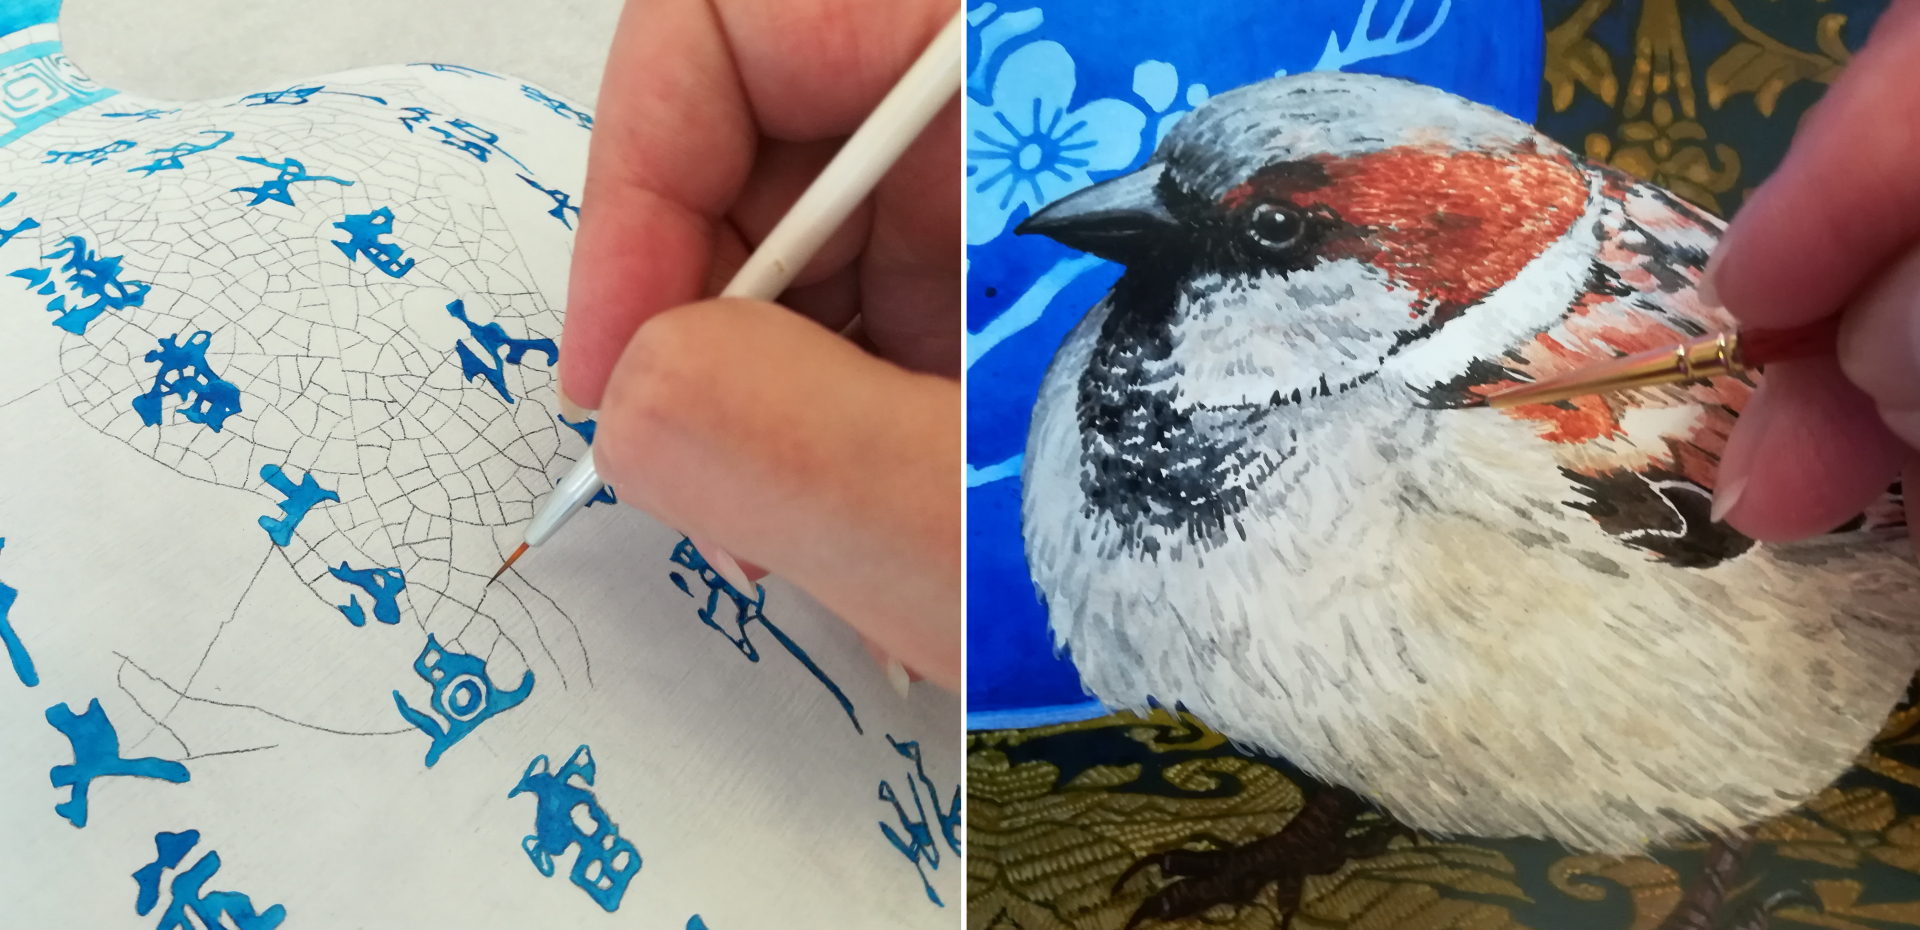
During the final stages of my current painting, I lay down the detailed line drawing of the composition onto the support, and fixate the graphite sketch with diluted gesso. Only when my previous painting has been completed do I allow myself to start painting this new piece. My painting method includes the layering of many transparent glazes, usually building up the painting from back to front, starting out rather crudely and refining the subject matter with each subsequent layer.
I try to make a habit of photographing the work in progress for several reasons. It helps to see the painting in small format which often reveals areas that need improvement or change. It also creates a record of it being hand-painted. Occasionally I use the step-by-step images to create a slideshow of the painting from start to finish.
Painting the Still Life
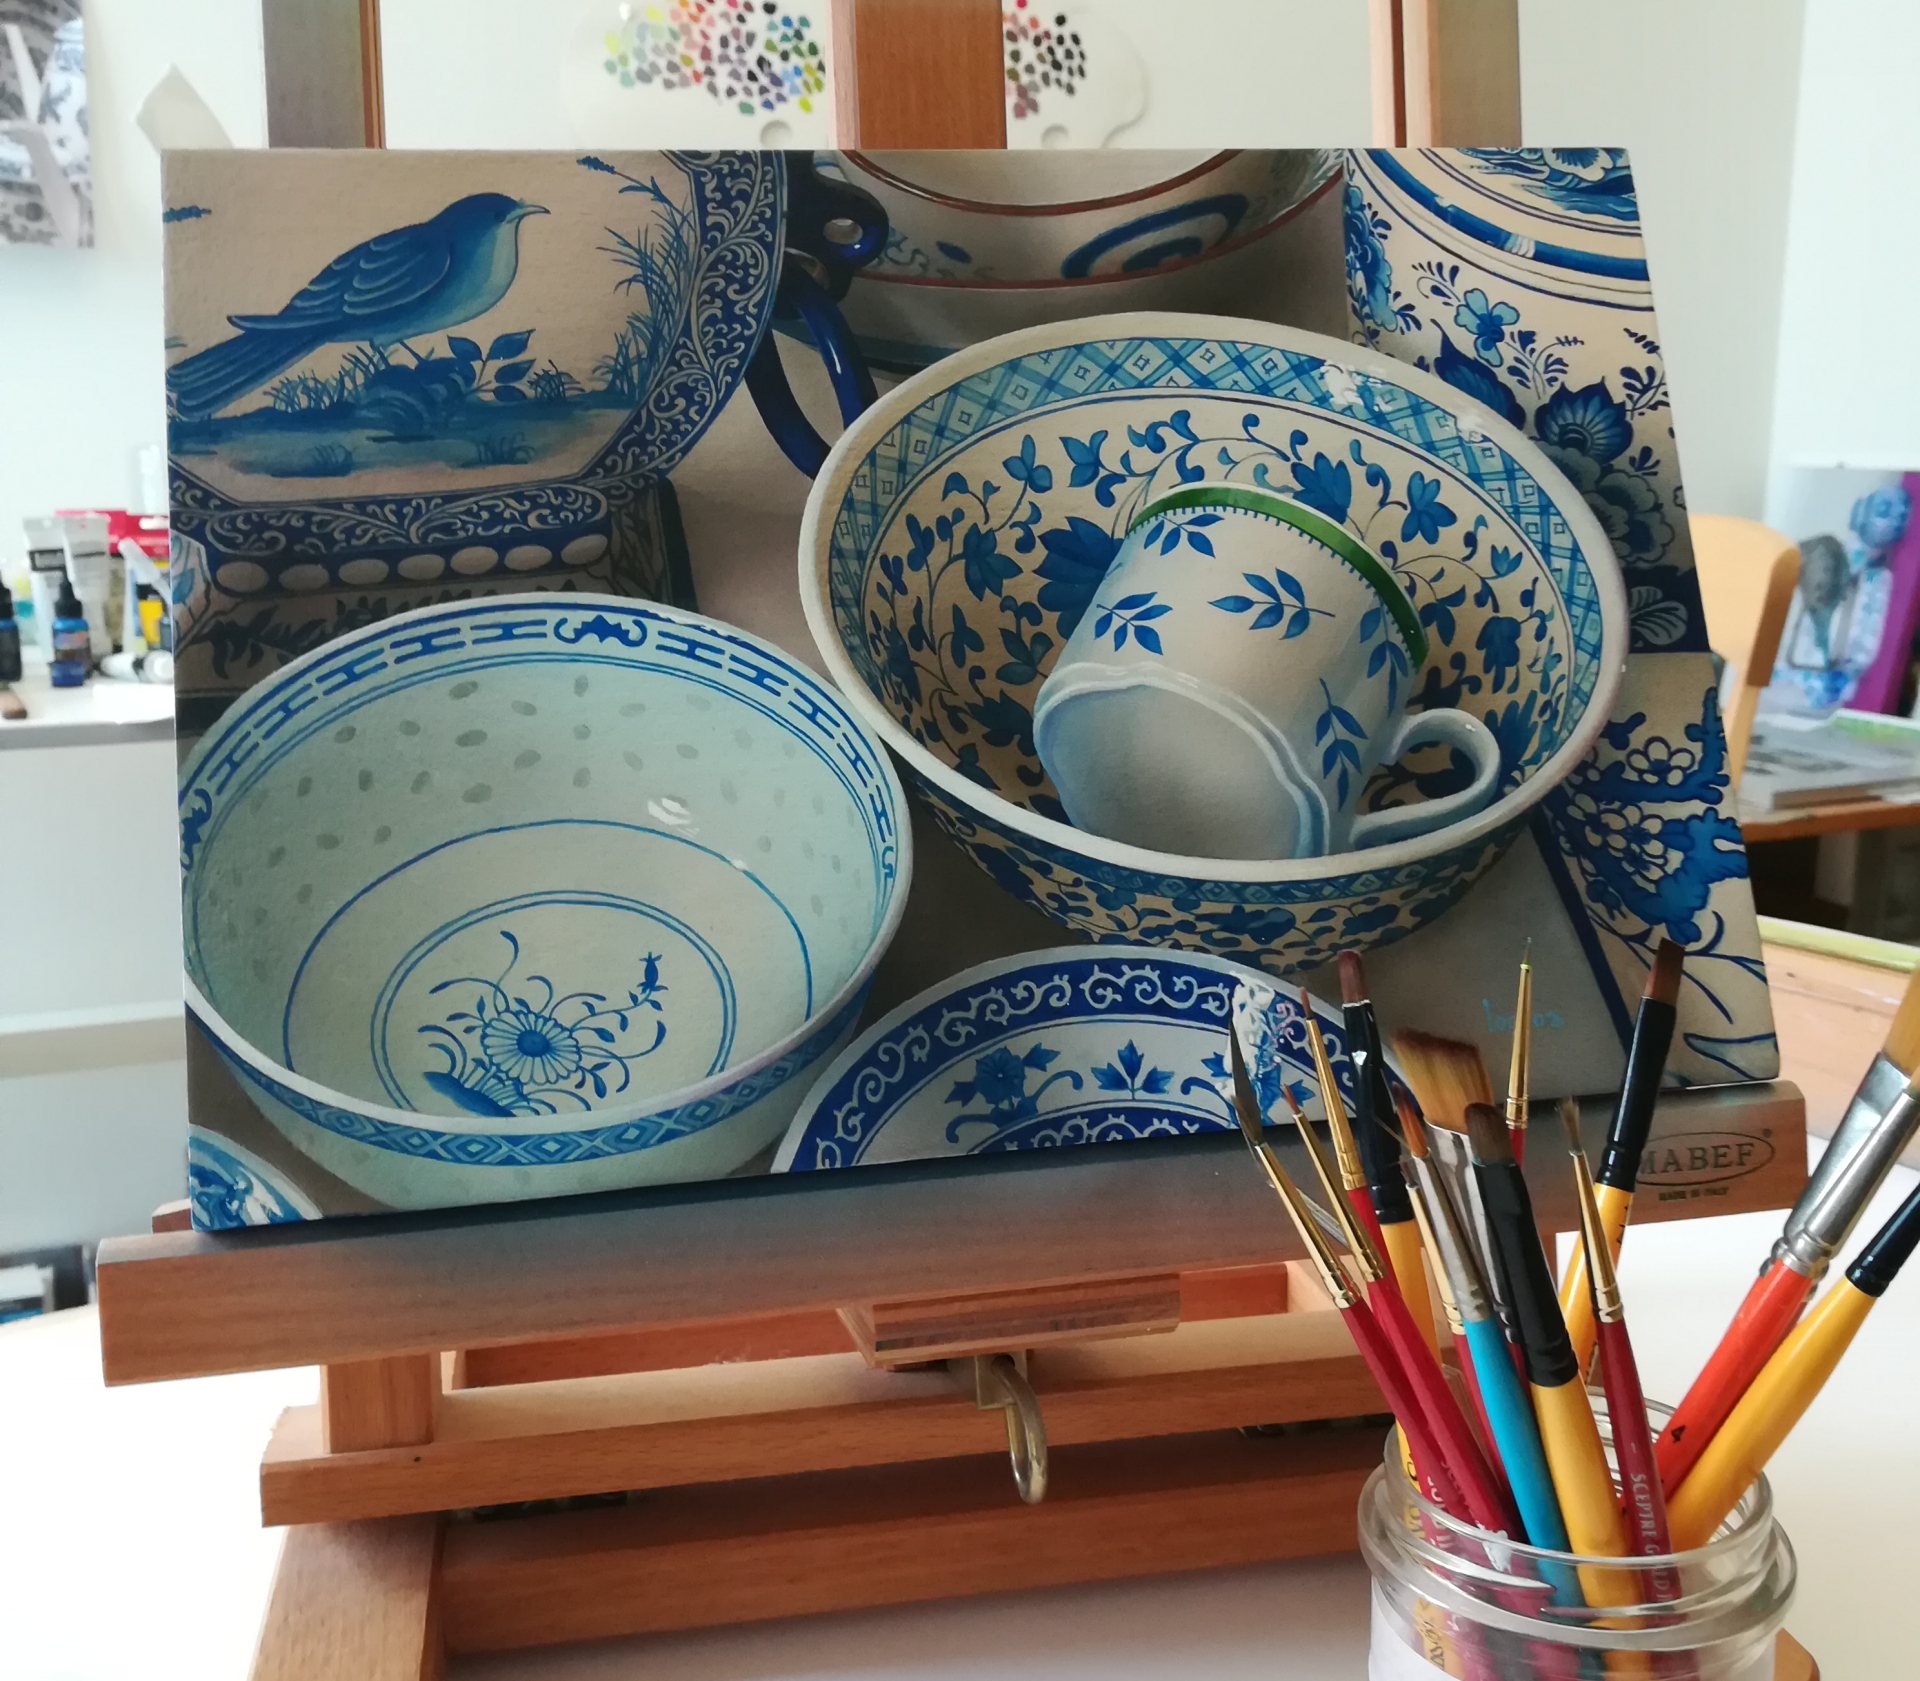
For a while I solely concentrate on this painting until it reaches the halfway finishing point, whereupon I begin the above process for the next painting. Once the painting is finished—i.e., when I think I can’t improve it—I send a snapshot of it to one or two trusted friends for critique. They know me, they know my intentions and work method, and have sharp eyes for realism. They regularly direct me to issues I can then adjust.
Completion
Finally—I sign the painting, give it several isolation layers of acrylic polymer and varnish it, making sure the entire surface has a flawless finish. I photograph it and manipulate the final image on my computer to match it as closely to the original painting as possible. Lastly, I add it to my website, show it to several favorite collectors, and post it on social media.
The Rationale
This is an elementary description of the routine I implement for each new painting. Sometimes paintings flow, other times they’re a struggle, and once in a while complete failure or loss of interest lead me to discard them. Yet throughout the uncertainties and fluctuations of the creative process, these clearly delineated phases that I established for myself help me to keep going. Even when energies are low, daily troubles drain me, or my muse abandons me, I can hold on to this orderly timeline because the process anchors me. Knowing what work lies ahead gives me peace of mind when I step into my studio each morning—I know exactly what to do next.
As Chuck Close famously noted, “Inspiration is for amateurs. The rest of us just show up and get to work. If you wait around for the clouds to part and a bolt of lightning to strike you in the brain, you are not going to make an awful lot of work. All the best ideas come out of the process; they come out of the work itself.”
Learn more about Lorena Kloosterboer:
Website | Instagram
This article was originally published in 2019




I am so intrigued by your process, Lorena–your attention to detail, a structured plan to keep both you and your work on track, a guide that encourages consistency in your work over time. Your commitment to design, creation of the illusion of form, and sensitivity of observation is so remarkable. That you are working with the acrylic medium is inspiring in itself.
I was very much honored to be included in your book Painting In Acrylics. You selected a company of masterful artists to include there, of which I think you are primary. Wonderful work! Your discipline both in writing and creating beautiful works of art is to be admired. Thank you for your inspiration.
Thank you so much, Rick, for your kind words, they’re heartwarming & made my day! I’m happy your beautiful work is part of my book, in which I tried to show as many examples of realist work created in acrylics as possible, because as you know, most books about acrylics only show abstract & experimental artwork. Acrylics are a cranky medium but I love the challenge! Thank you!
Hi Lorena, I am so intrigued by your process and the beautiful paintings you do. Thank you for taking the time to explain it. I just ordered your book from Amazon. I also have been painting on cradled panels – sometimes with watercolor and I glue the paper to them and varnish the watercolor, but I love acrylic as well. I also enjoy glazing – so perhaps your approach may eventually help me to make better paintings. Thank you!!!
Comments are closed.