

See how contemporary realism artist Christina Grace Mastrangelo created the vanitas (a genre of painting symbolizing the transience of life) in this step-by-step demonstration.
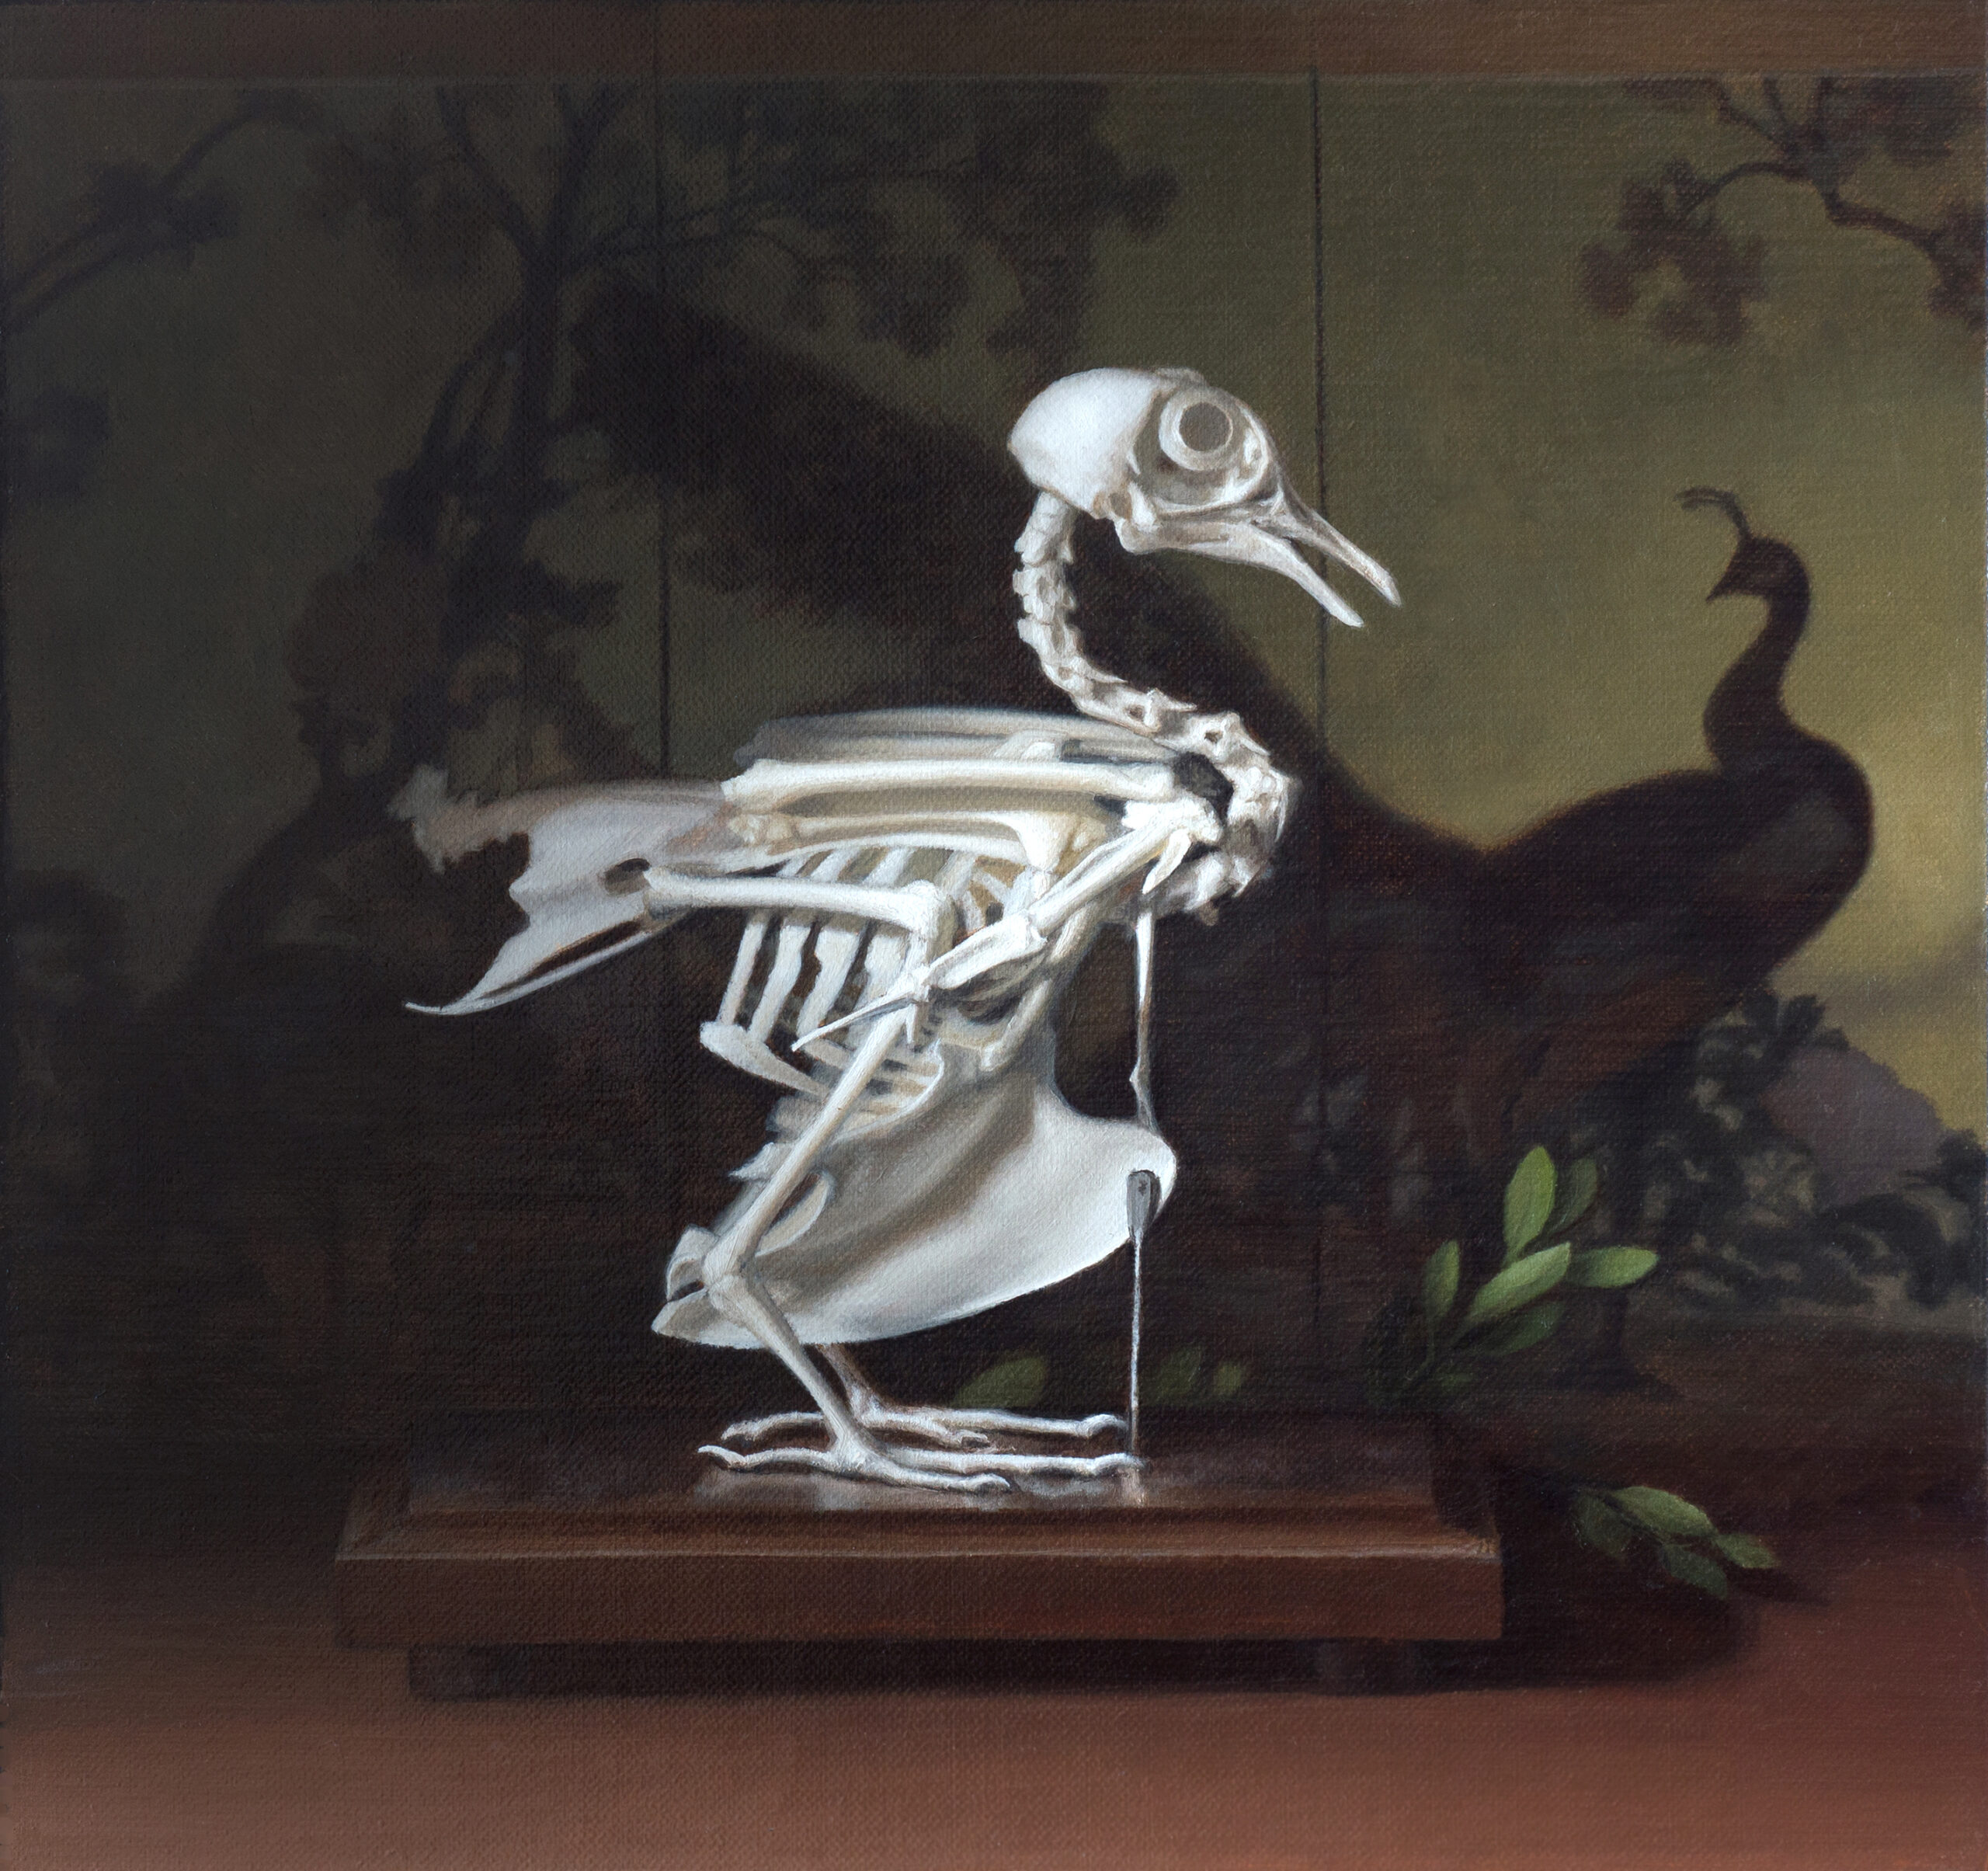
“Painting an unusual vanitas, ‘Conversation About Immortality,’ displays not the traditional commentary about mortality, but rather poses the idea that the narrative of living lingers, and that both bones and beauty have a lot to tell us,” Christina says. She added that she used the traditional sight-size method, from life, for this painting.
“Conversation About Immortality”
Vanitas Painting Step by Step
By Christina Grace Mastrangelo
Step 1 – Sight Size and Placement Lines
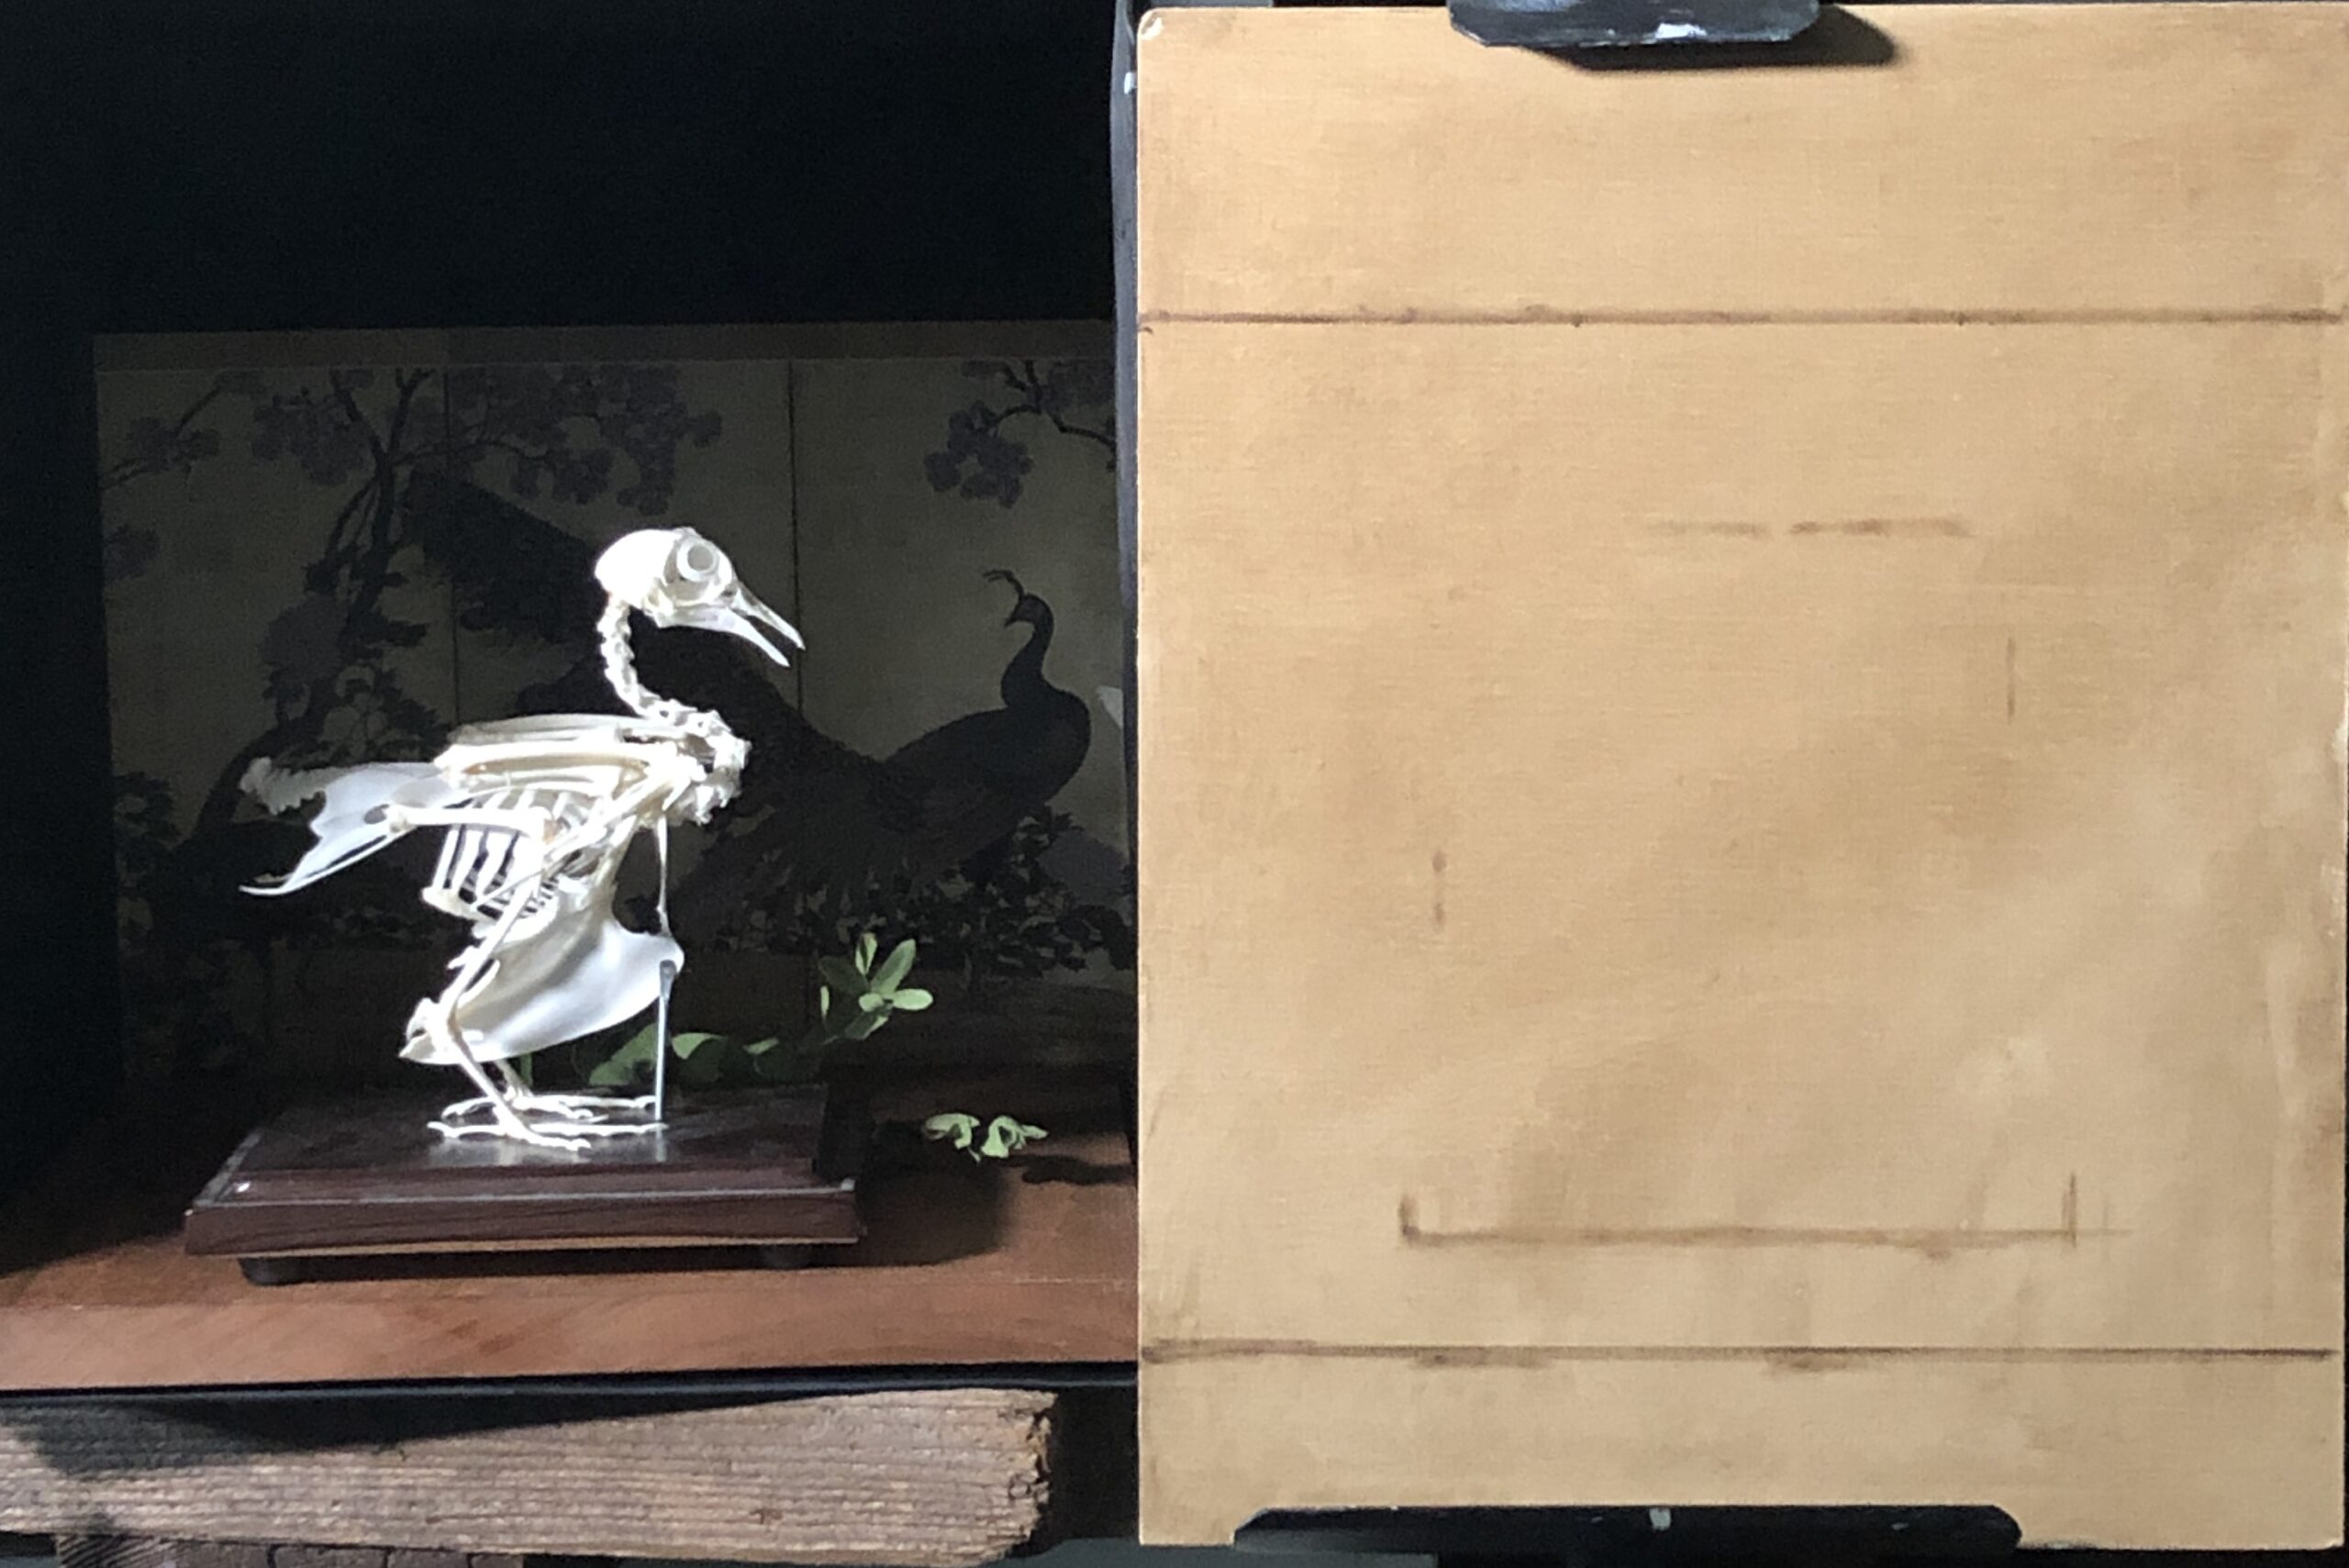
In sight-size, we paint the objects in a 1:1 ratio with our painting. My easel and painting panel were right in line with (and touching) the shadow box that held my still life objects. The Raphael Oil Primed linen panel was then prepped with raw umber and odorless mineral spirits, so the imprimatura is about the value of a cardboard box. This is rubbed with a paper towel so that it’s dry to the touch, and then I’m able to make my first placement lines. These were the top of the background scene and the bottom of the box, and then the very top and very bottom of the bird skeleton and his stand.
This early placement of just four lines allows me to make sure my set-up is going to translate well onto this size panel. Horizontal alignments are used to check these measurements. Then I found some widths for the bird and his base.
Step 2 – More Placement Lines
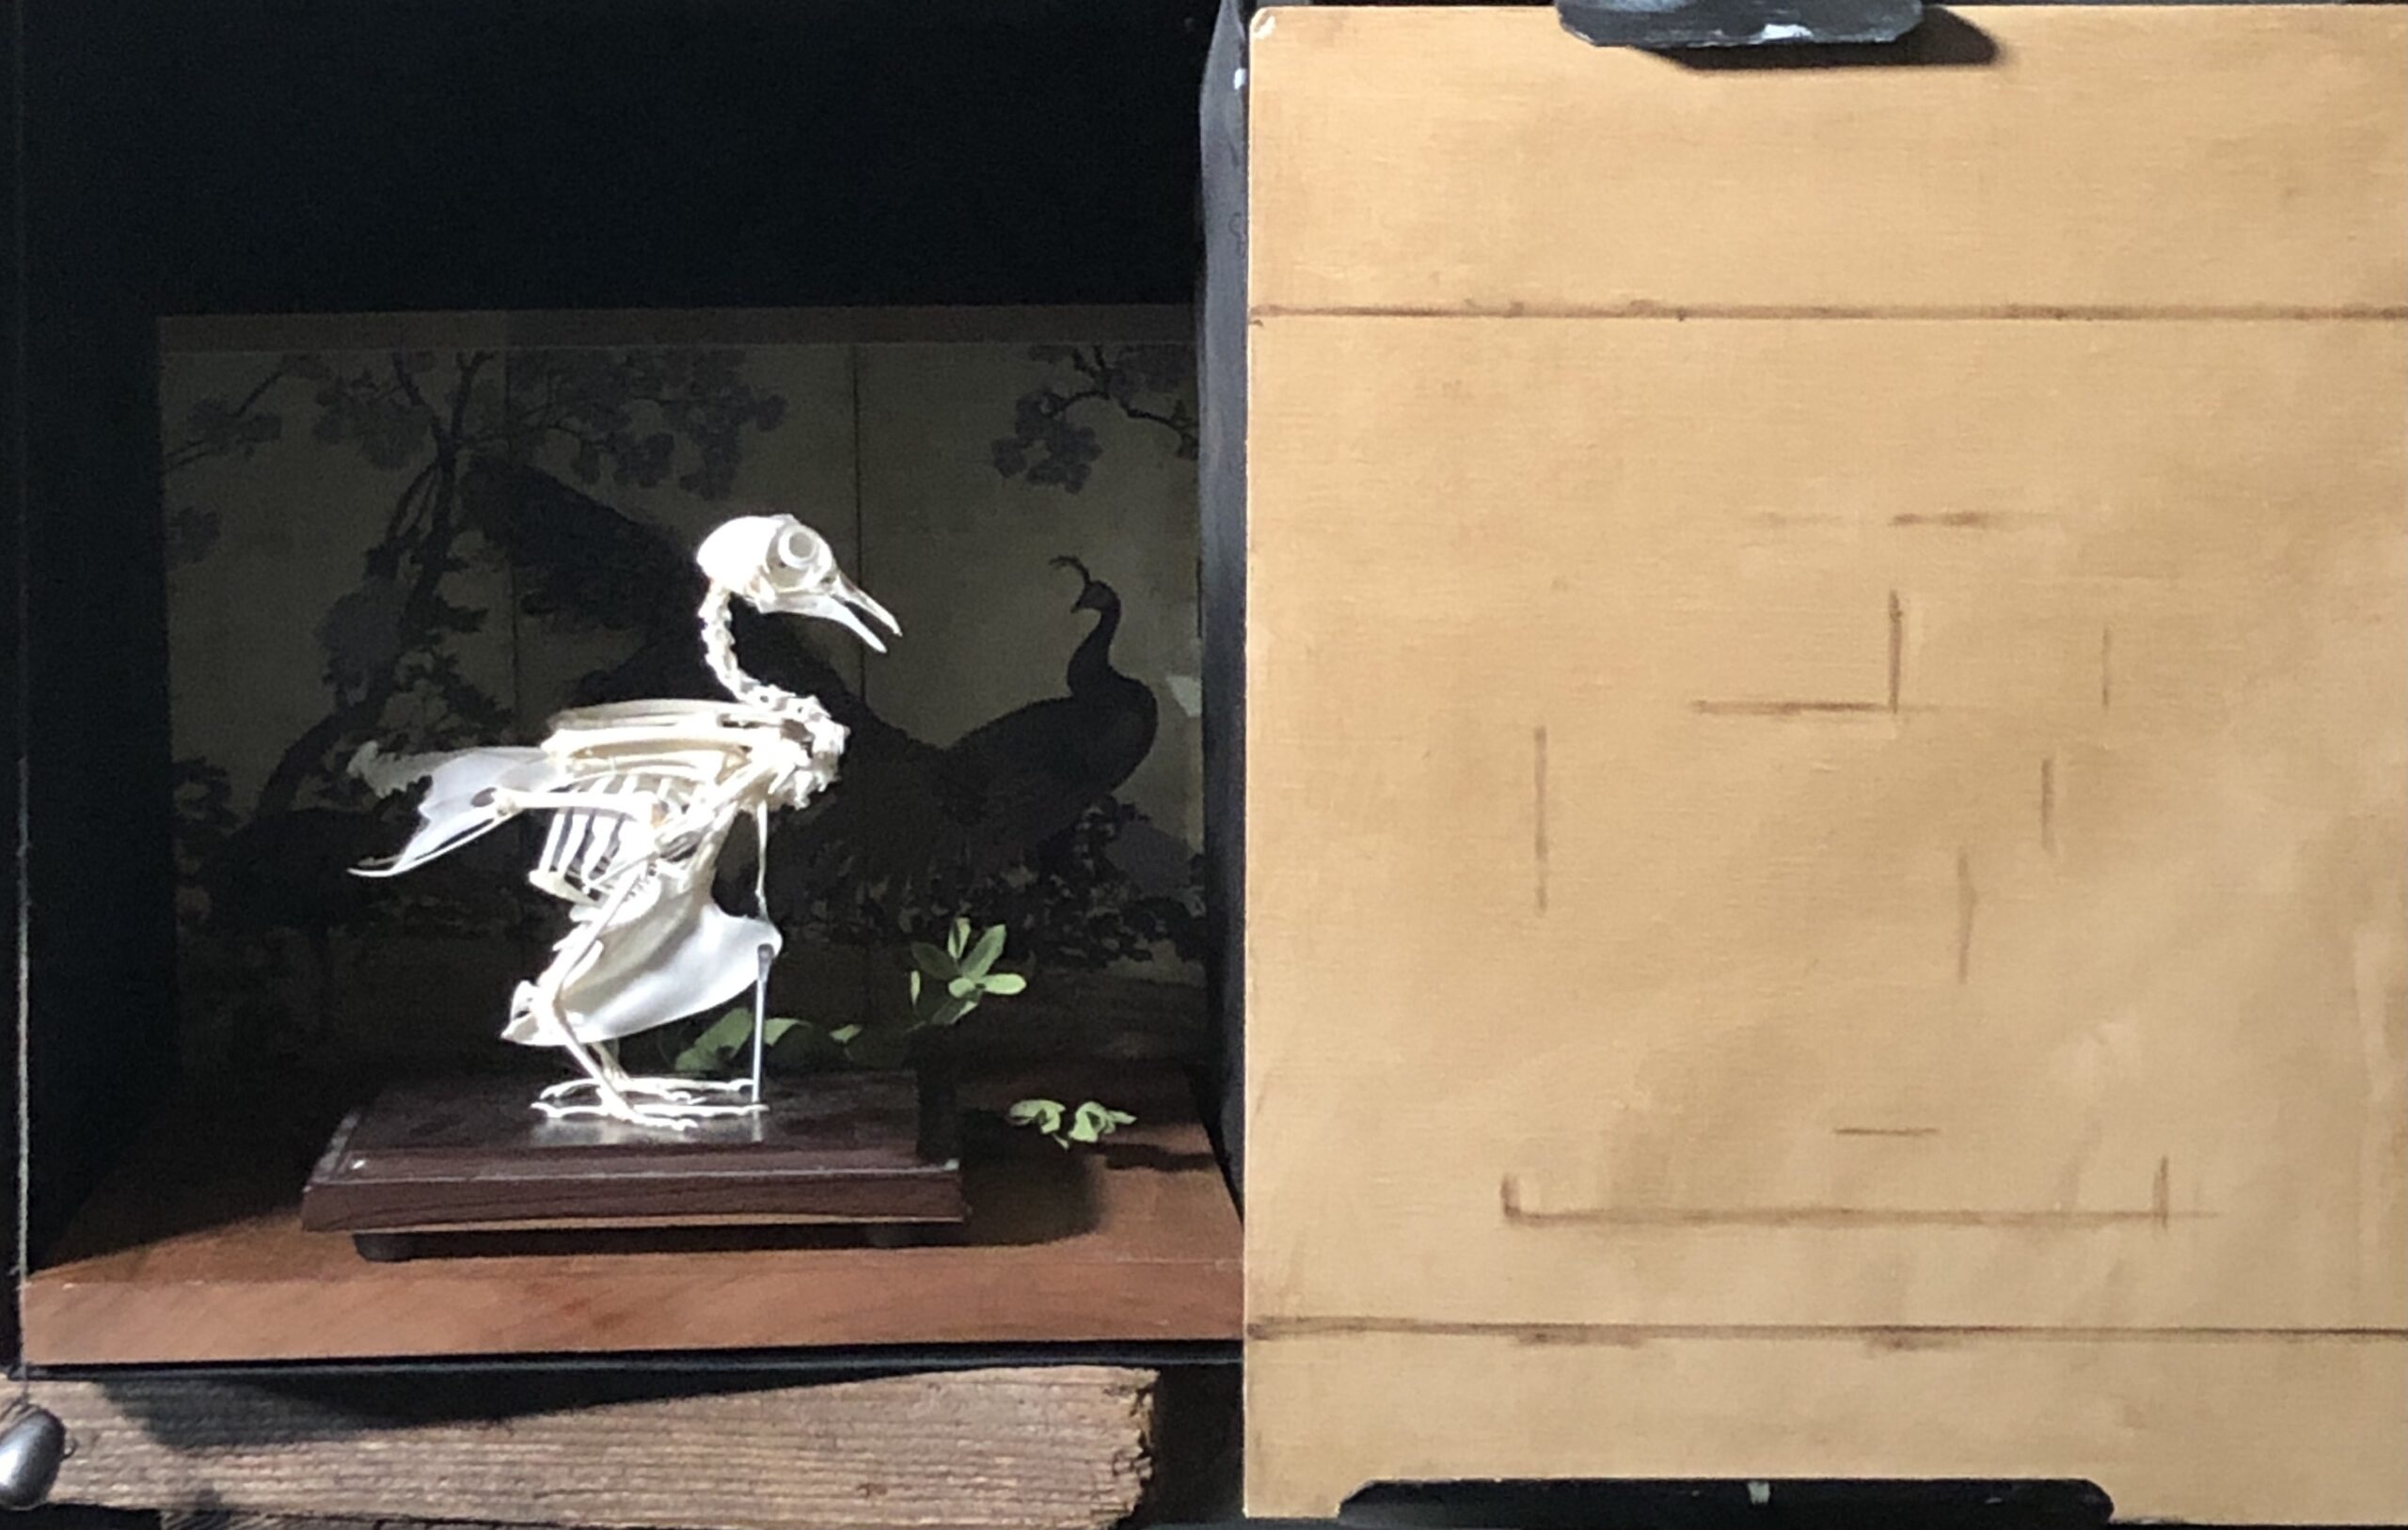
This stage is very slow for precision’s sake. I am stepping back roughly three feet to my vantage point to take my measurements, then lunging with one step up to the panel to make my mark. I’m always stepping back to the same place to measure and re-check my measurements, and do that with my brush. Getting these distances correct at this point is crucial.
Additionally, all of these lines are drawn with a raw umber sketchy line so I can easily adjust them as I figure out their actual placement. If I make a mistake, I can use a bit of paper towel to erase the line, instead of using mineral spirits, which could get messy.
Step 3 – The Focal Object’s Construct
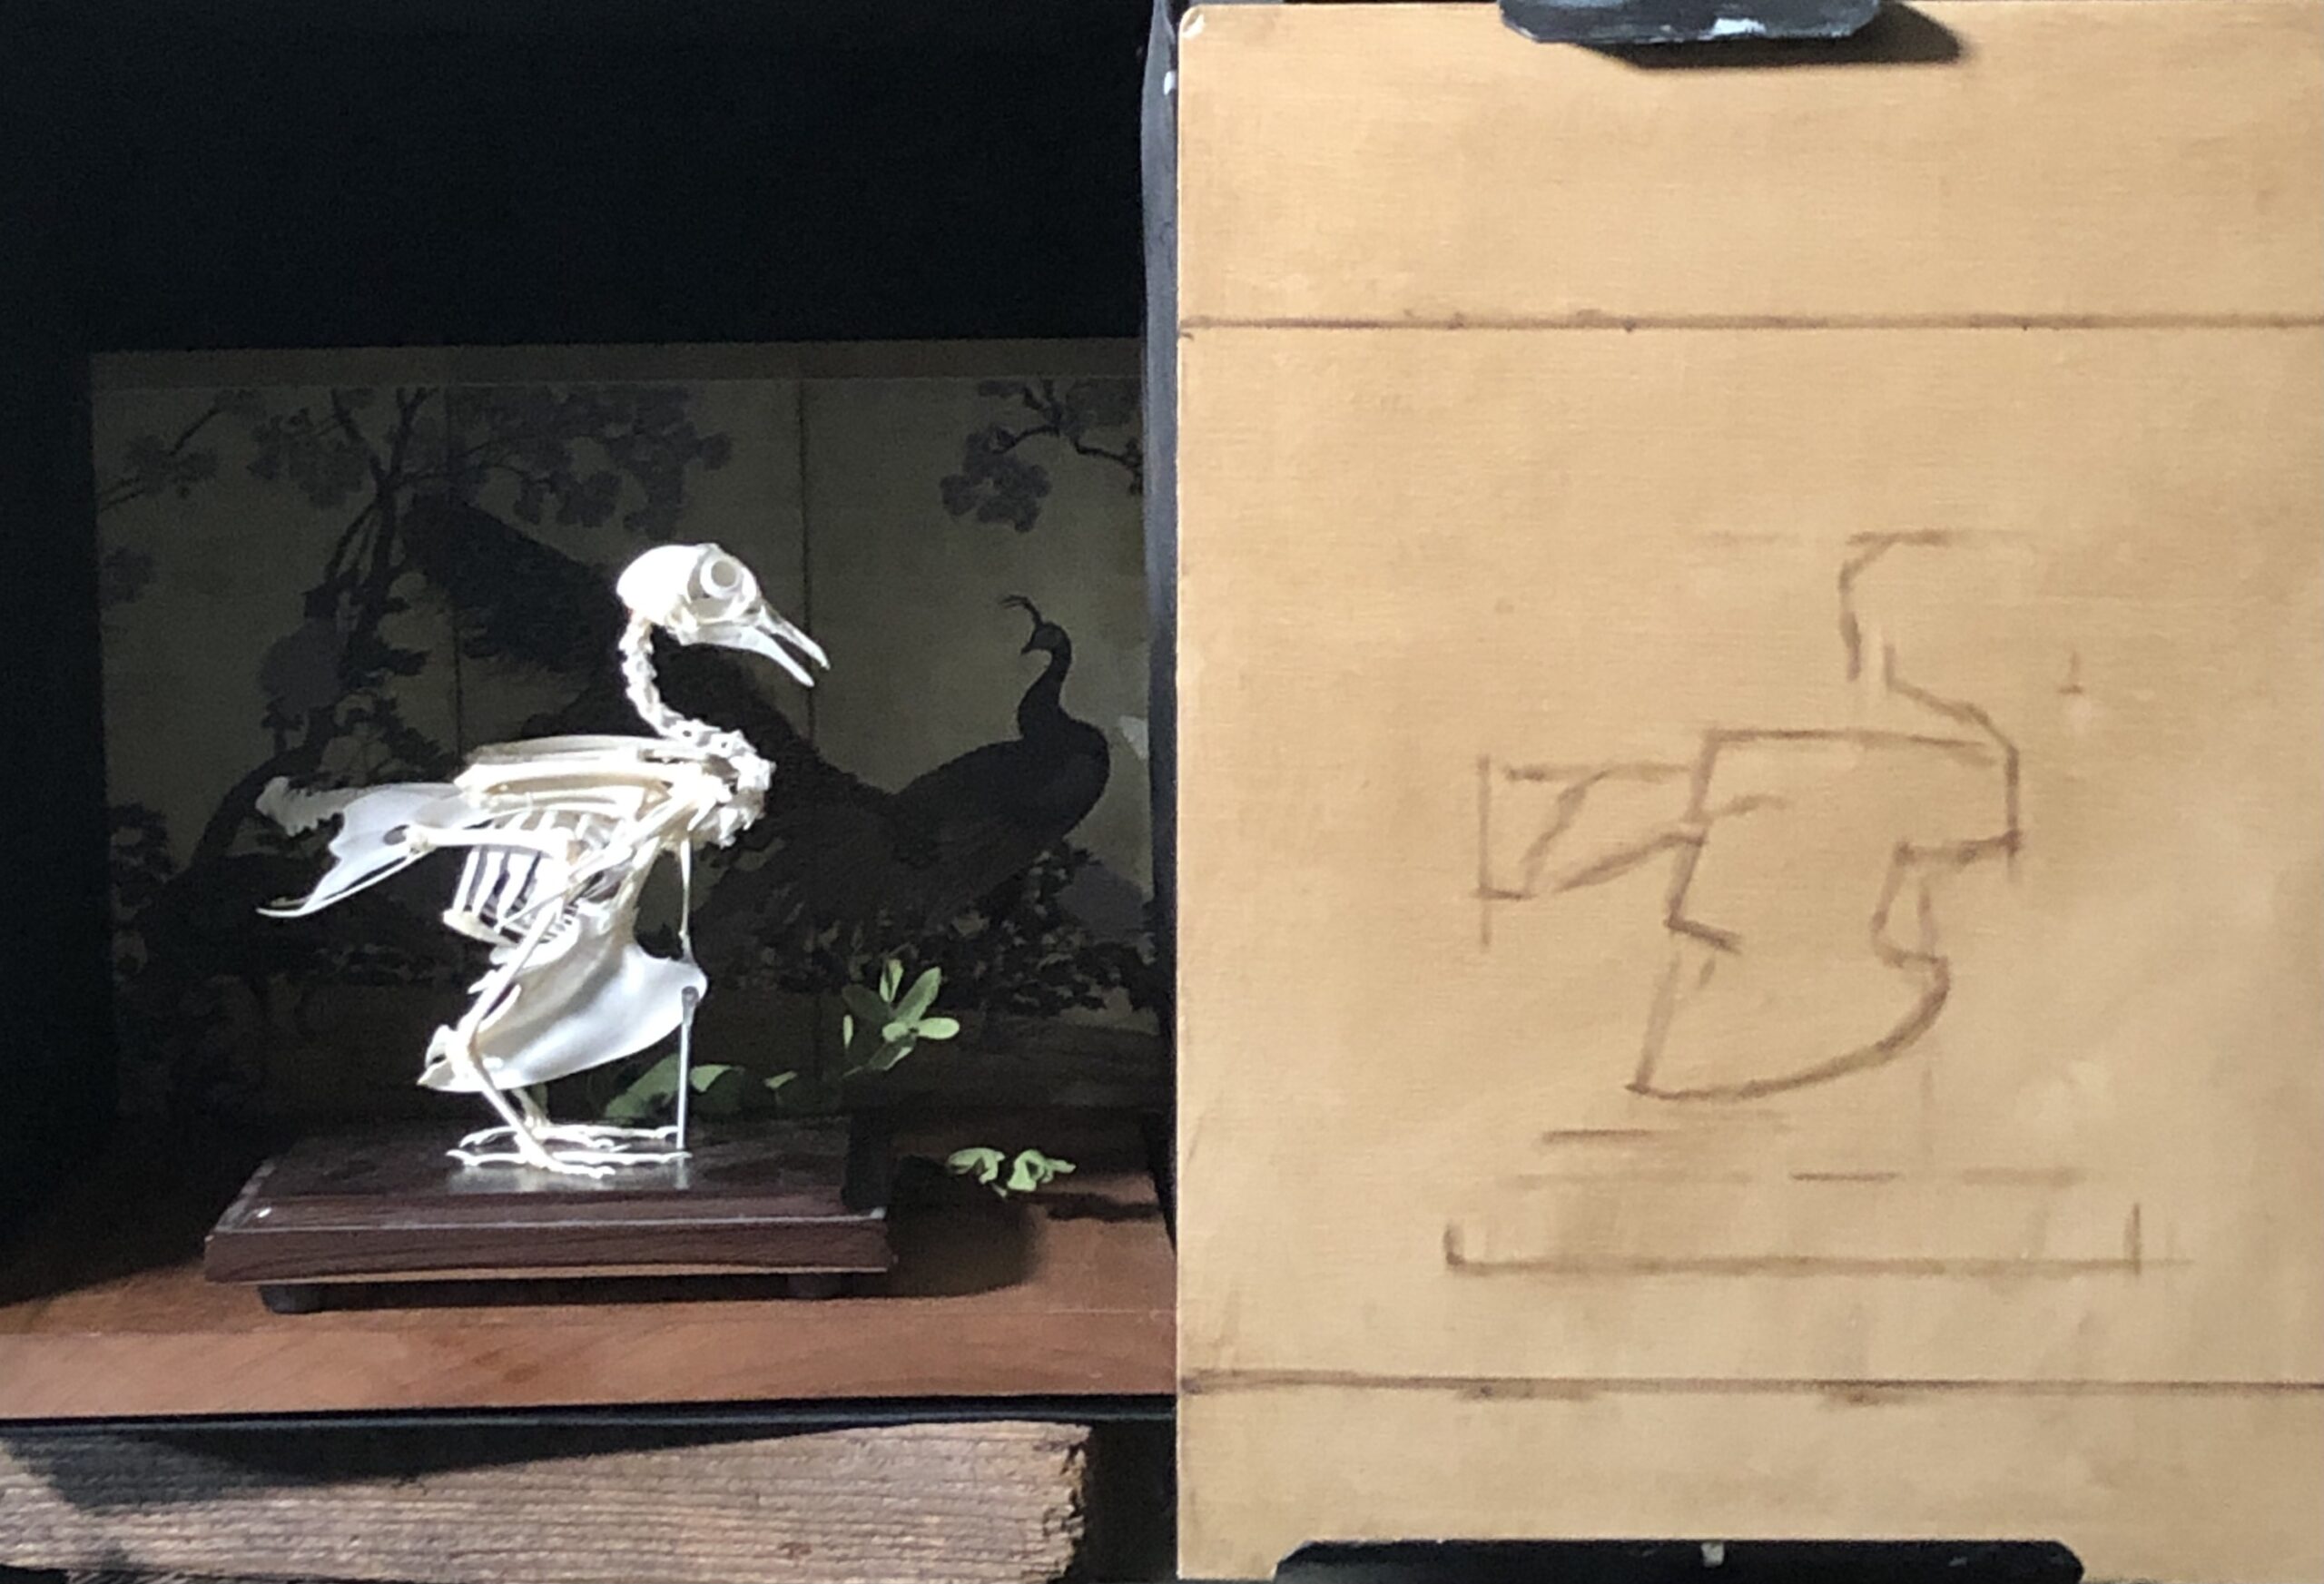
Using the lines I secured in the beginning, I then stop measuring so strictly and instead use my eye to judge the smaller distances and angles of the bird. This stage is about negative shapes and seeing straight lines in the curves.
Step 4 – Finish Drawing the Skeleton

This bird skeleton was very intimidating to me because of all the tiny bones, so I went ahead and drew it all out with raw umber before doing any of the background. This is highly unusual for me and I don’t teach to do that, but I hit a flow-state with it and kept going through to distinguish each light and shadow shape and divides between the ribs.
I had to simplify this stage, so I didn’t go into finding the shape of every vertebrae, but this was enough for me to see that things would fit well and that I could actually do it! This was the end of day one.
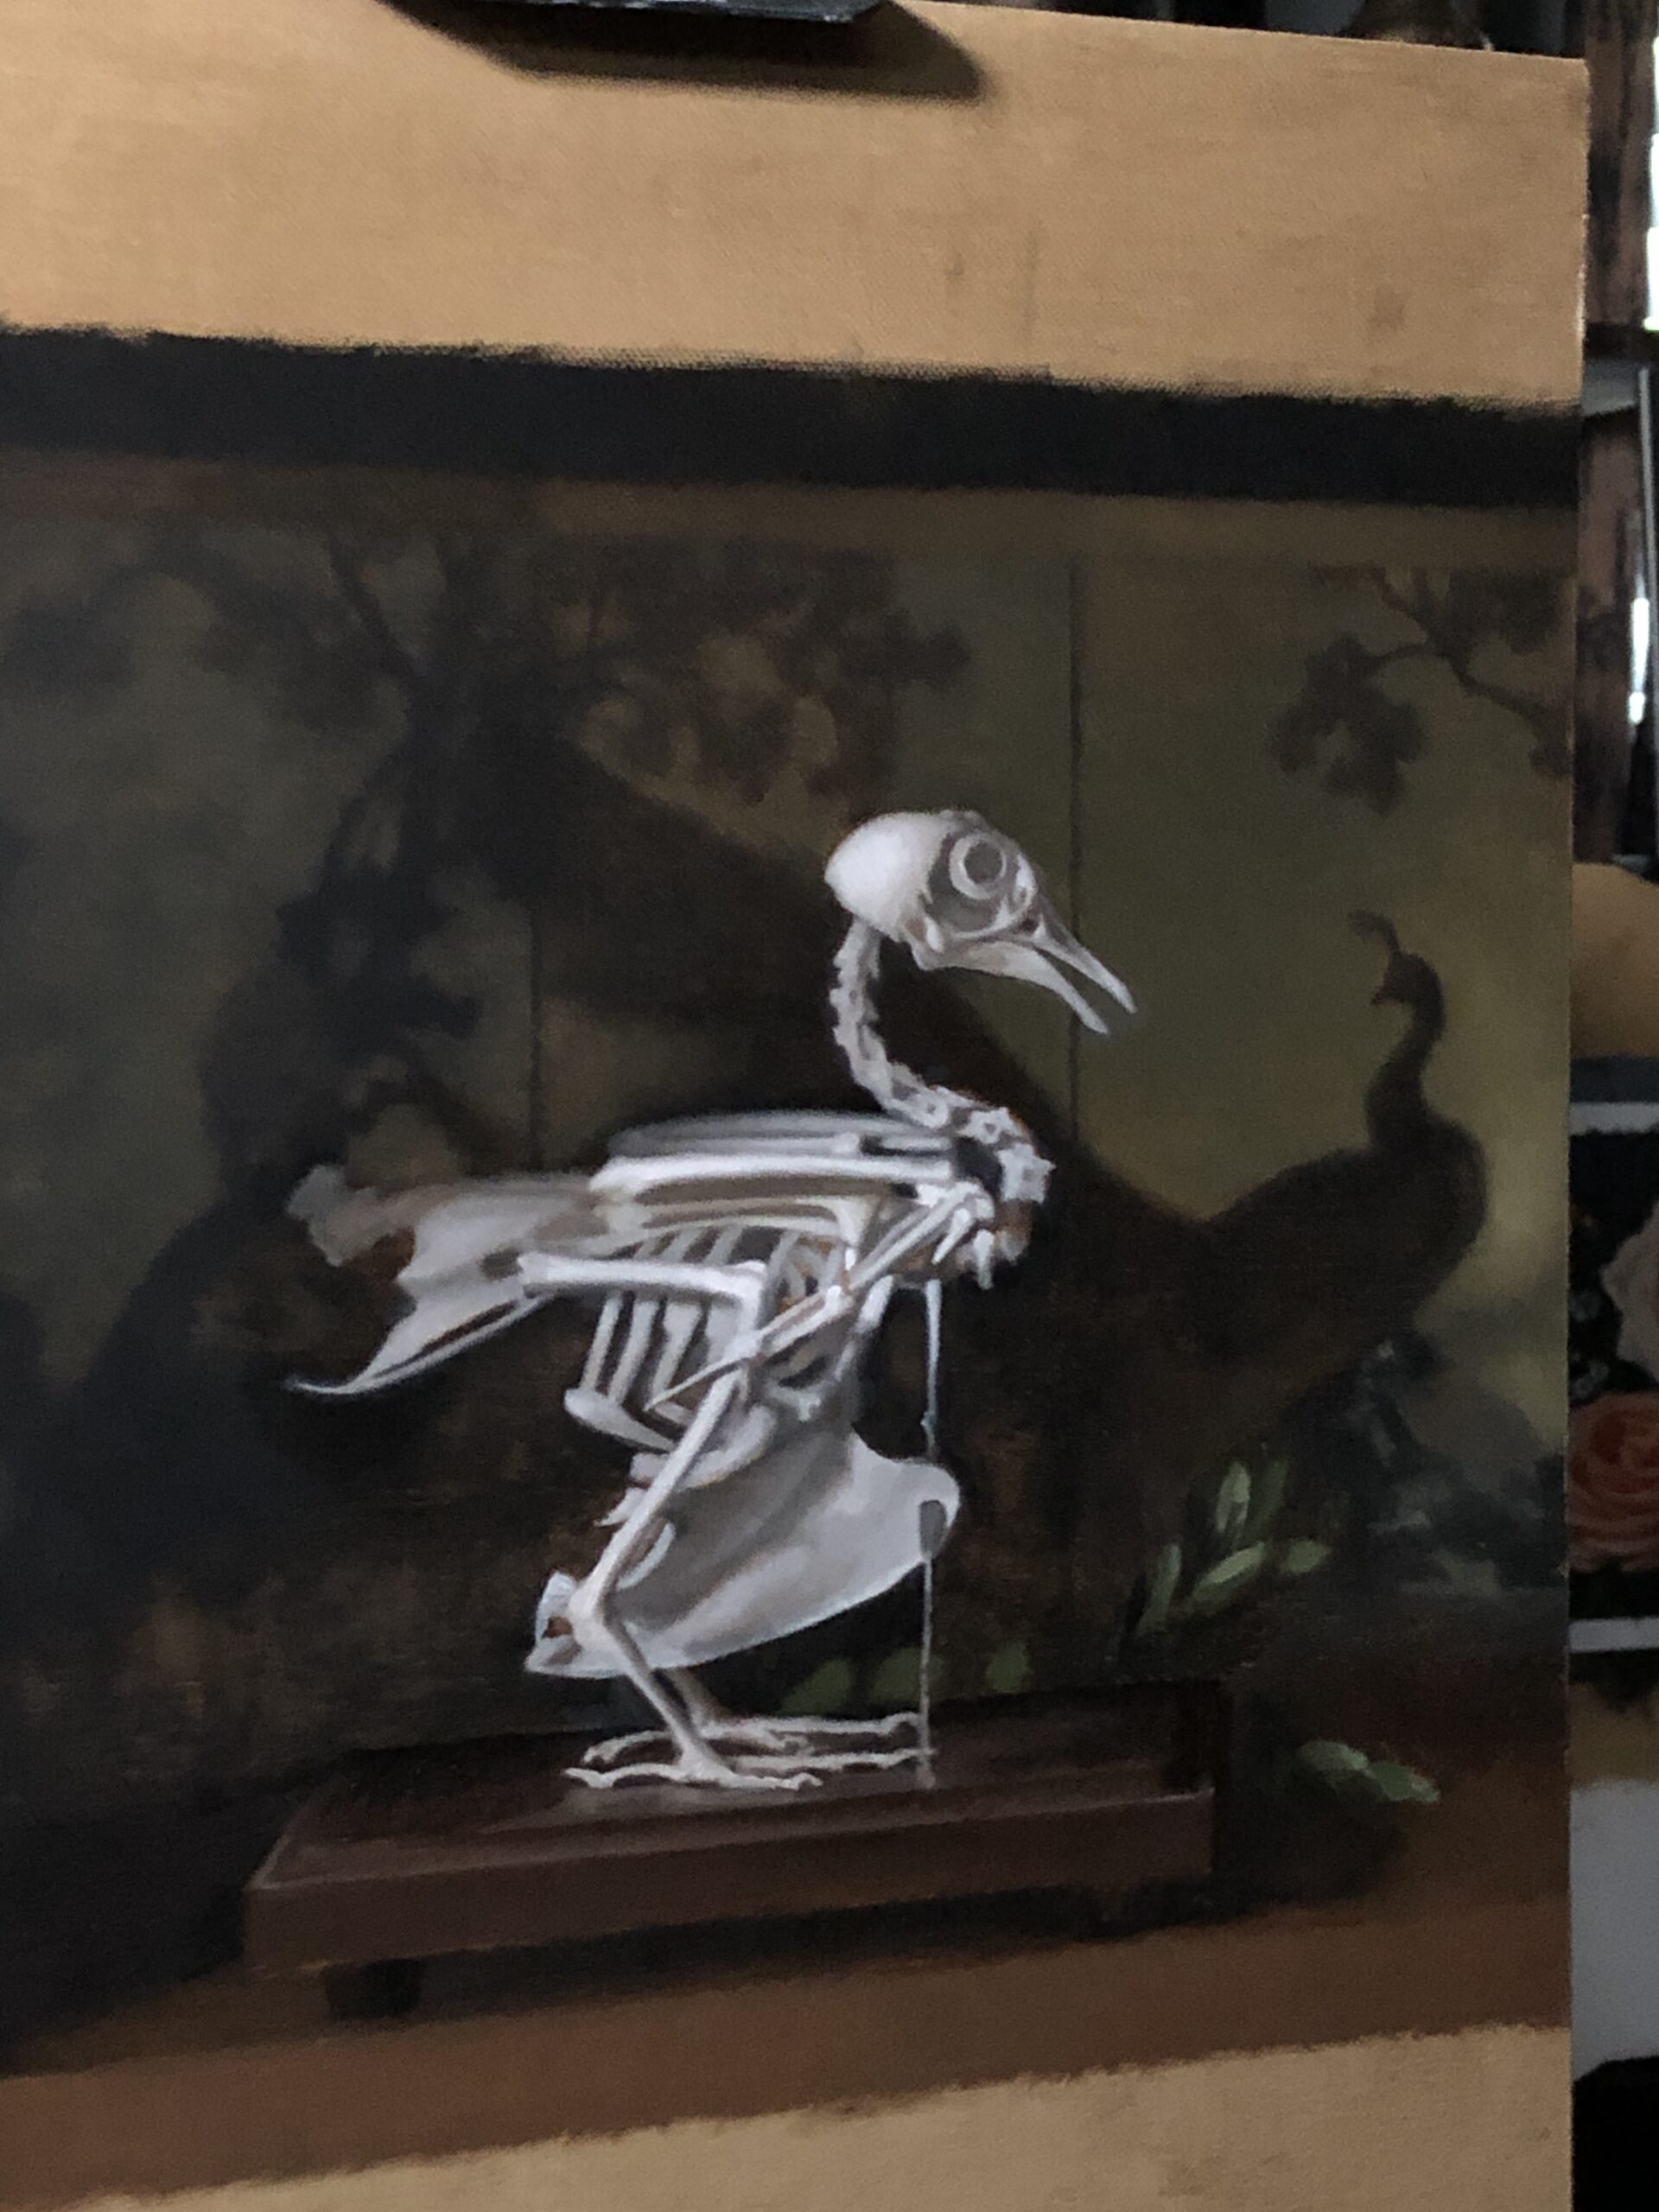
Step 5 – Wipe Out Method and Adding the Busy Background

The next day I discovered that the paint could still be wiped off with some scrubbing of odorless mineral spirits, so I used that as an opportunity to wipe out the lights of the light shapes. I did this in a way that left some halftone and it gave some volume to the bones. I also went in with some more raw umber to define some darker areas.
The bird drawing gained a lot of clarity at this stage, and I balanced that out with scrubbing in some raw umber shapes in the background. This background is very busy, but I focused on shapes and used the bird to help me land placement. The background image was three panels, so those vertical lines also helped me place the complicated shapes back there.
Step 6 – Finishing the Wash Drawing

On that same day I plowed ahead and put in the entire background. I was able to use mineral spirits to adjust my shapes, but this was no easy task. It took immense focus to get all of these shapes correct. It was exhausting!
Step 7 – Identifying Color

When painting from life, color matching becomes a lot more difficult than when painting from a photograph. I mix many guesses on my palette and when I think I’m close I put a large spot of it on the panel. Using two grey cards with a hole punched out of the center, I hold one in each hand over the color in the still life and the other over the color I mixed. Then I evaluate the hue, value, and chroma of each as shown to me through each of these holes.
My first guess was much too light, and it took me four tries to land the color I was looking for in that area. This part is slow but steady and really helps secure the true colors in the still life.
Step 8 – Laying in the Darkest Dark, Lightest Light, and Background

To ensure that I am utilizing the values of my oil paints to their maximum capabilities, I first lay in the areas that are pure white and pure black. This helps to set the value scale for the painting and will help me to be able to achieve a lot more form because both of these hit the ends of the value scale. Then I mix all of the colors that I see in the background and fill them in. This is slow because I’ll fix any drawing error along the way, and I try to keep the edges soft.
Step 9 – Finishing the First Layer
The background was painted rather thinly, knowing that I wanted it to sit back and that I would do a second layer later. Then I focused on the bones. In this image you can see that the shapes of the vertebrae are mapped in – these are as accurate as possible while still leaving room for refinement and detail. I’m looking for any shifts in hue (the halftones turned slightly blue, which was nice) and premixed a neutral value scale with variations using titanium white, raw umber, and ivory black.
I love this stage because I can see how the painting will turn out, and begin to push and pull things like halftones and shadows for effect.
Step 10 – Doing a Second Layer and Finishing
Everything receives a second coat. Both the first layer of color and the second are laid down opaquely, but the final layer uses less paint and tinier brushes. I pay a lot of attention to edges between objects and edges between continuous areas so that there is a subtle and beautiful effect. This stage is the fun part, because all of the hard decisions were already made and now I just have to repeat them with more accuracy and detail.
Purchase a print of this vanitas through the artist at [email protected] and see more of her work at www.christinamastrangelo.com.
Take your realism art to the next level when you attend Realism Live ~ a multi-day virtual art conference led by 20+ world class artists. (No tech skills? No problem! If you can click a link, you can join our event!) Learn more at RealismLive.com!
Edited and prepared for the web by Cherie Dawn Haas, Editor of Realism Today

”")
